Before & After
Why Patients Choose MINE
    • B/A
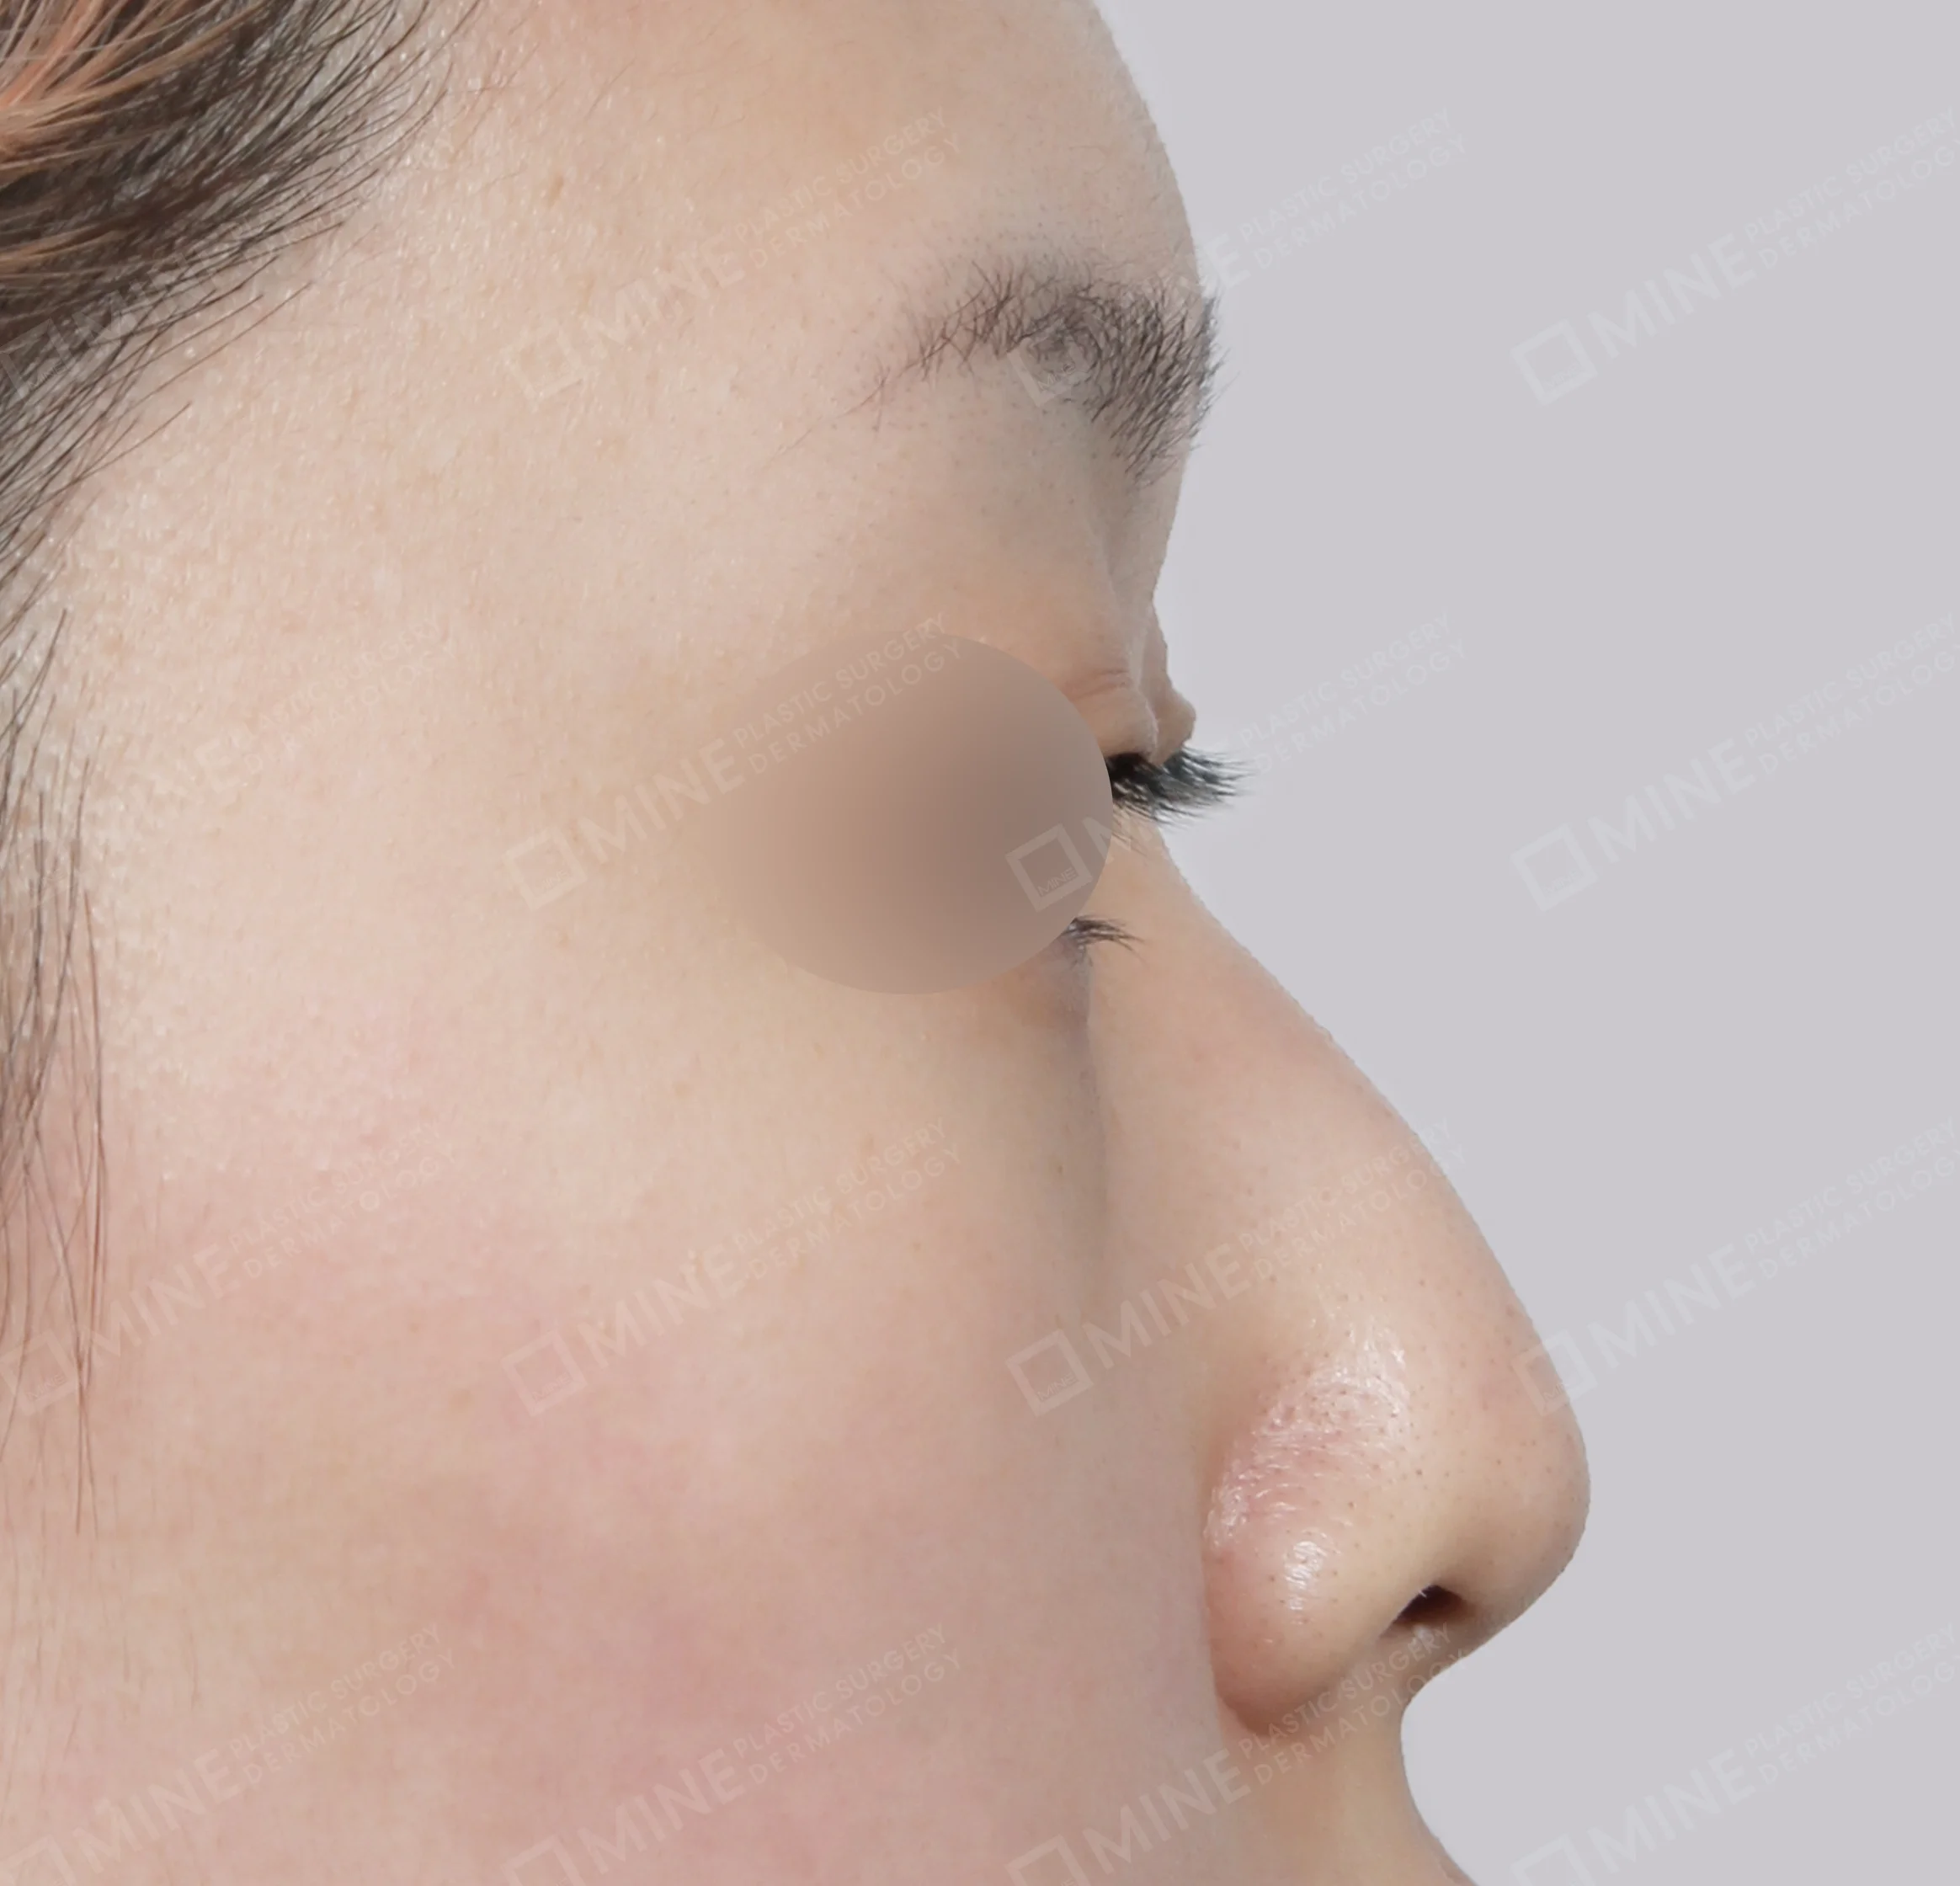
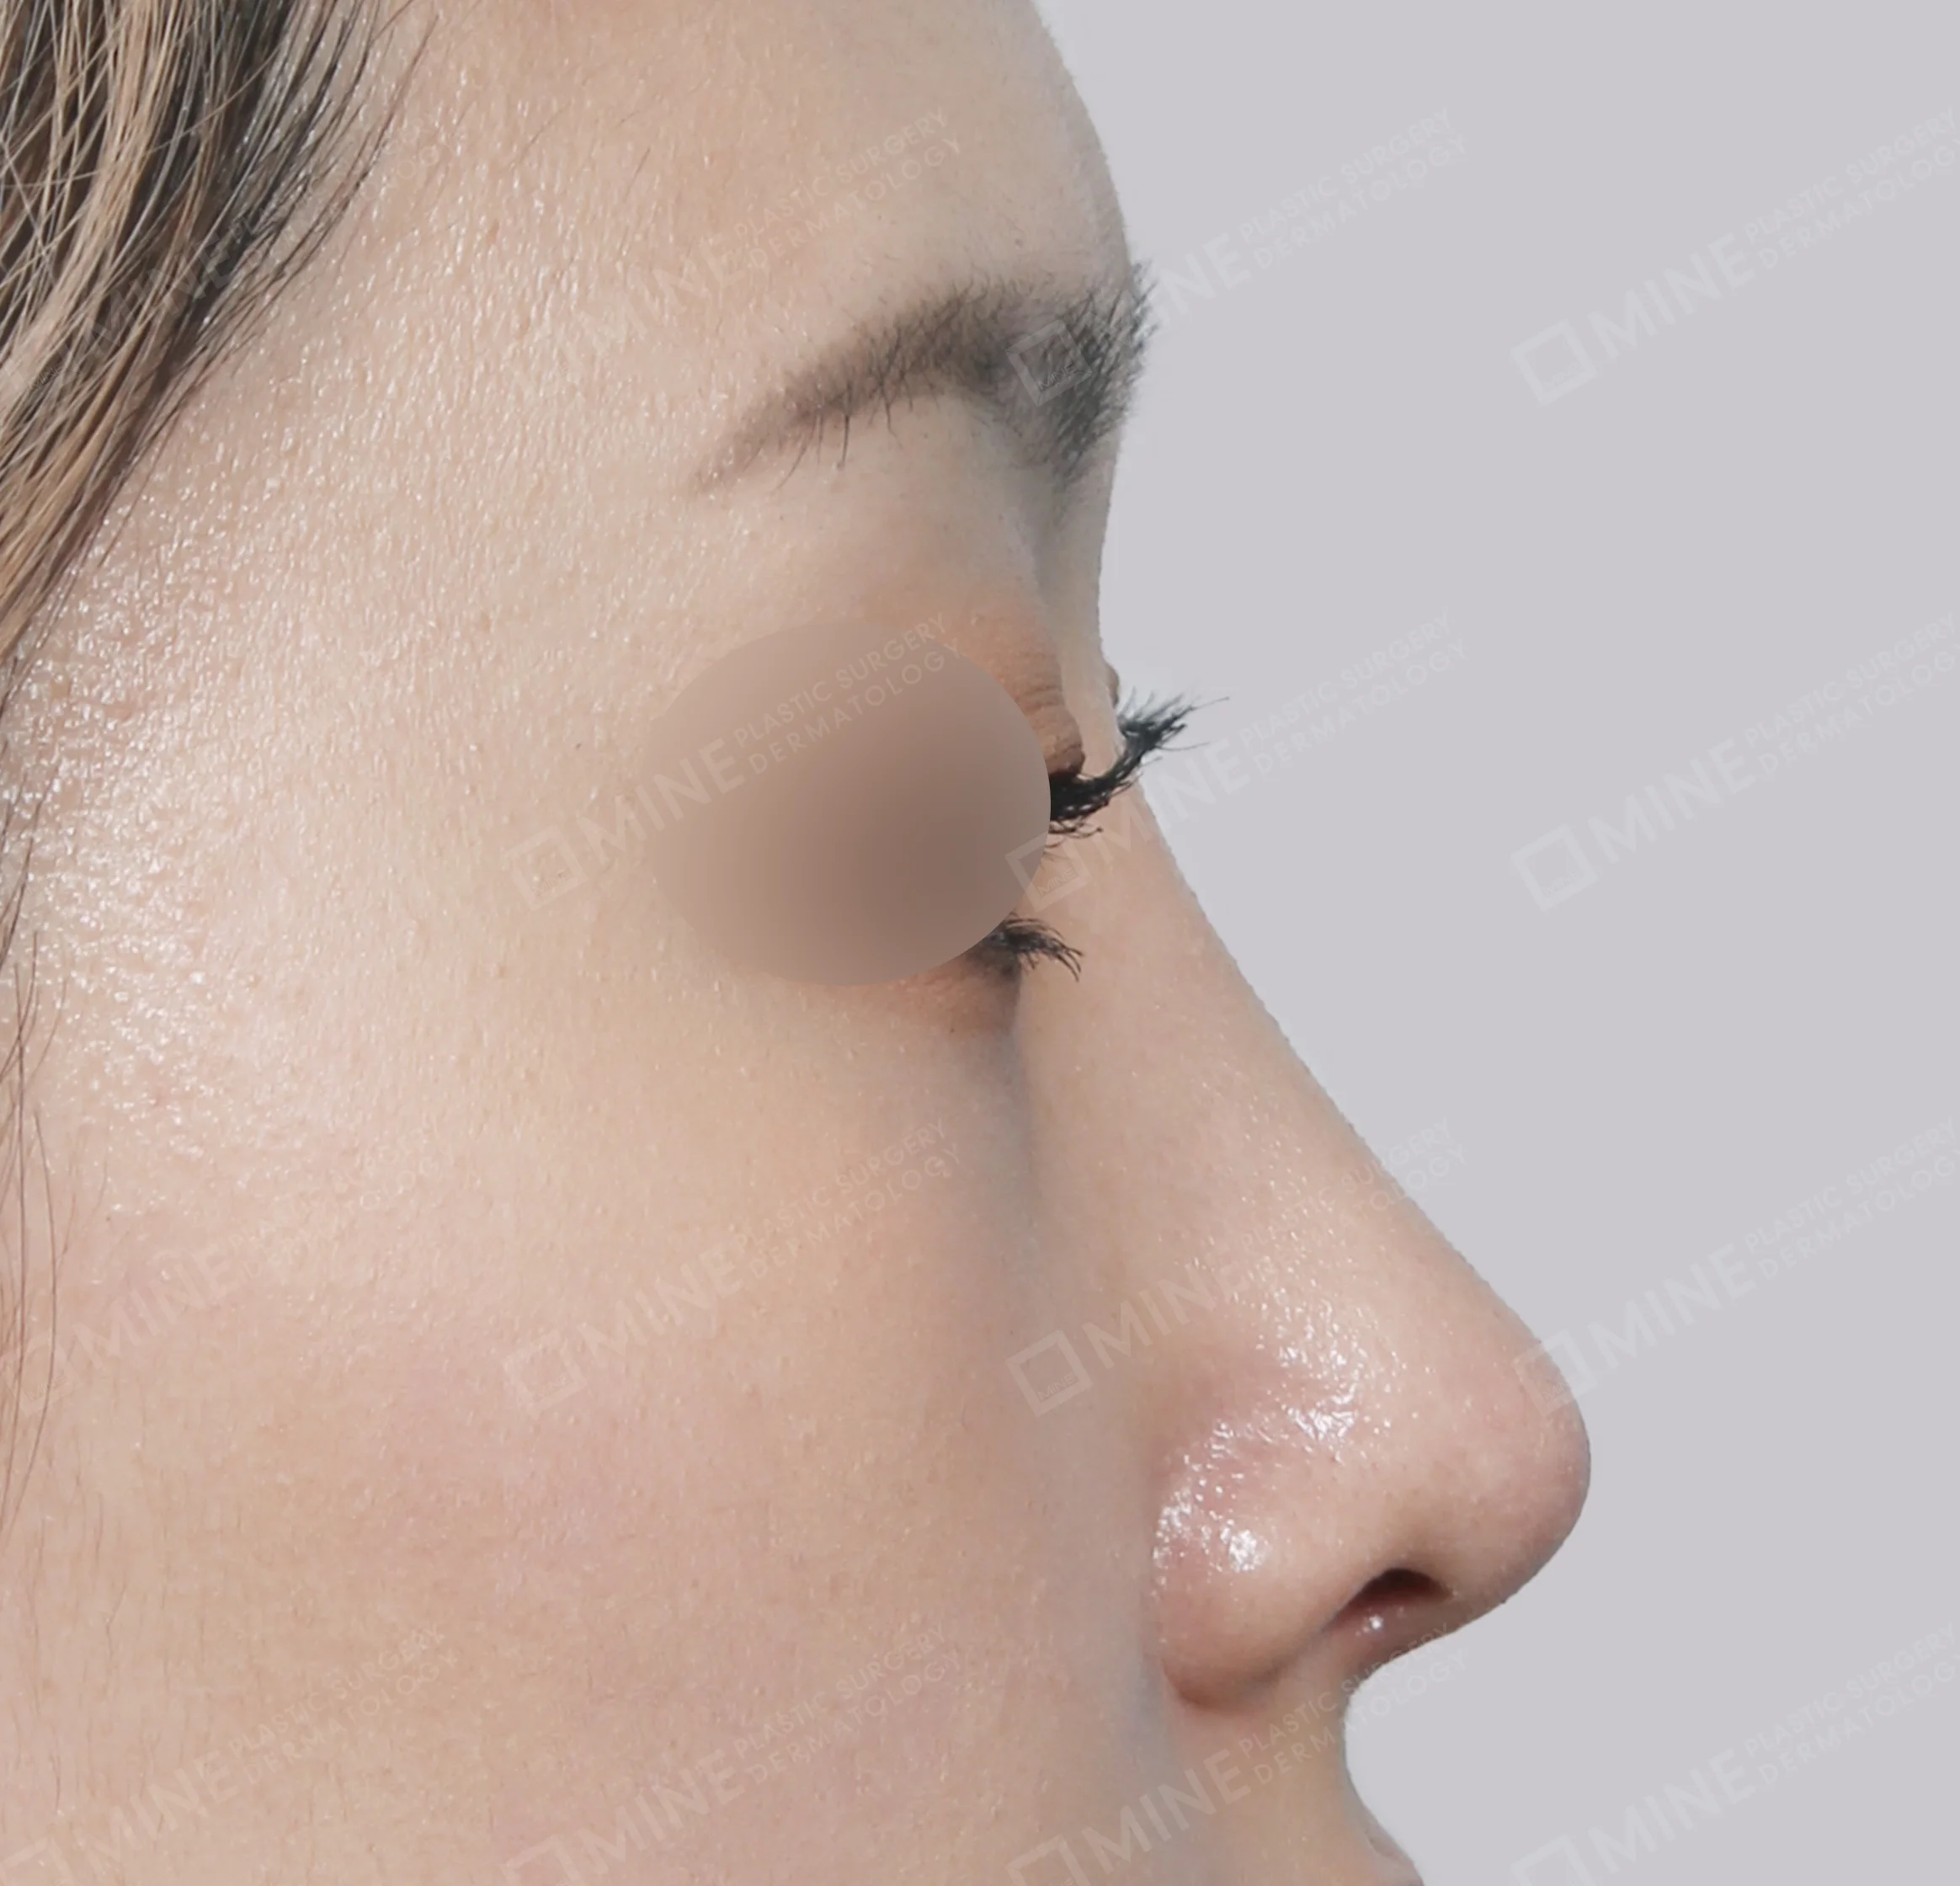
    • Side
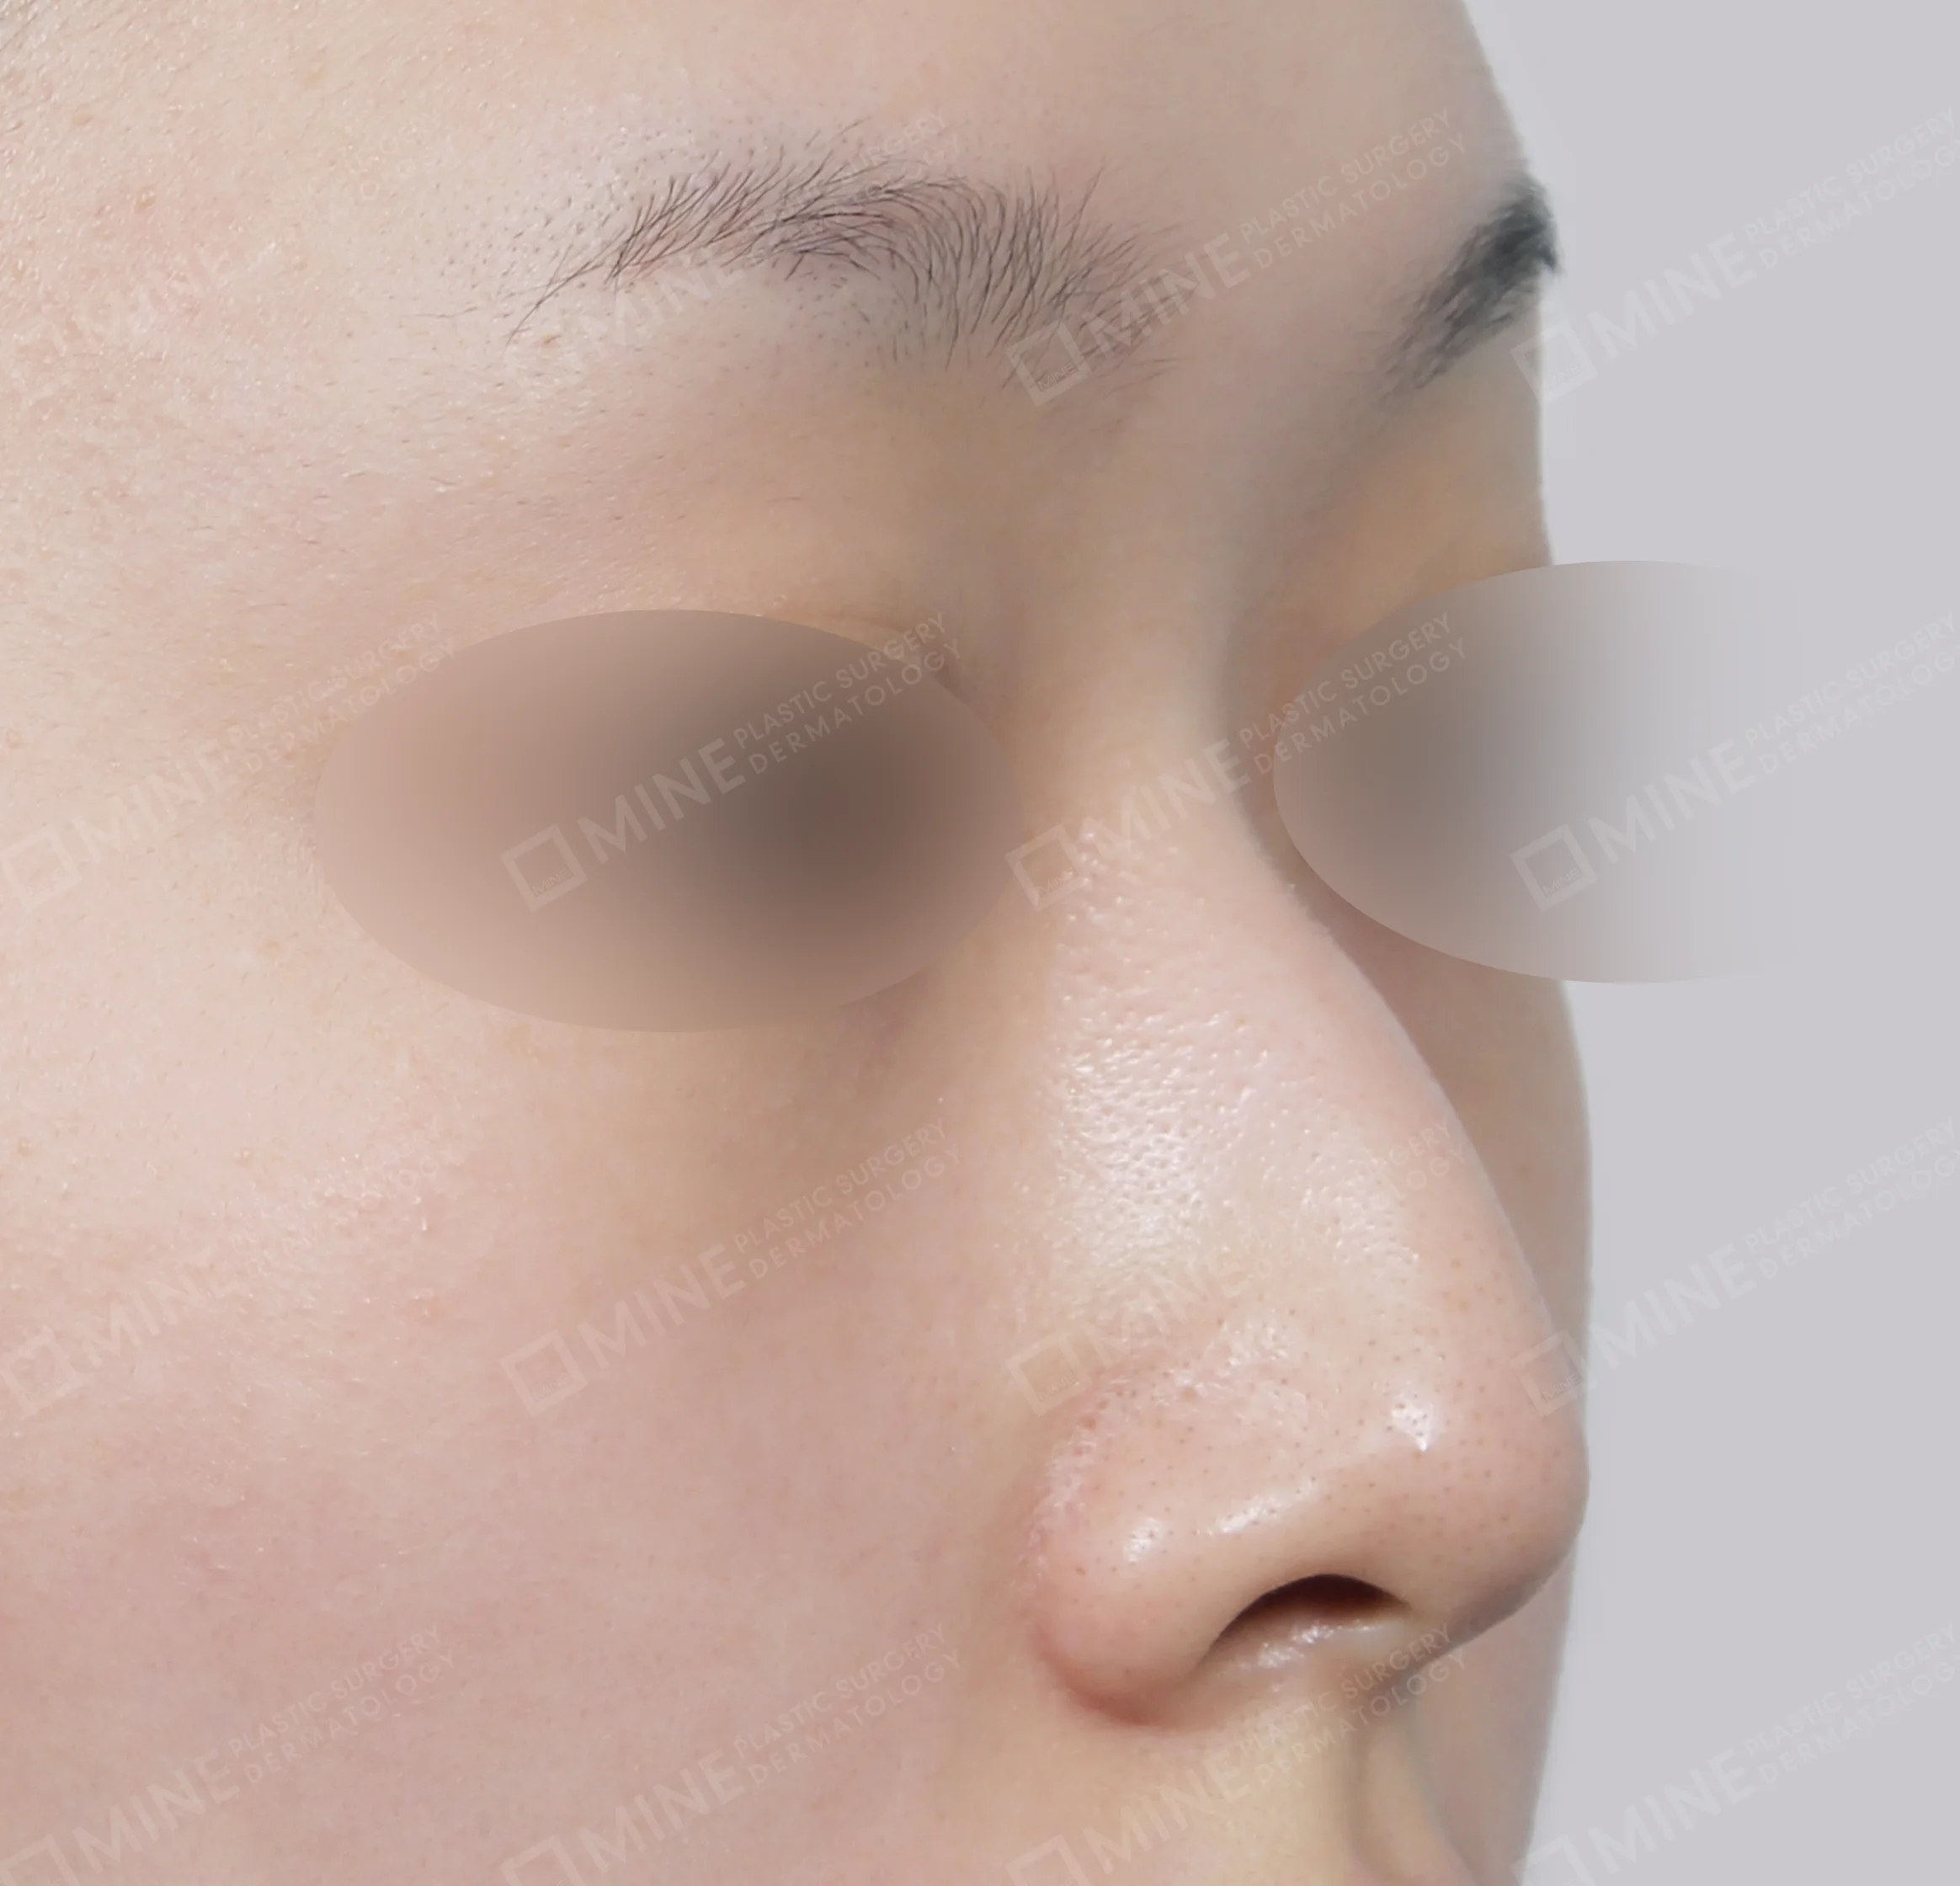
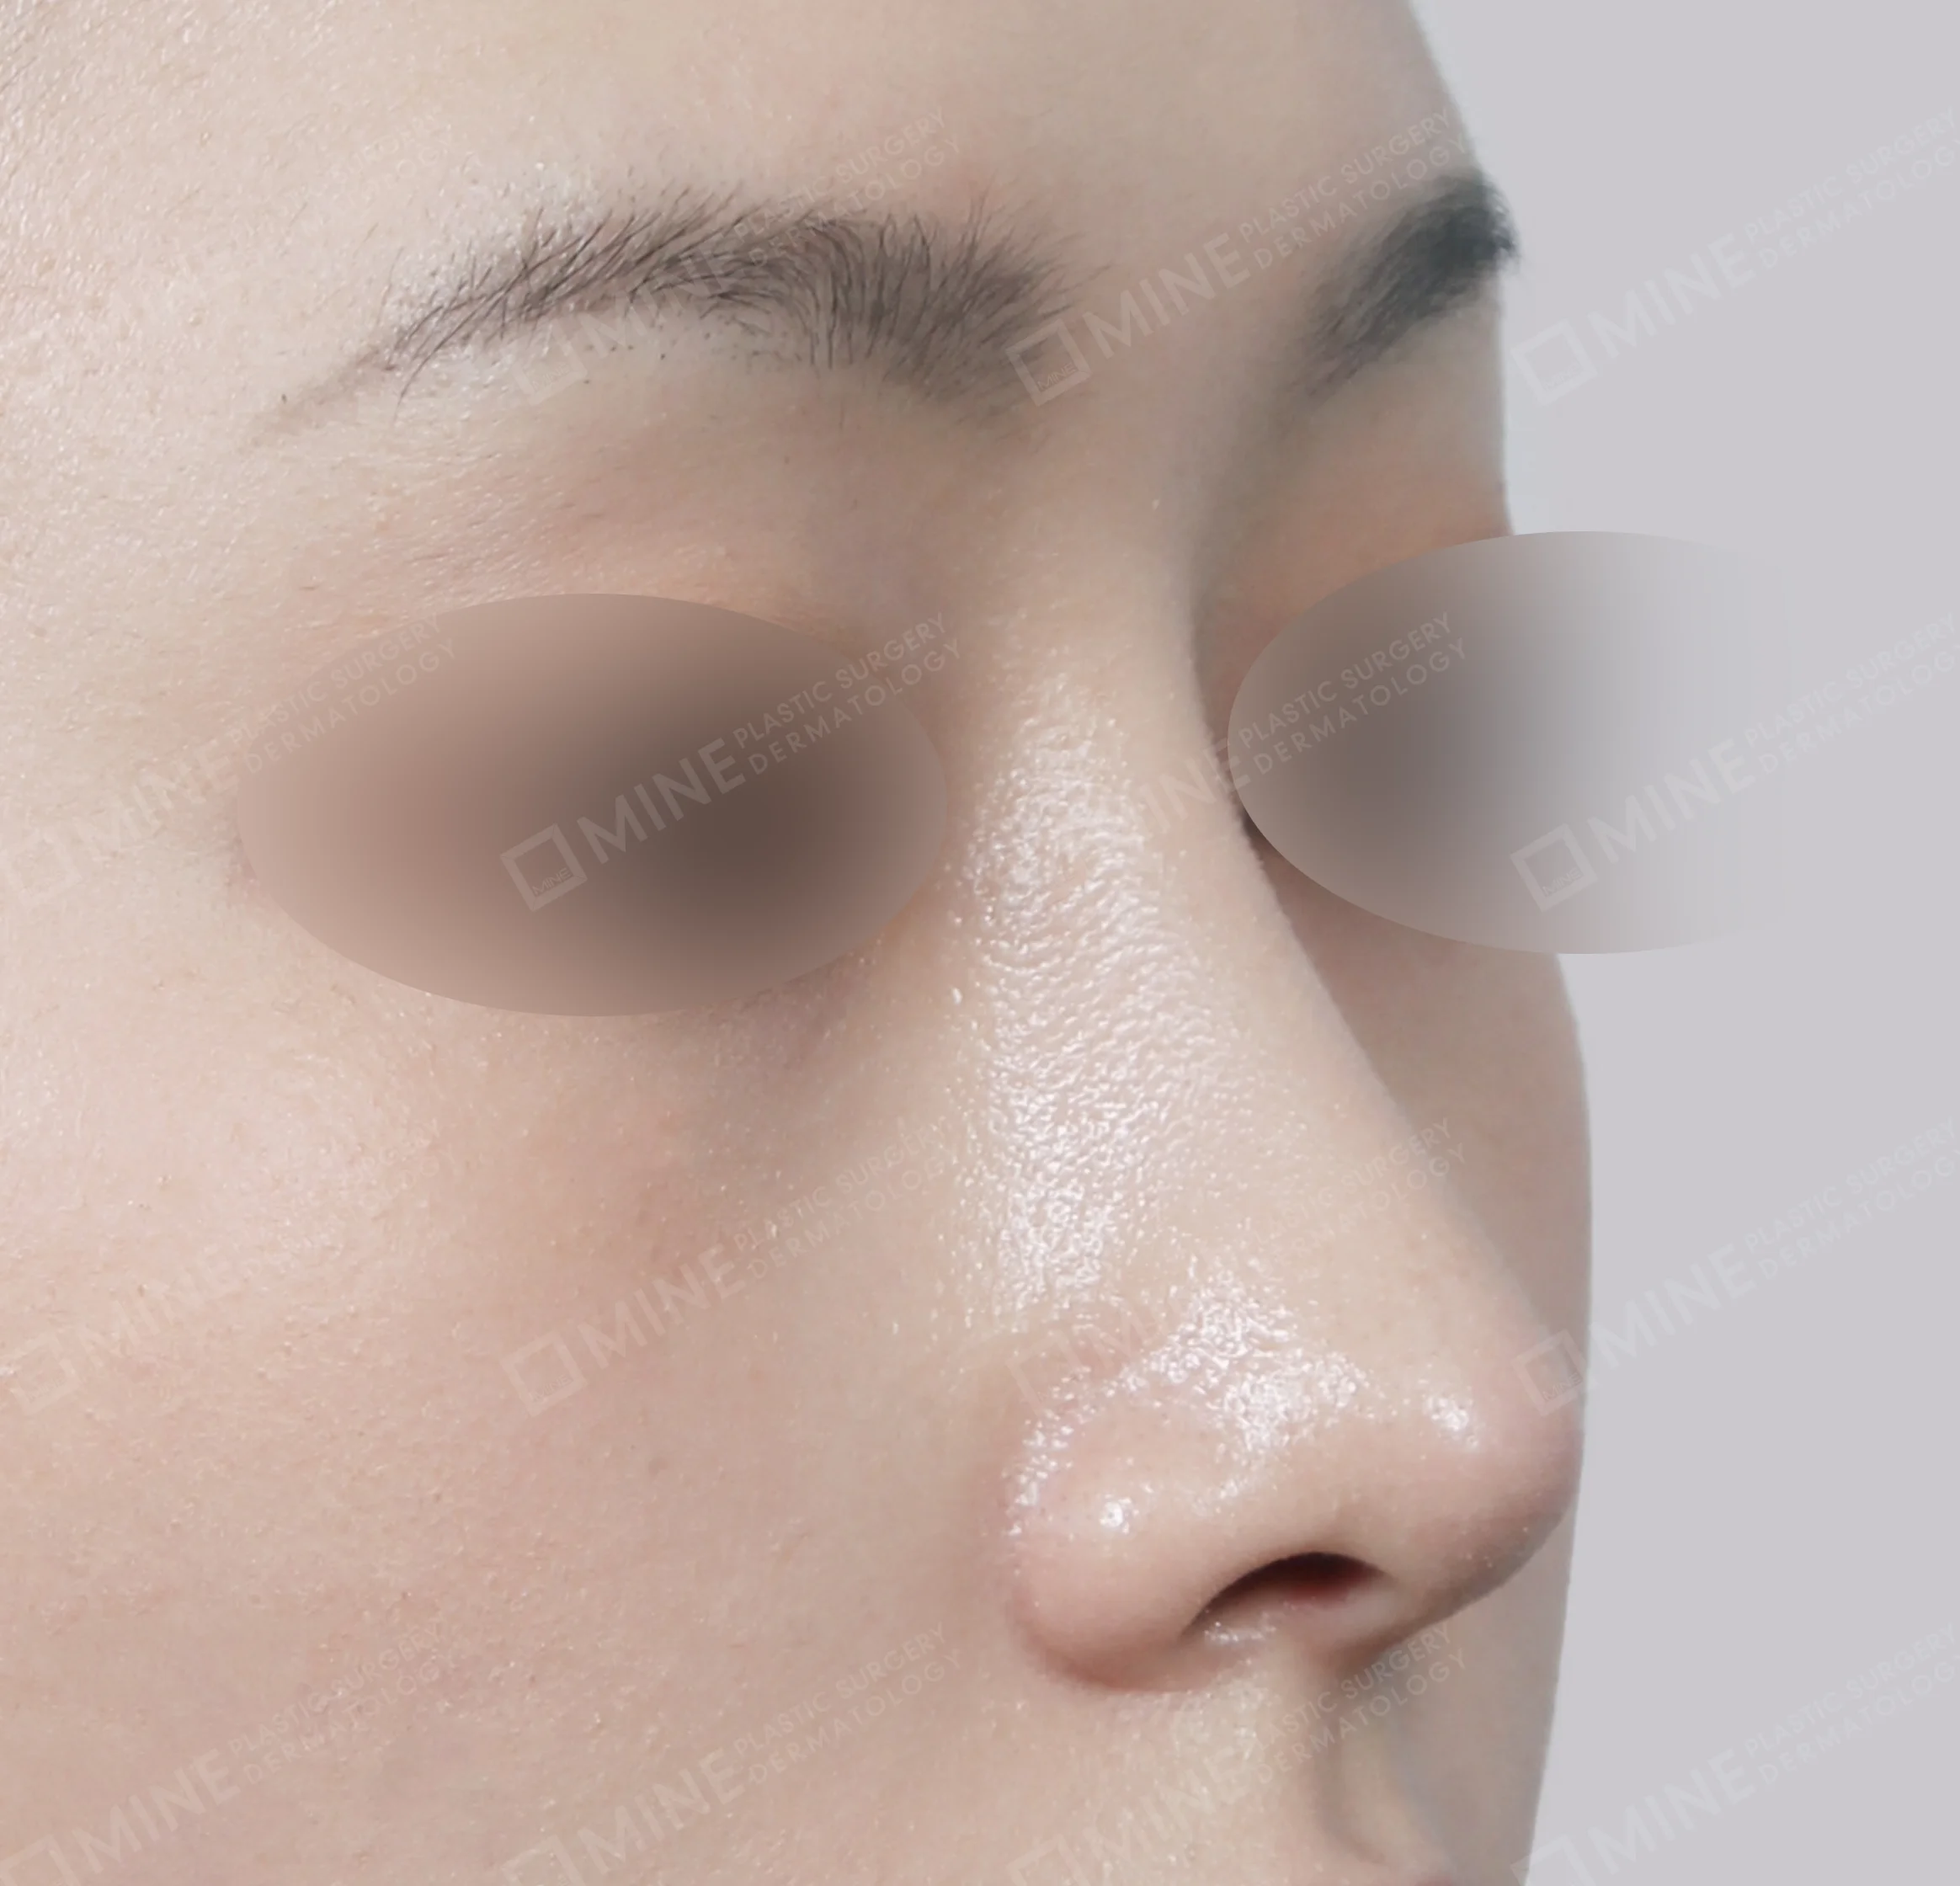
    • 45 Degree
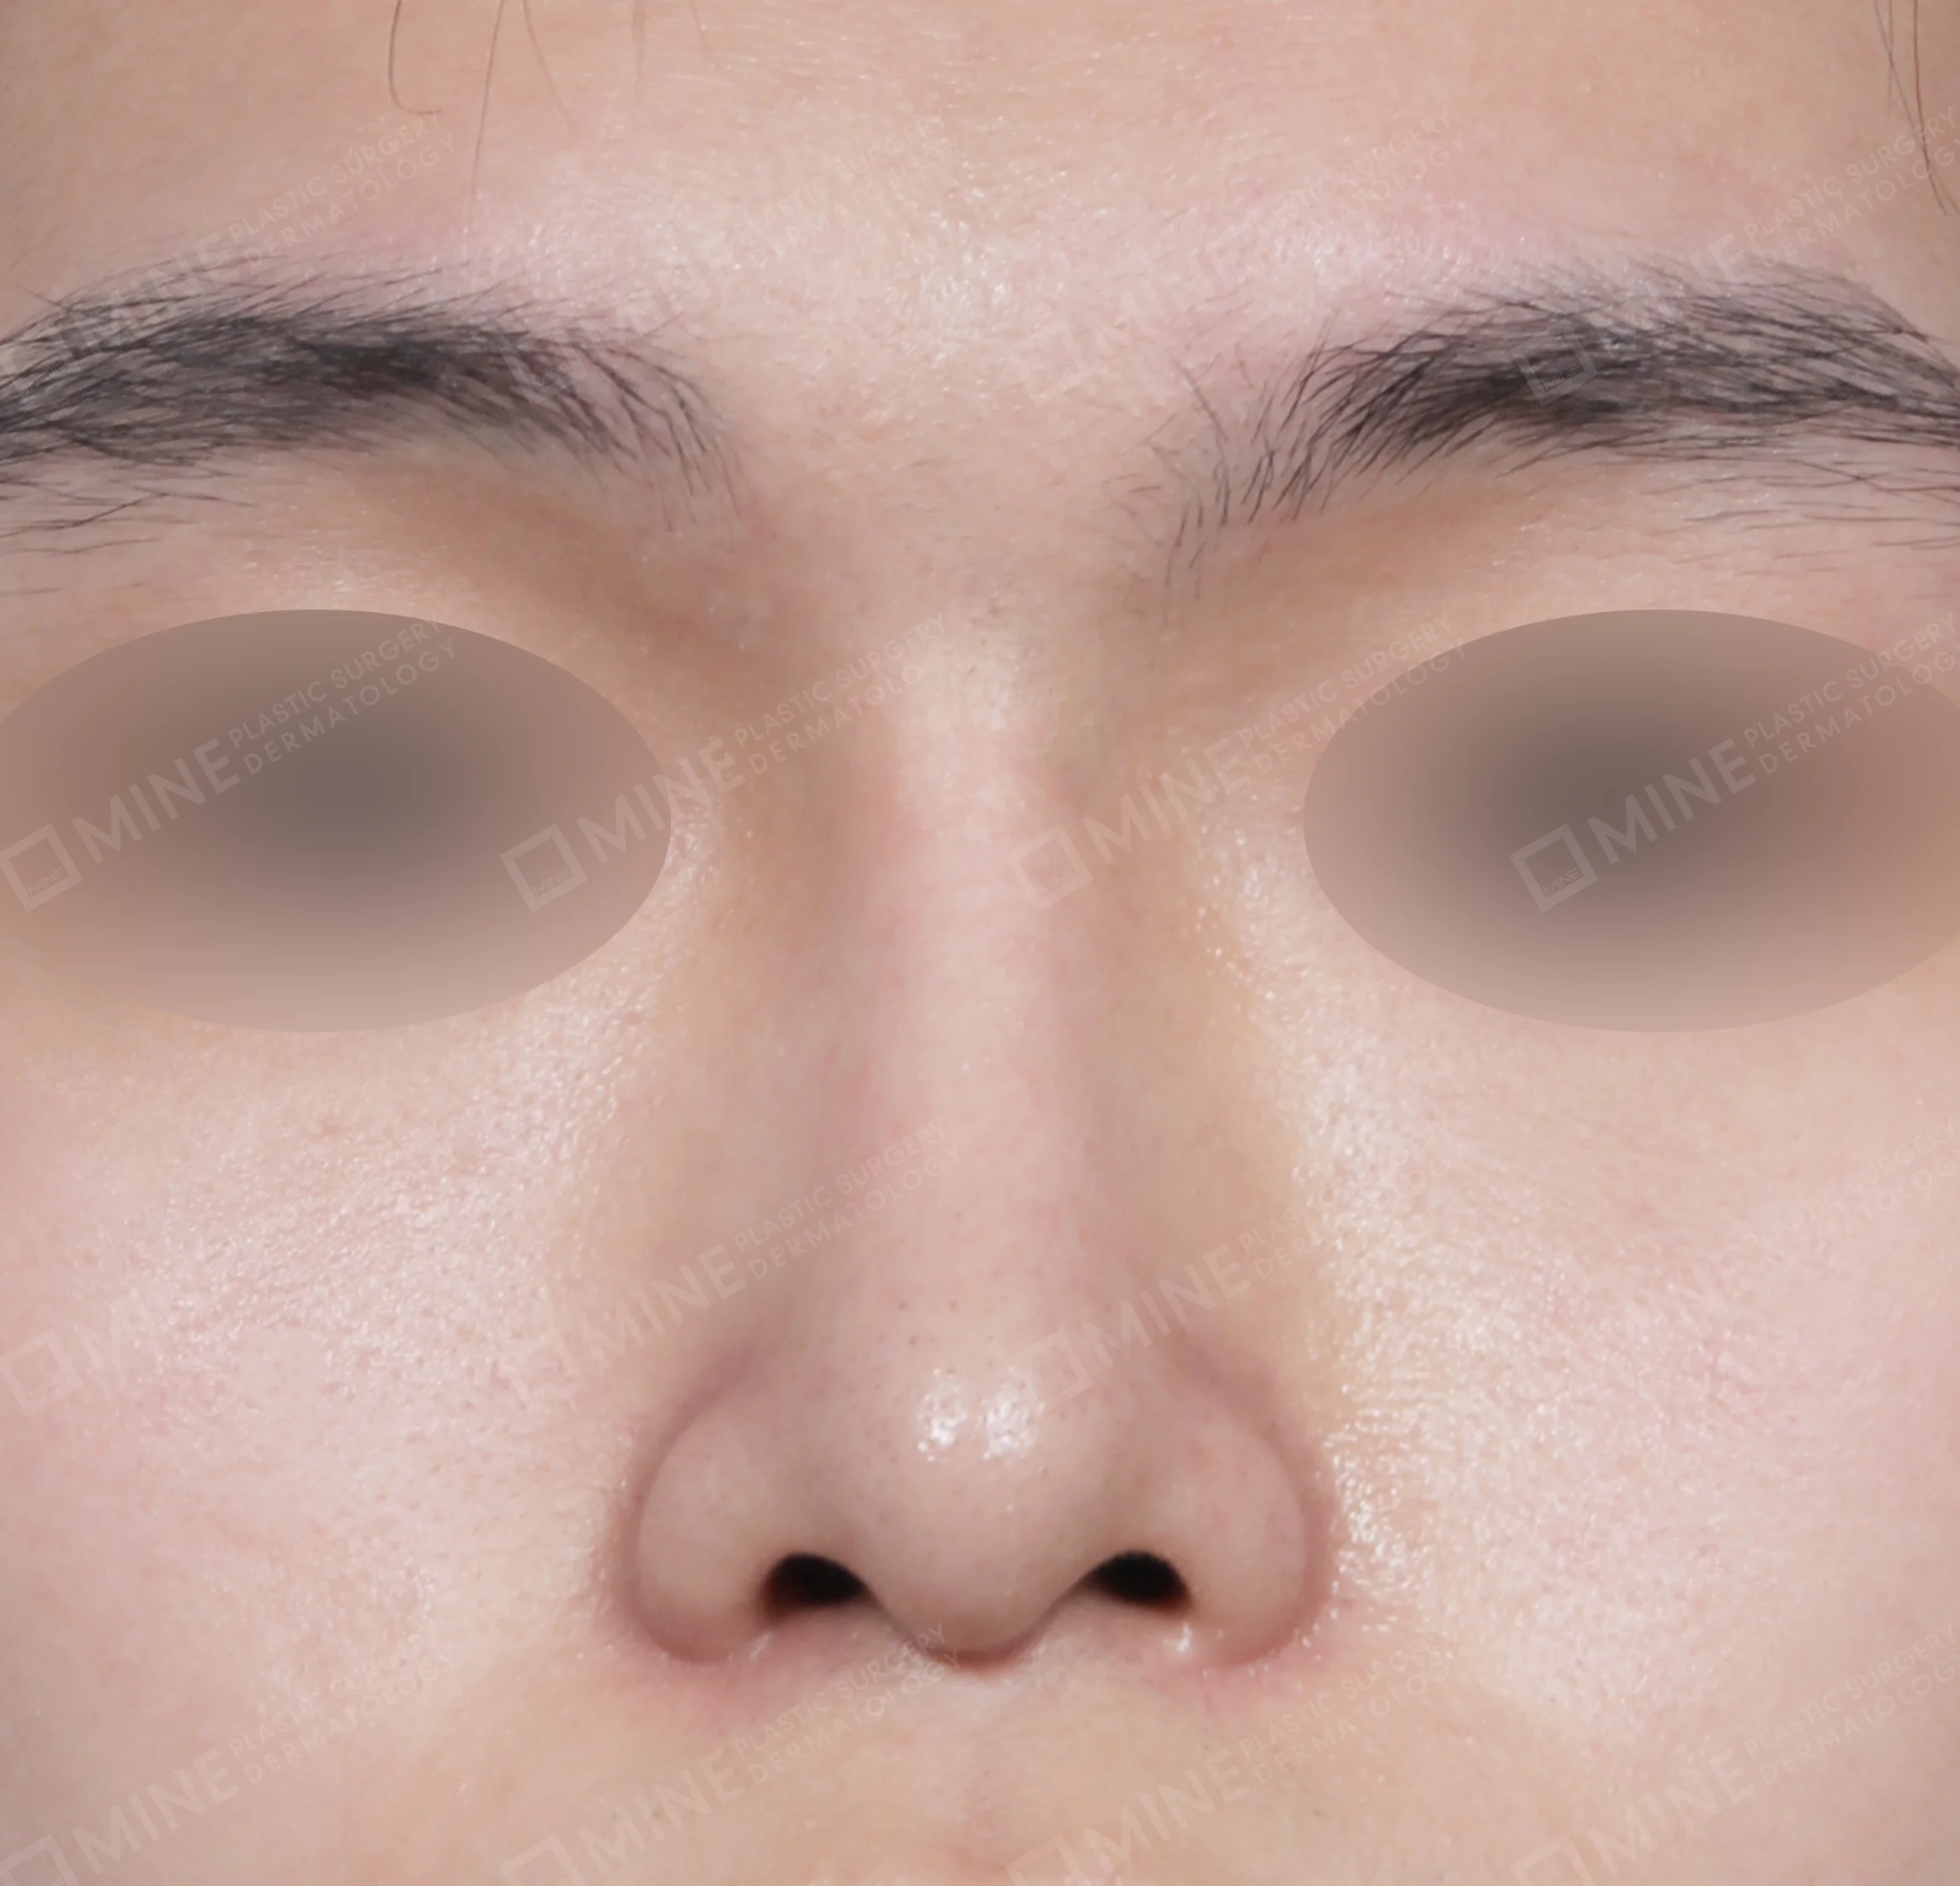
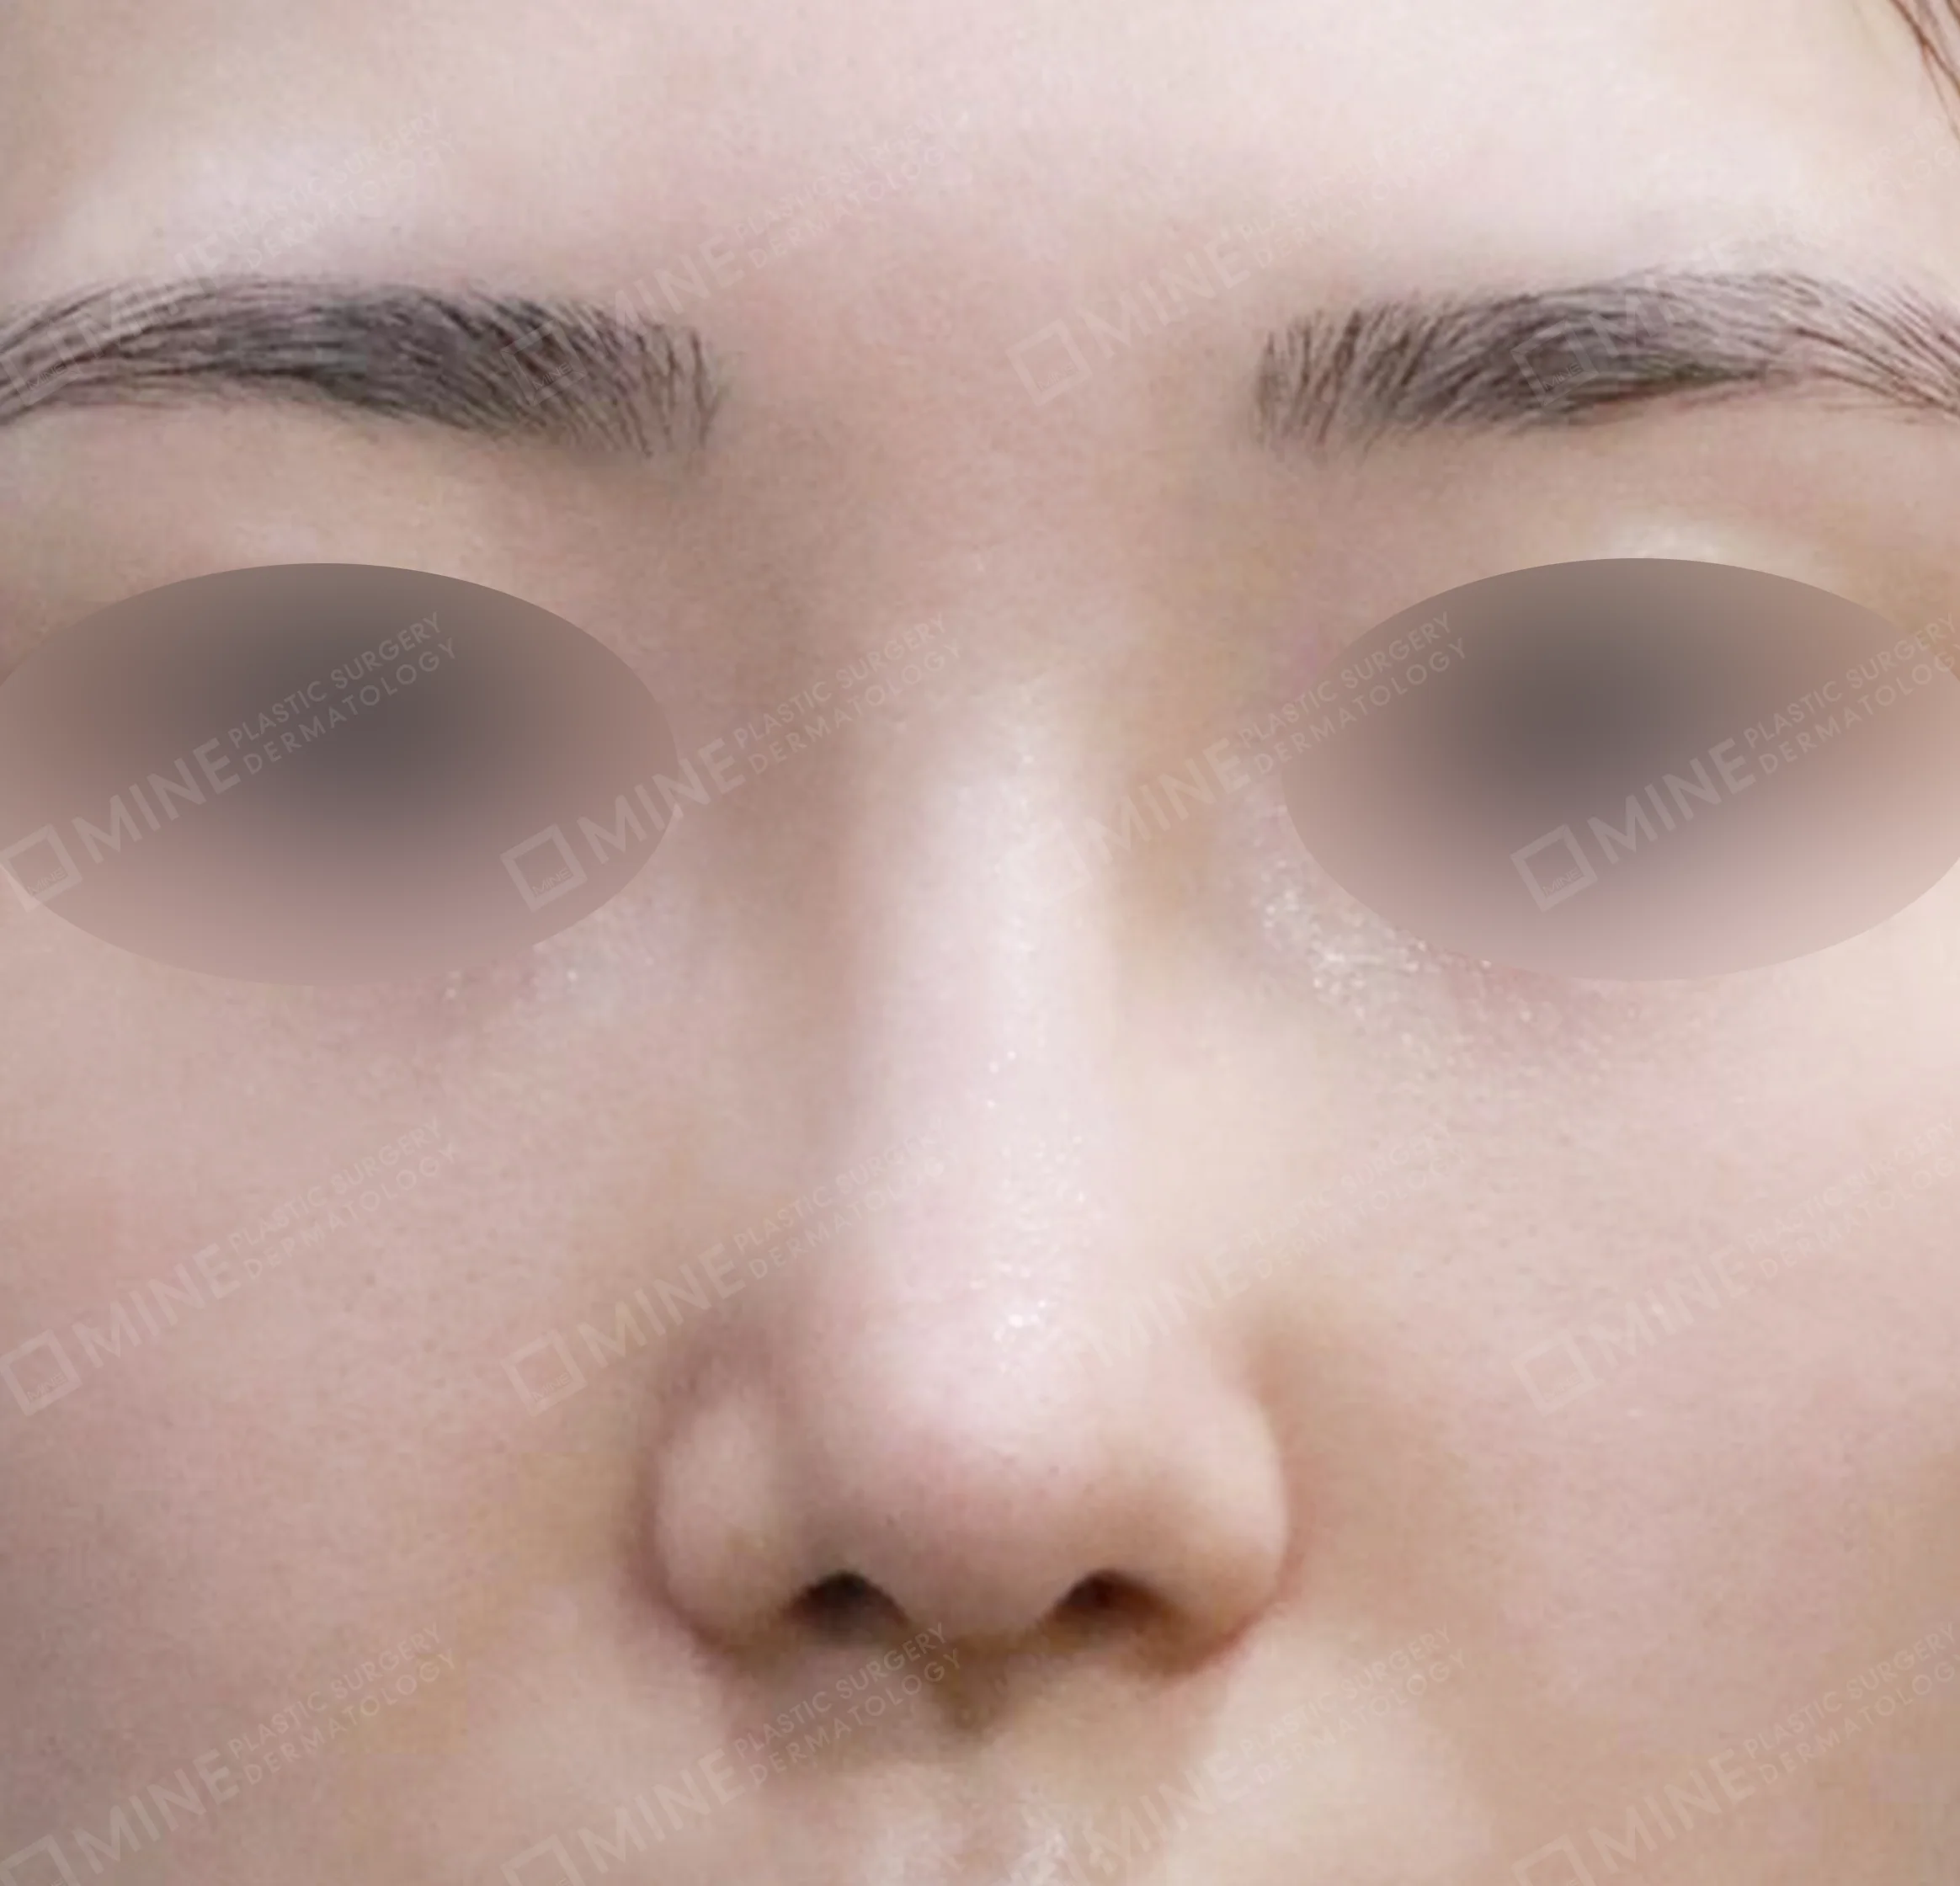
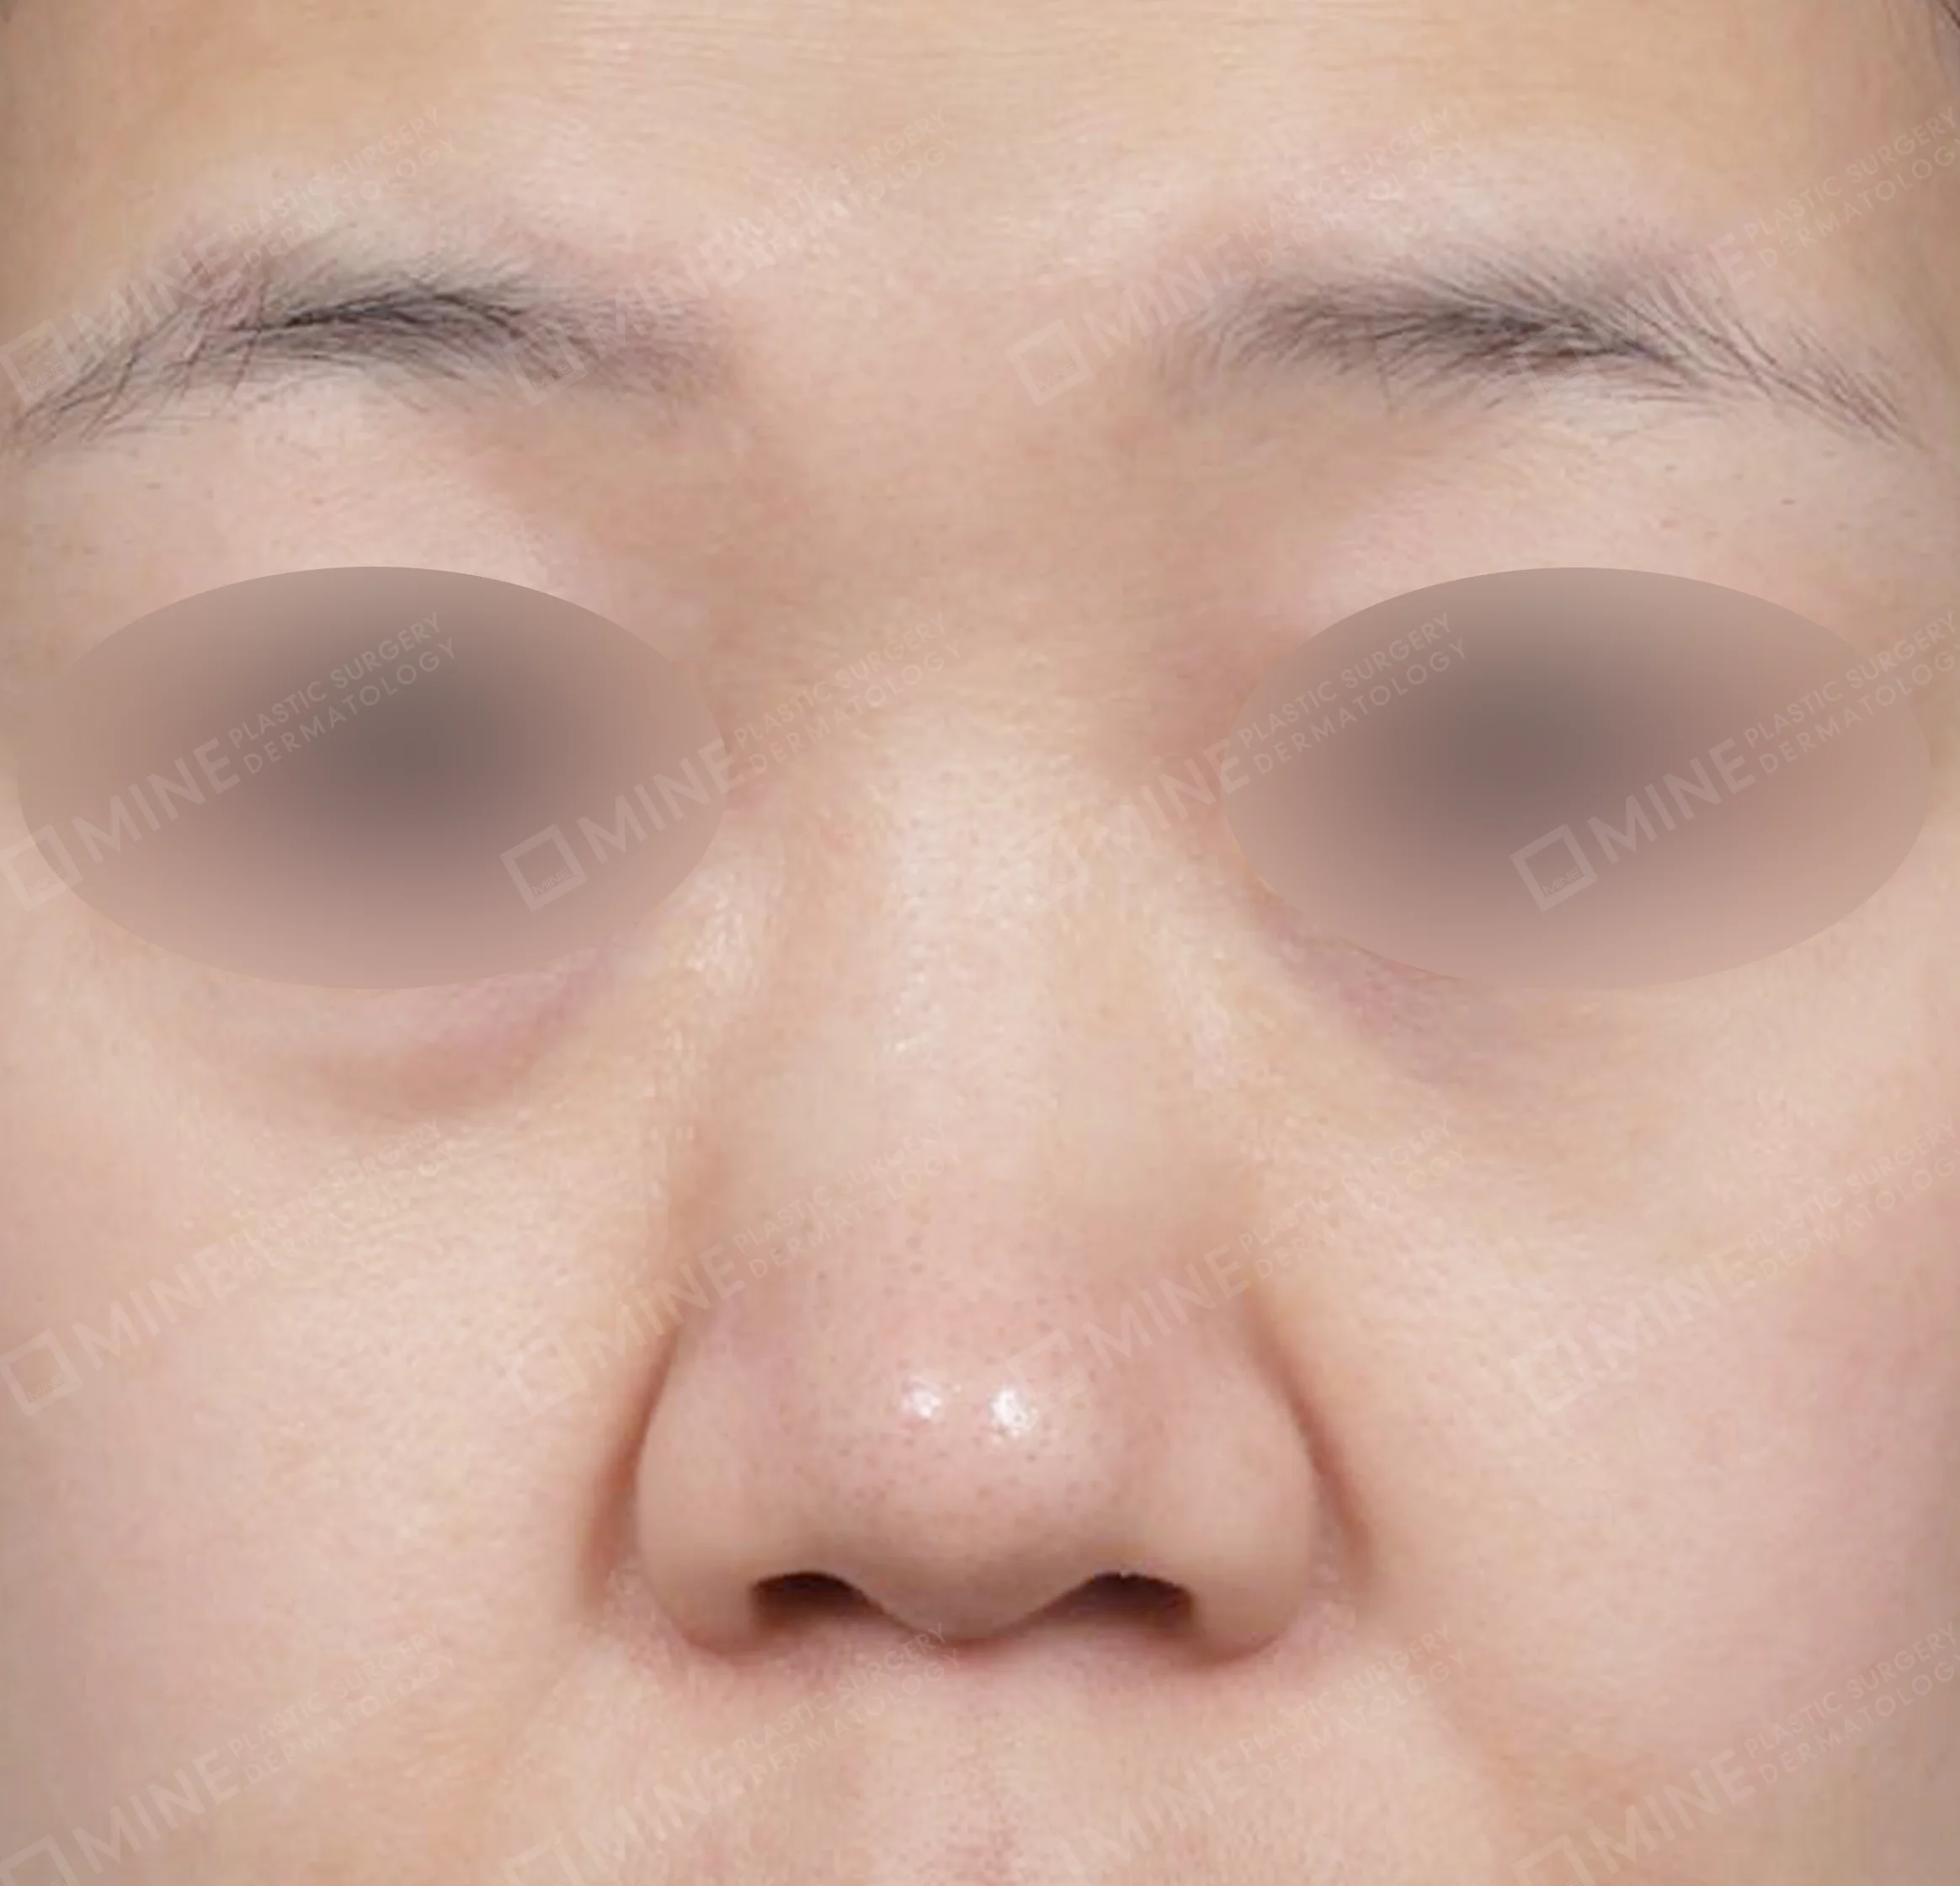
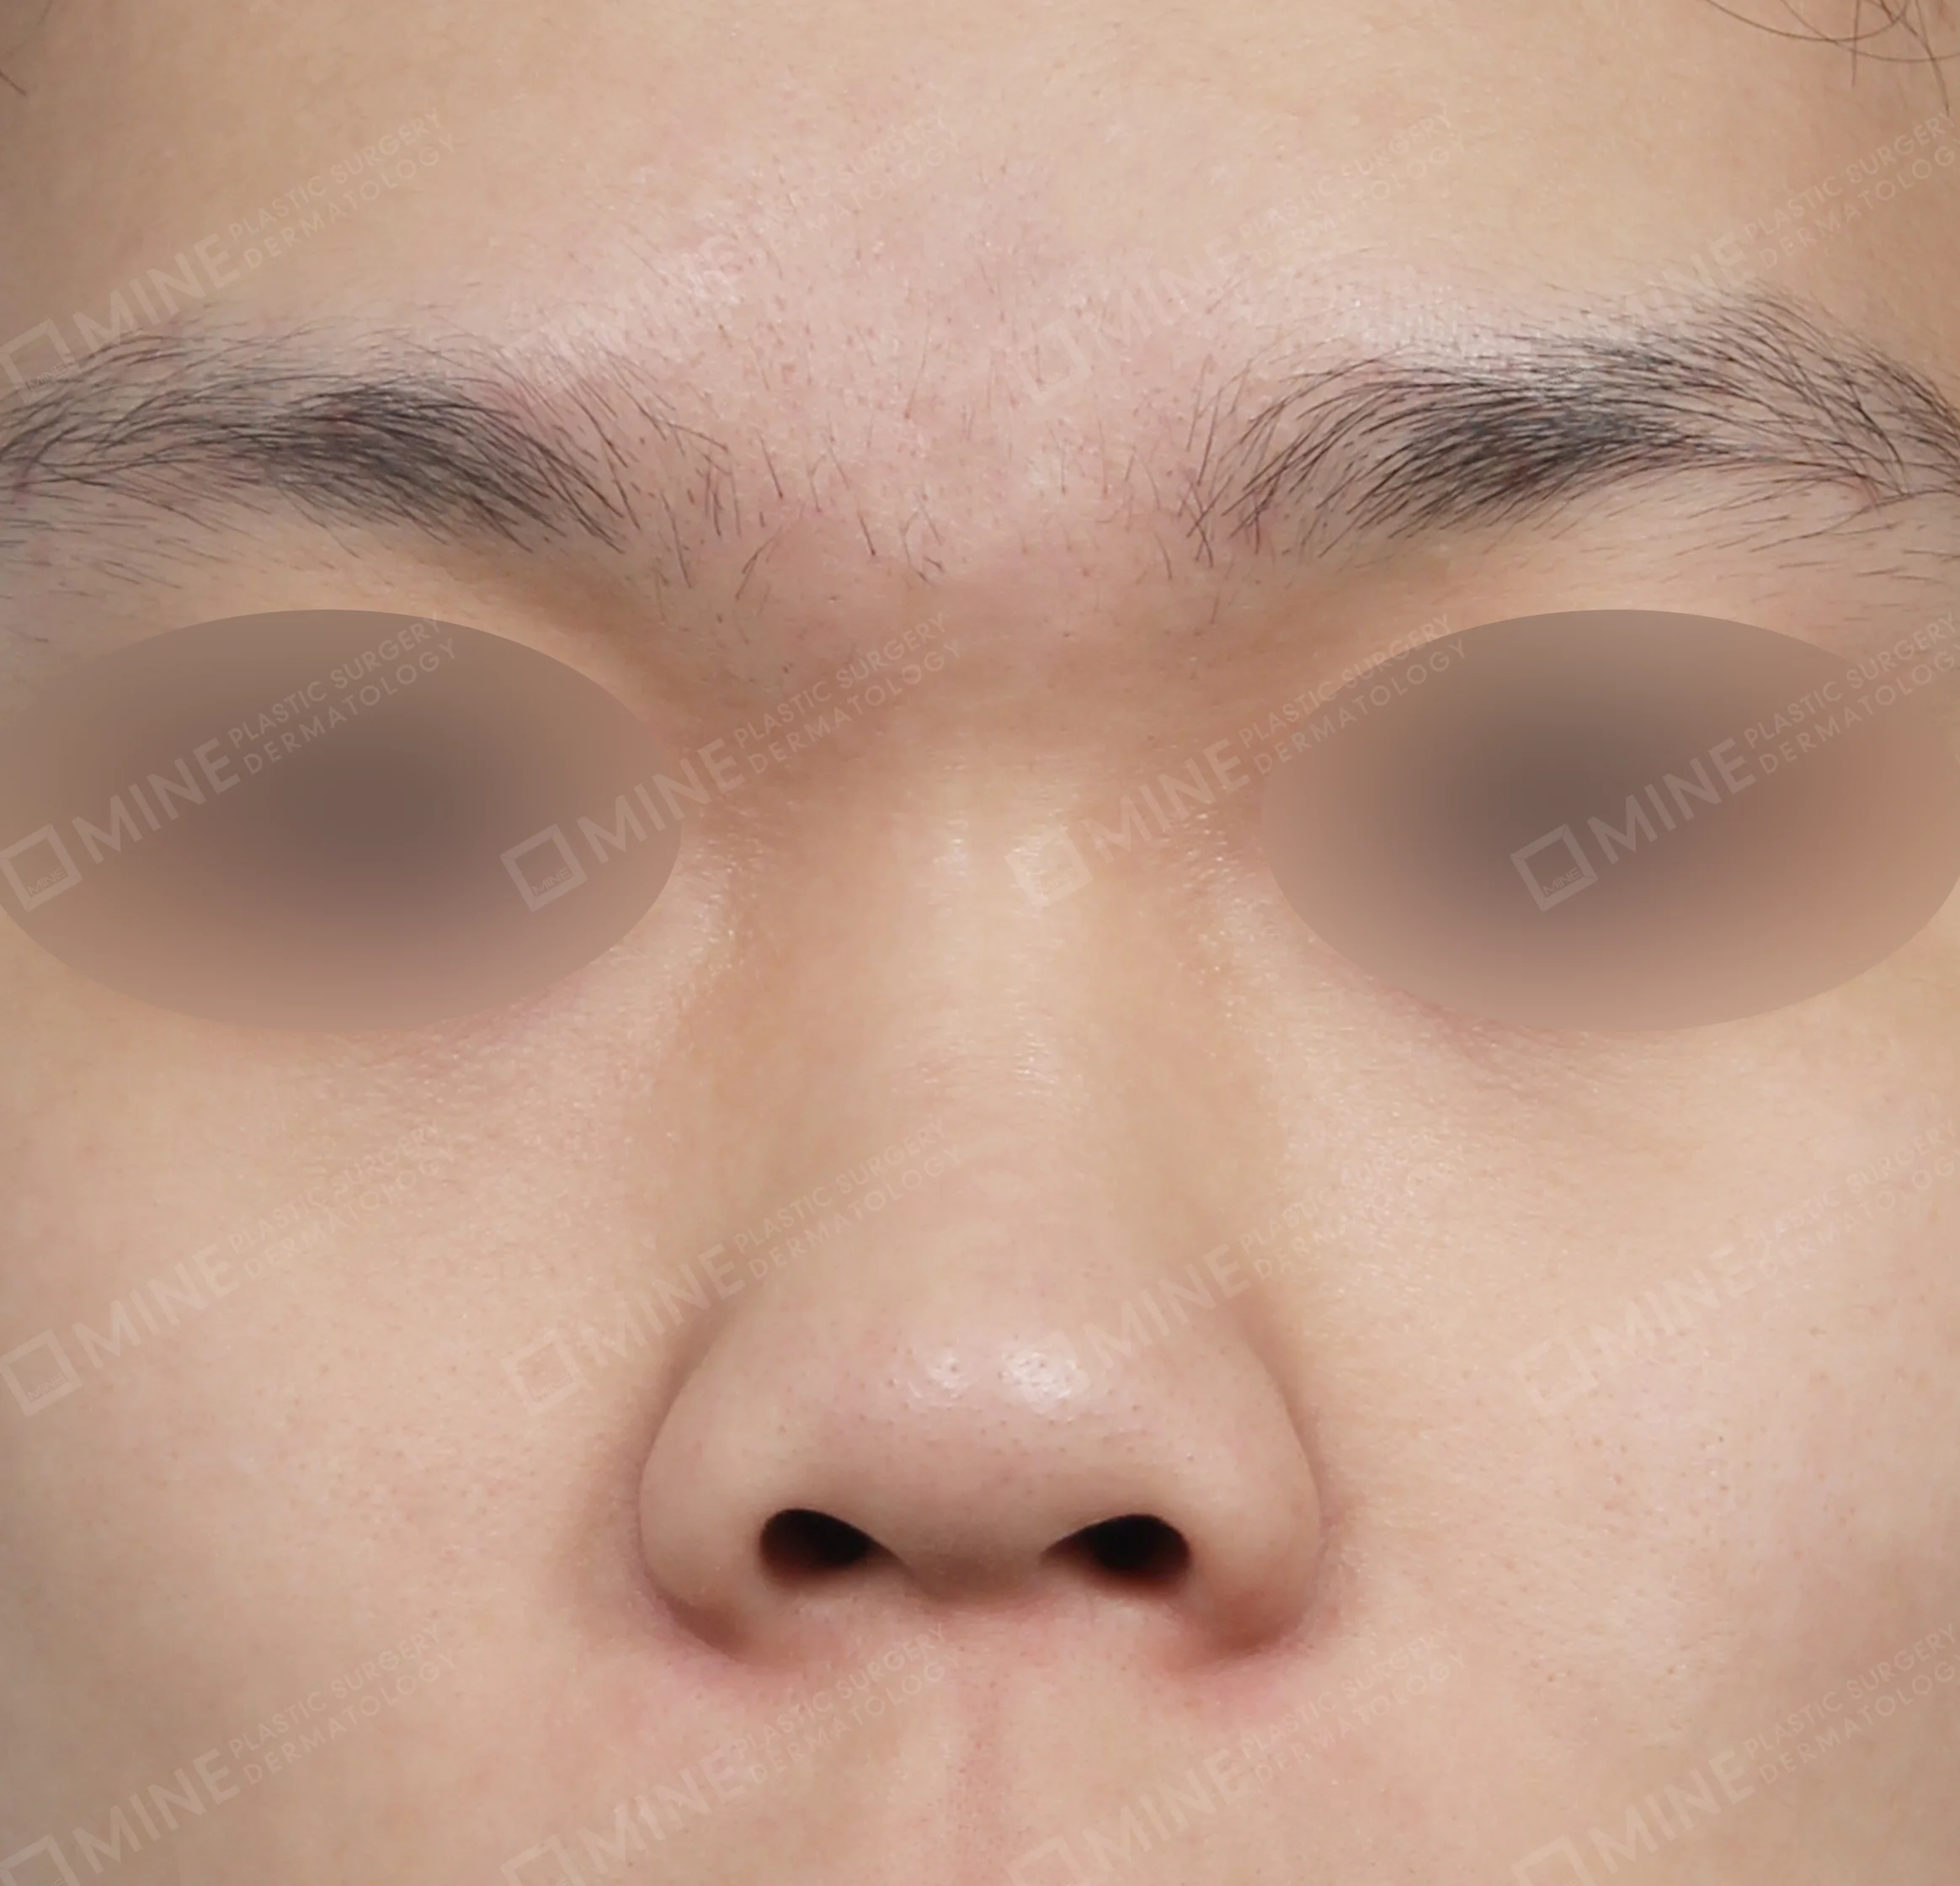
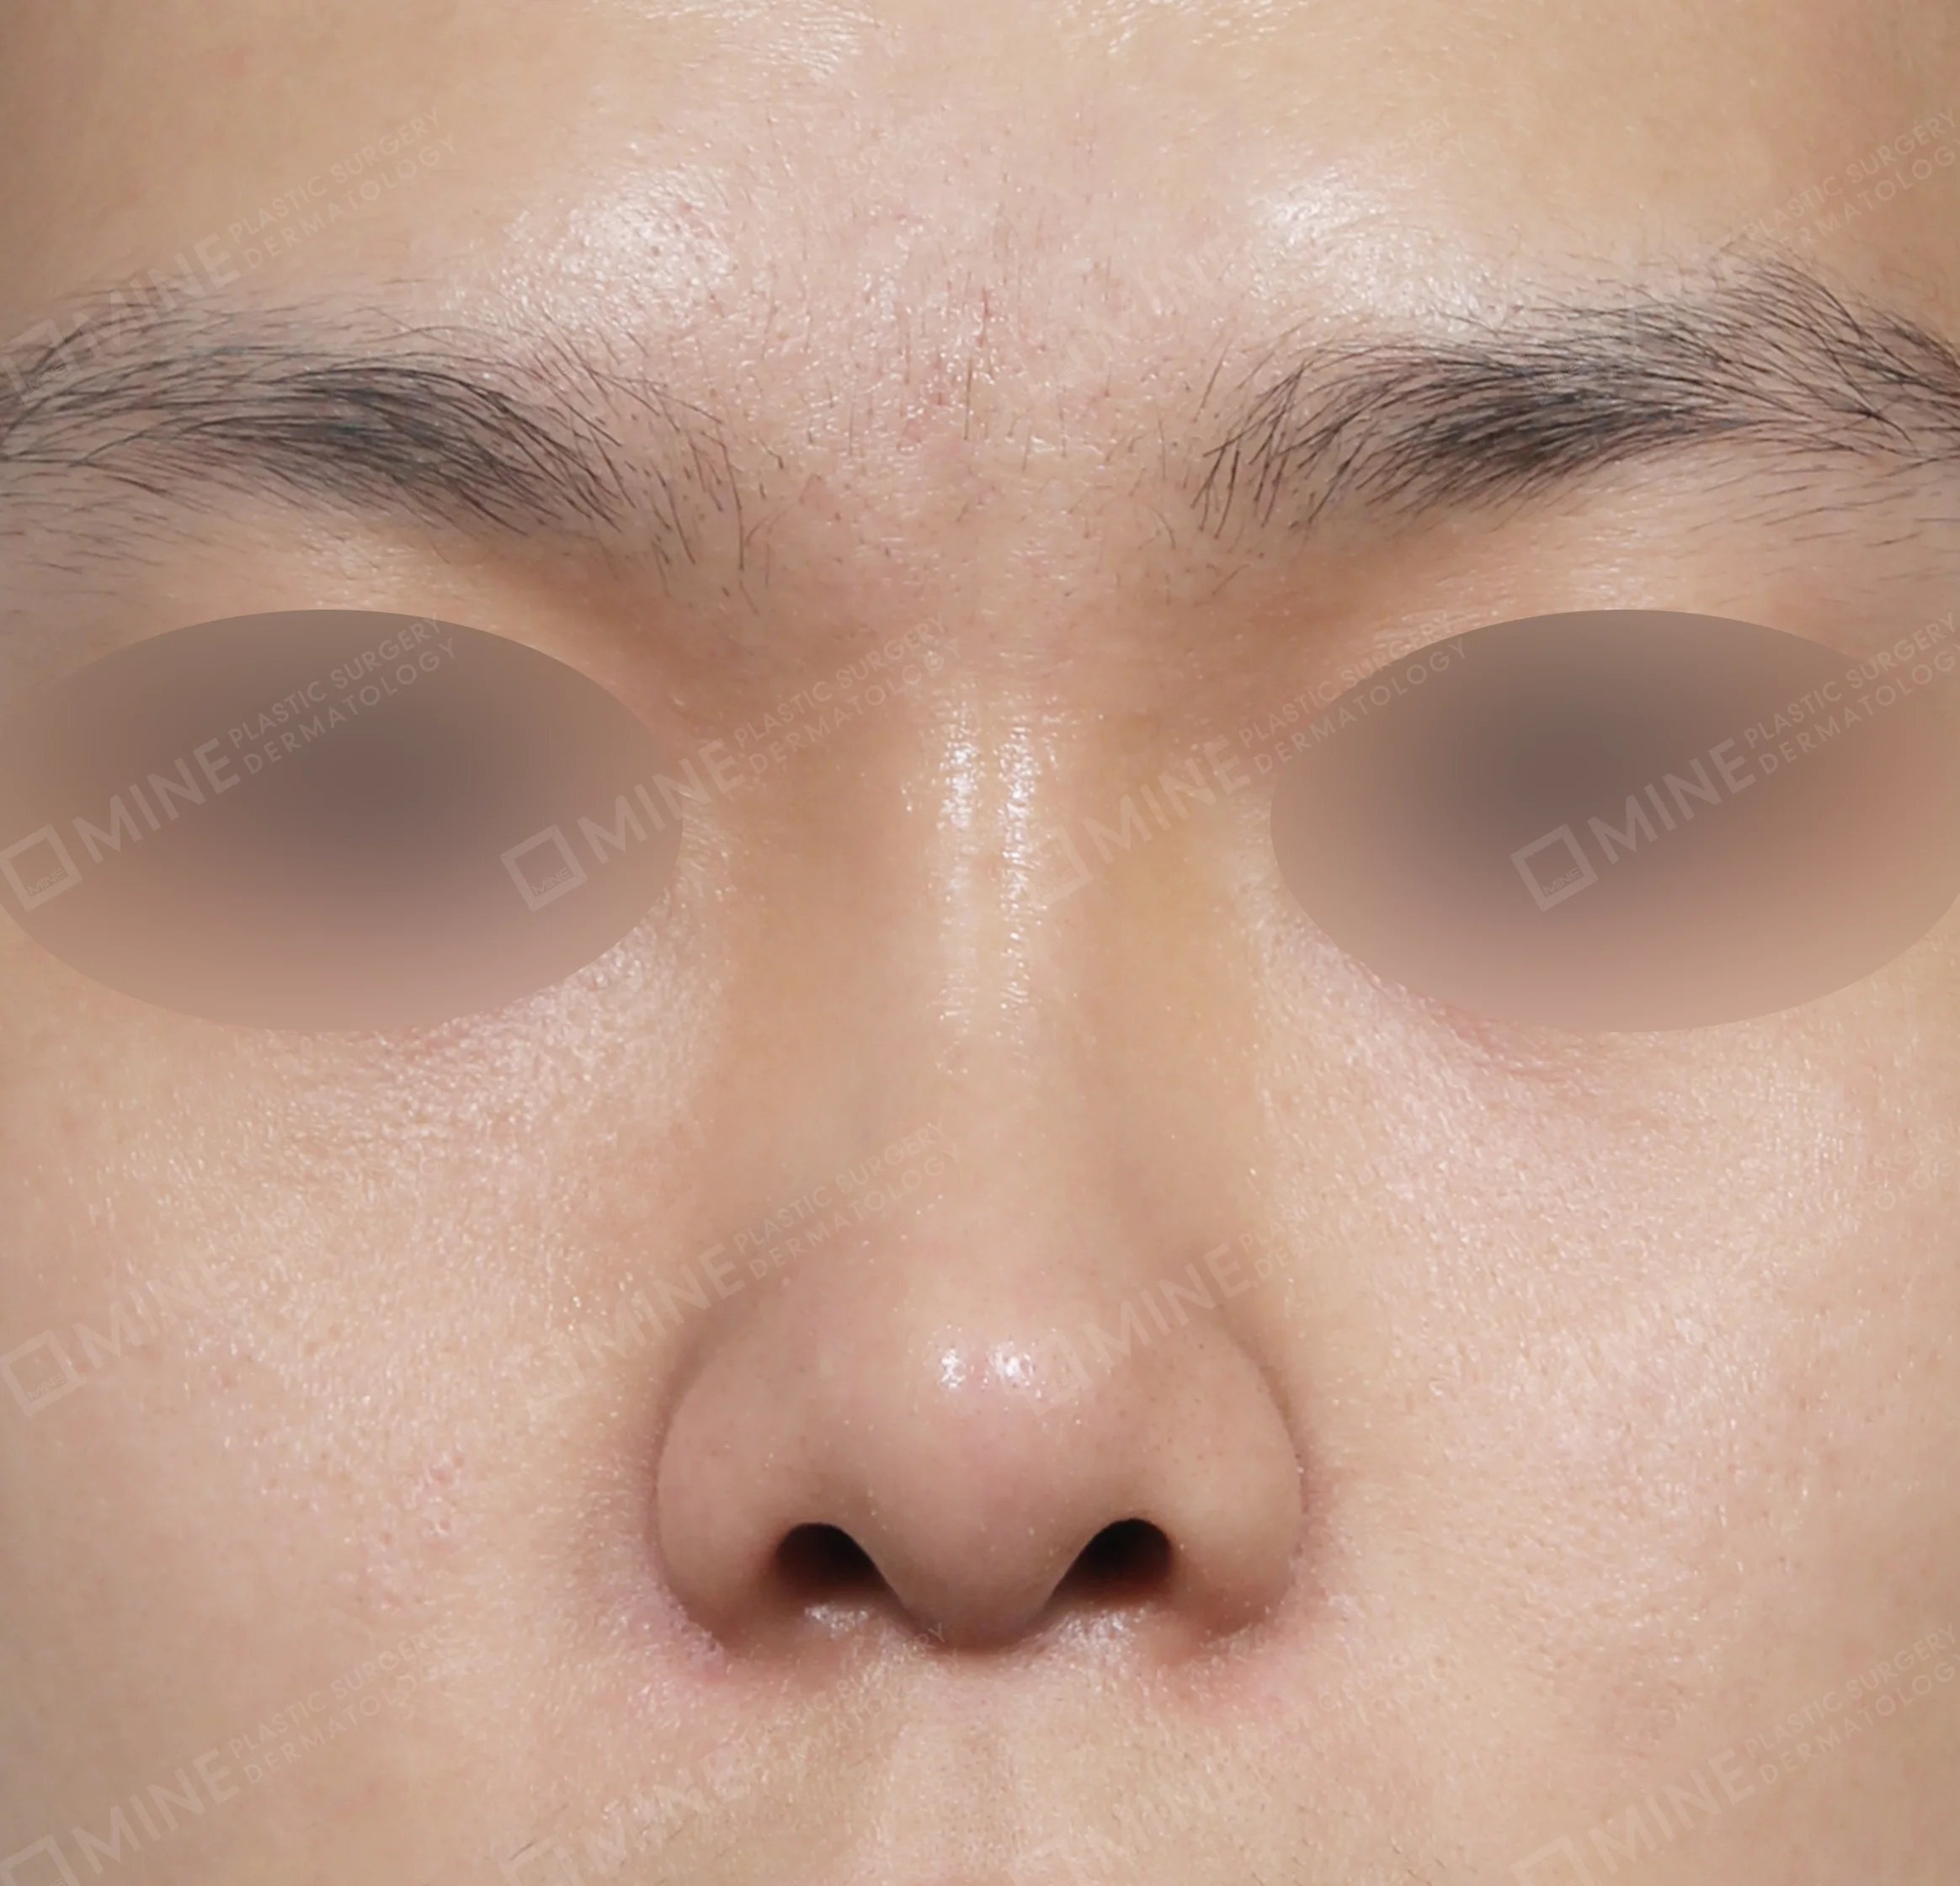
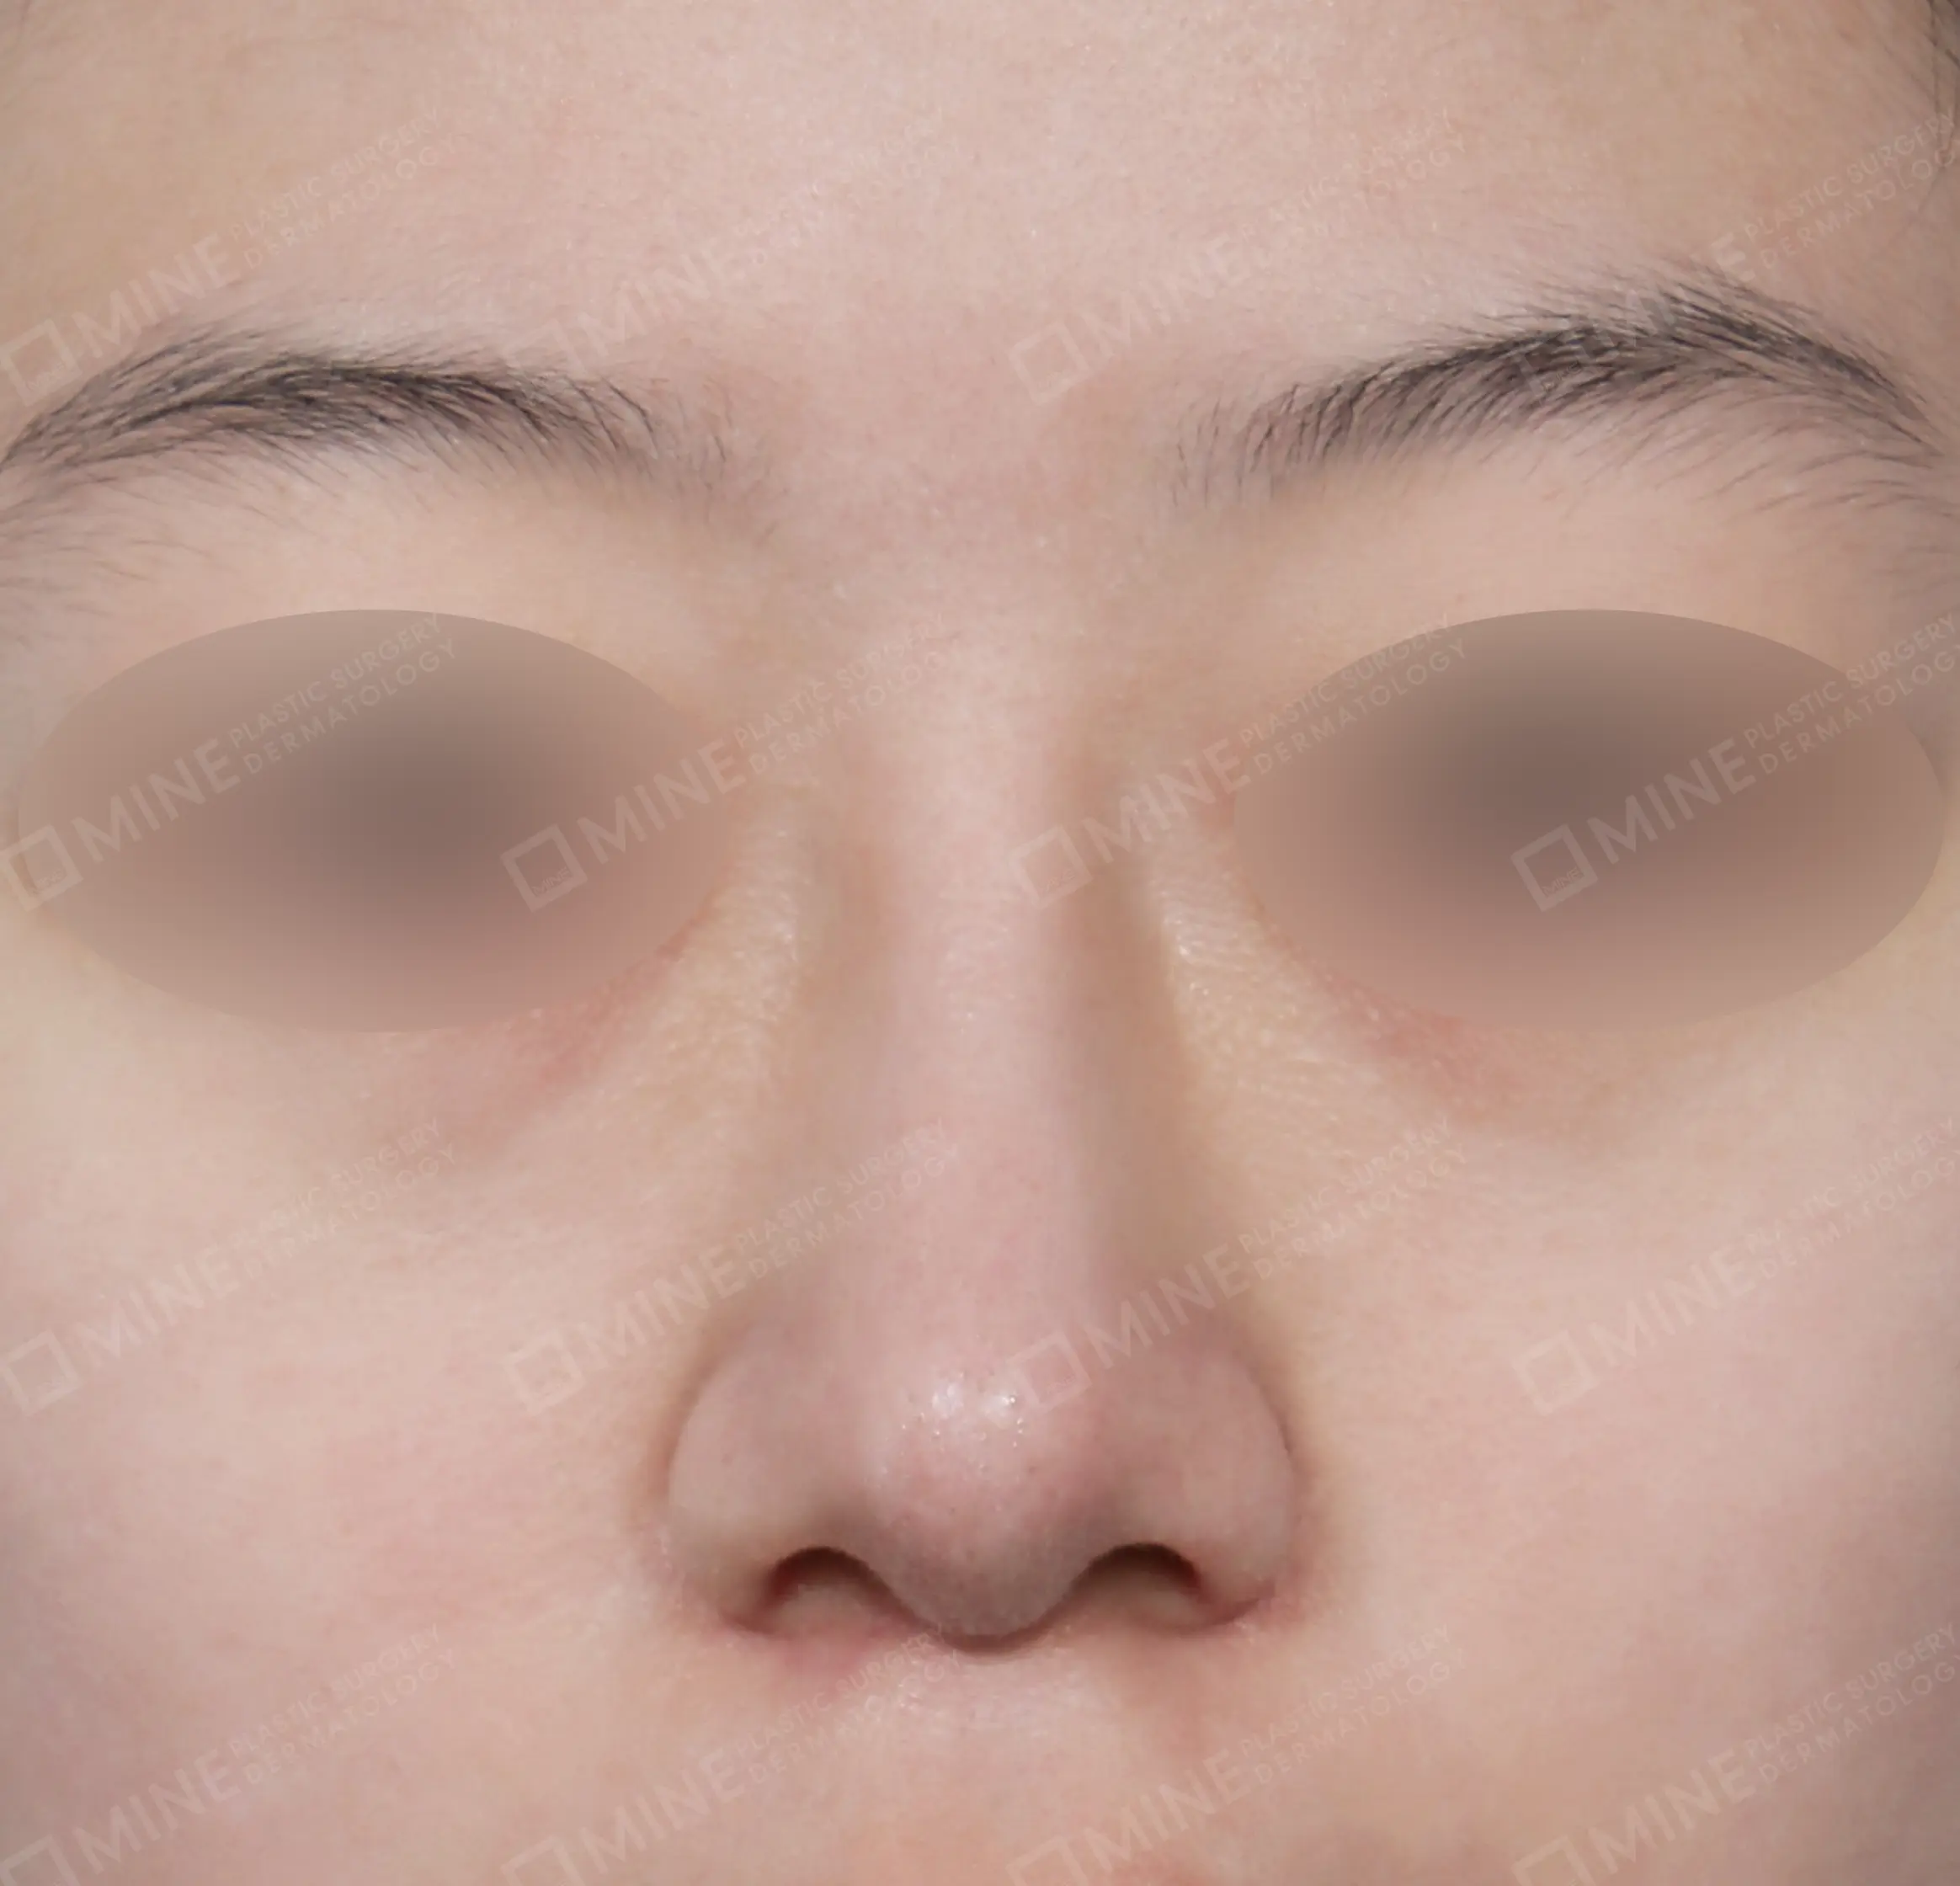
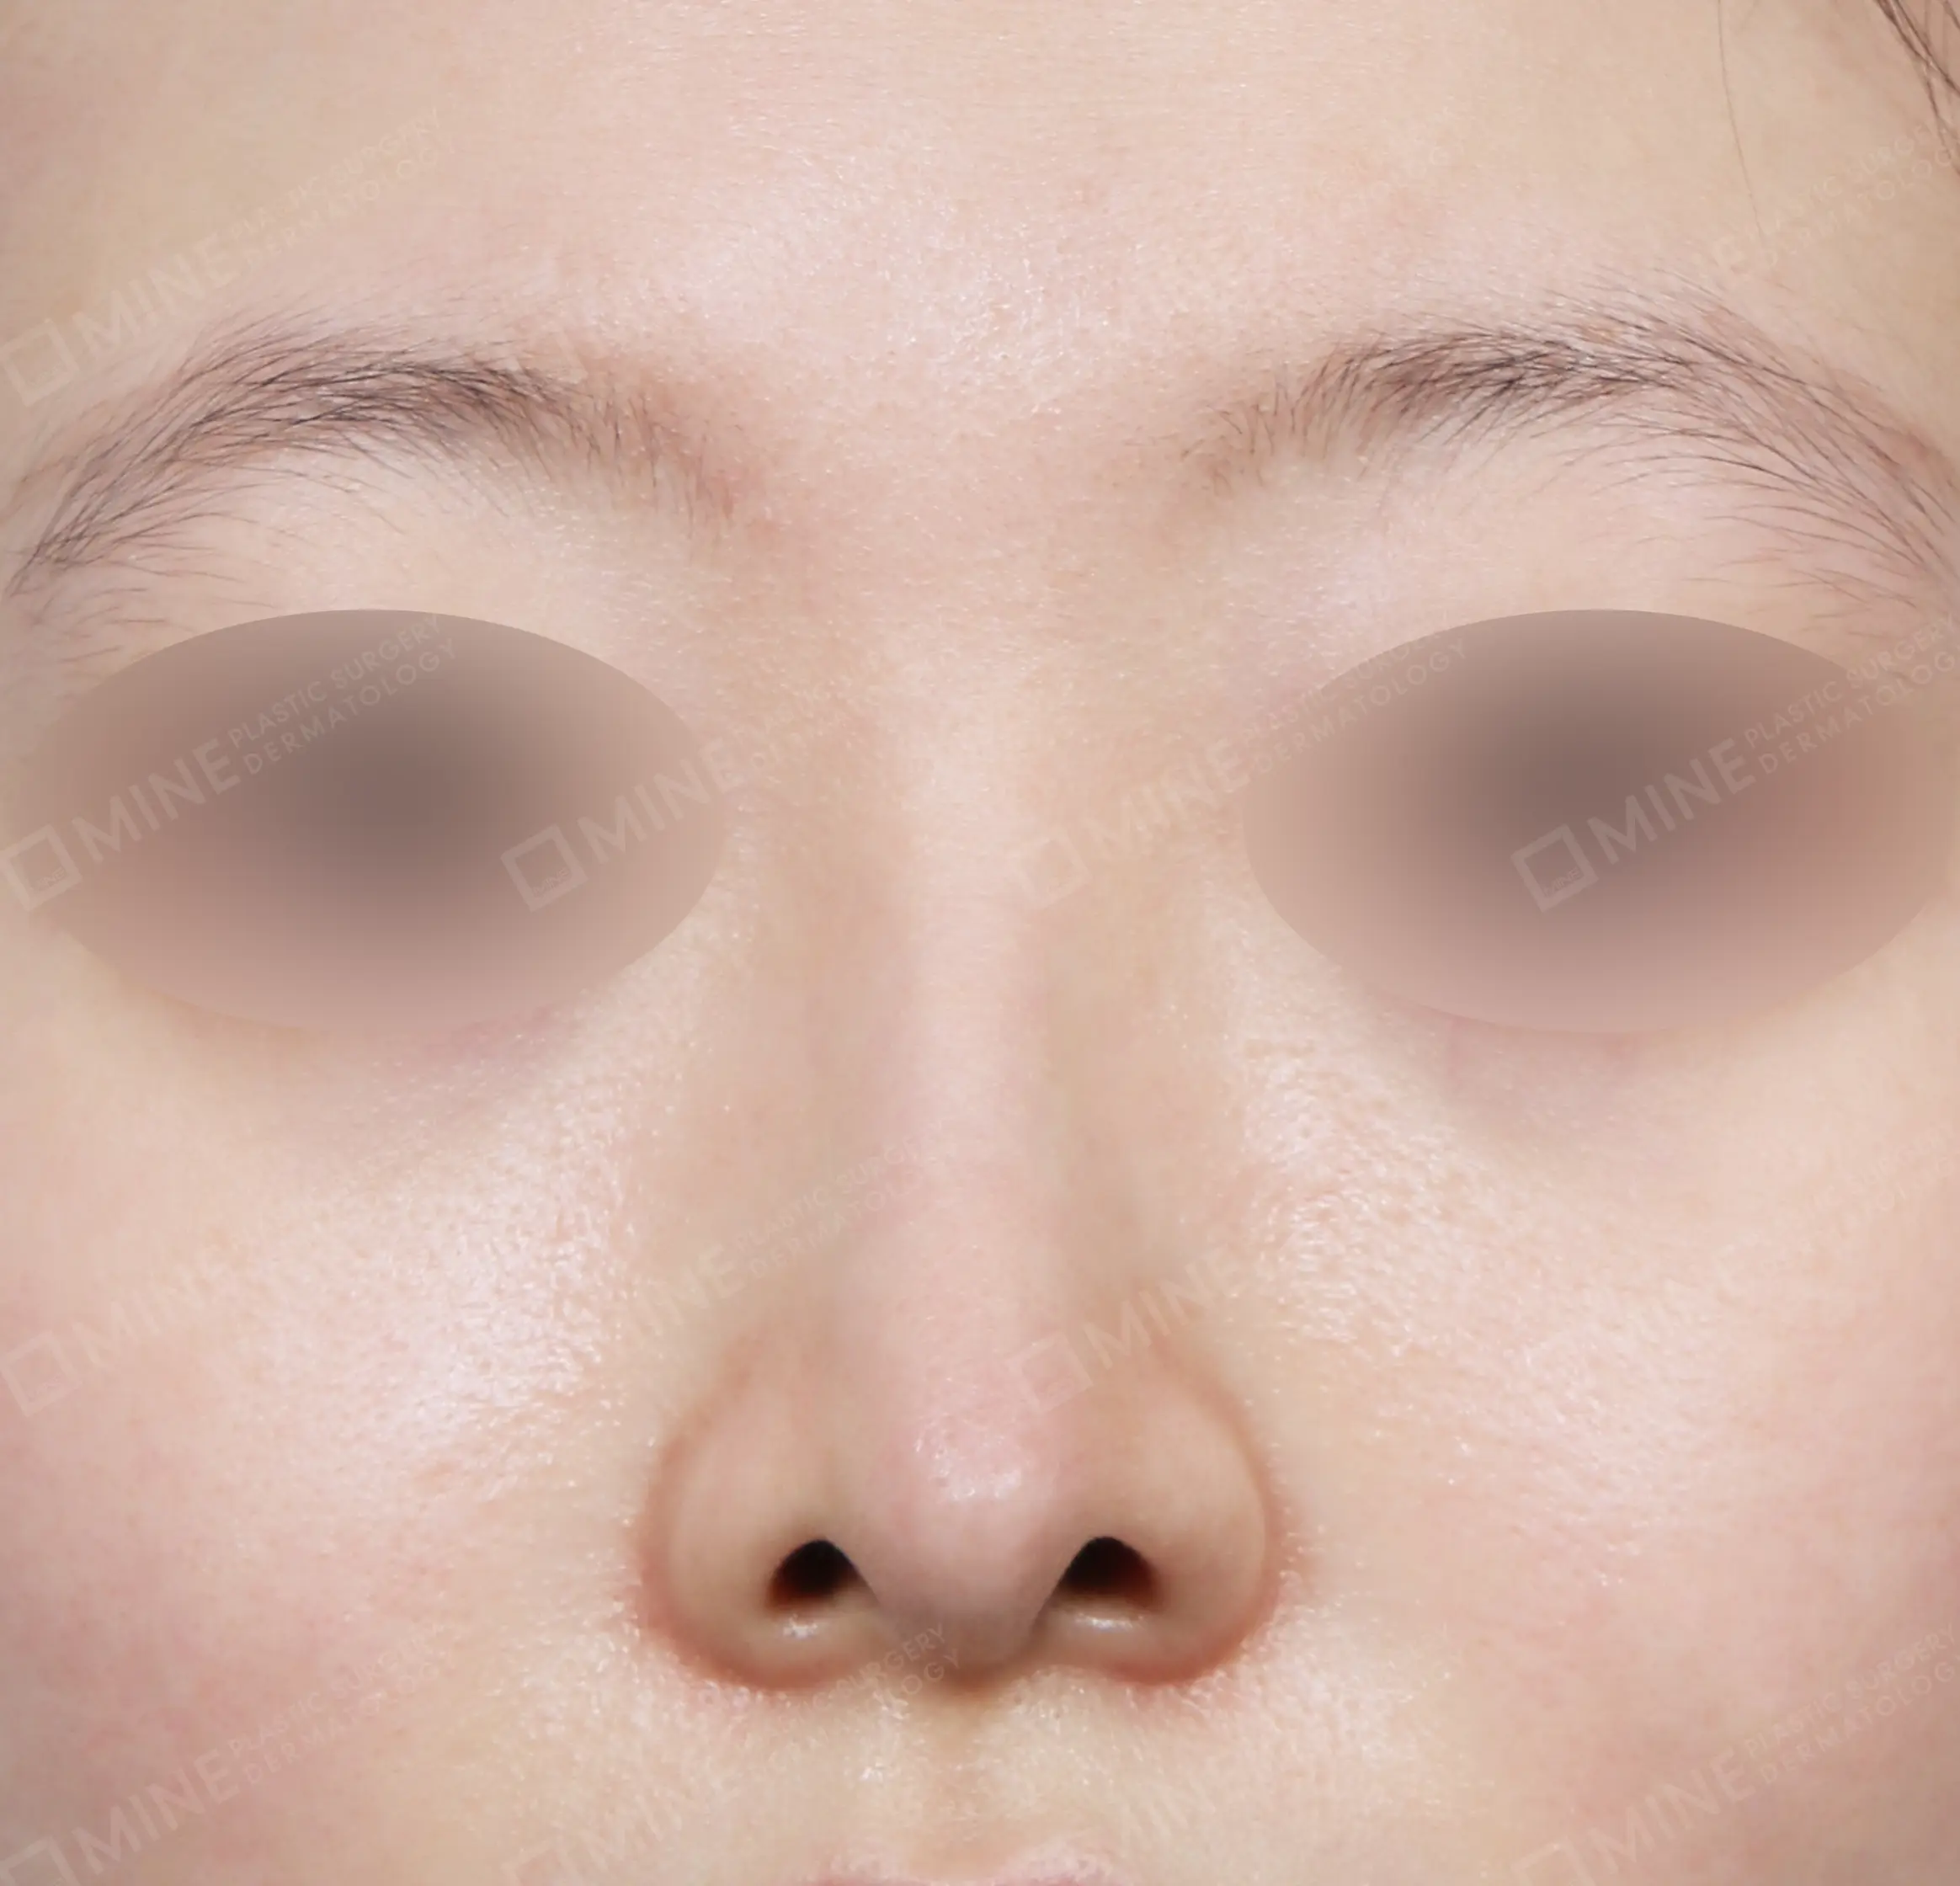
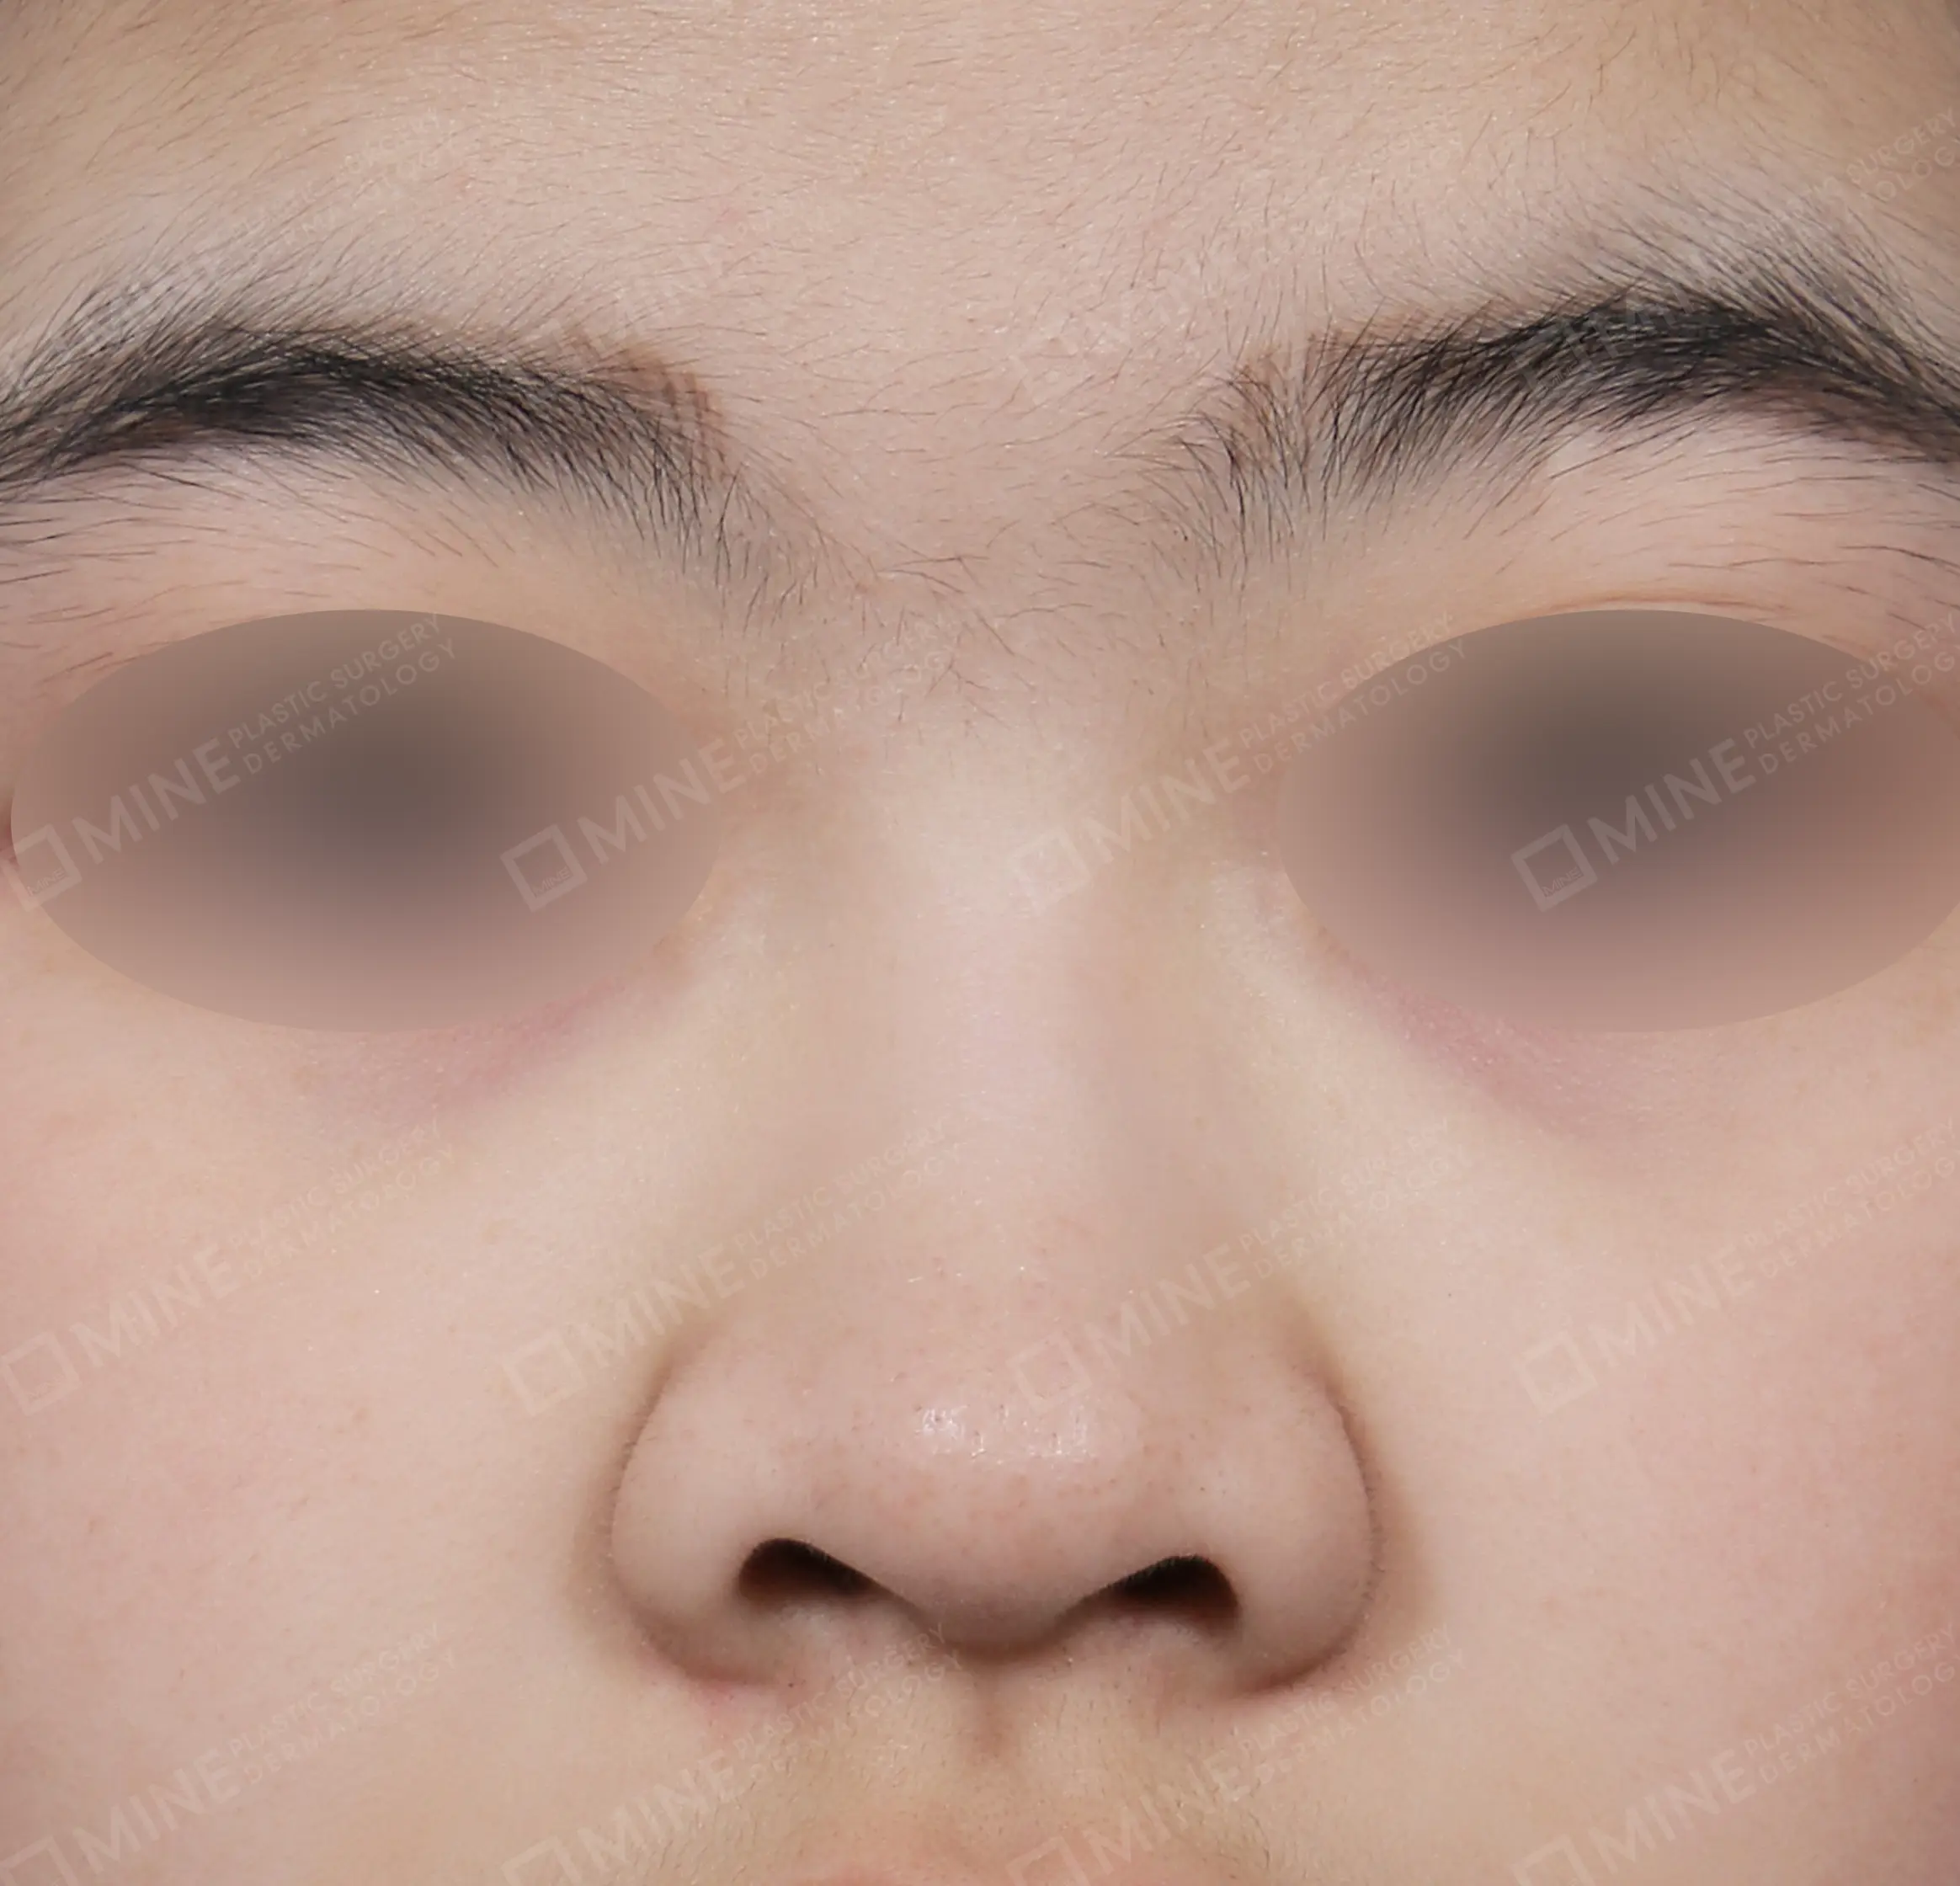
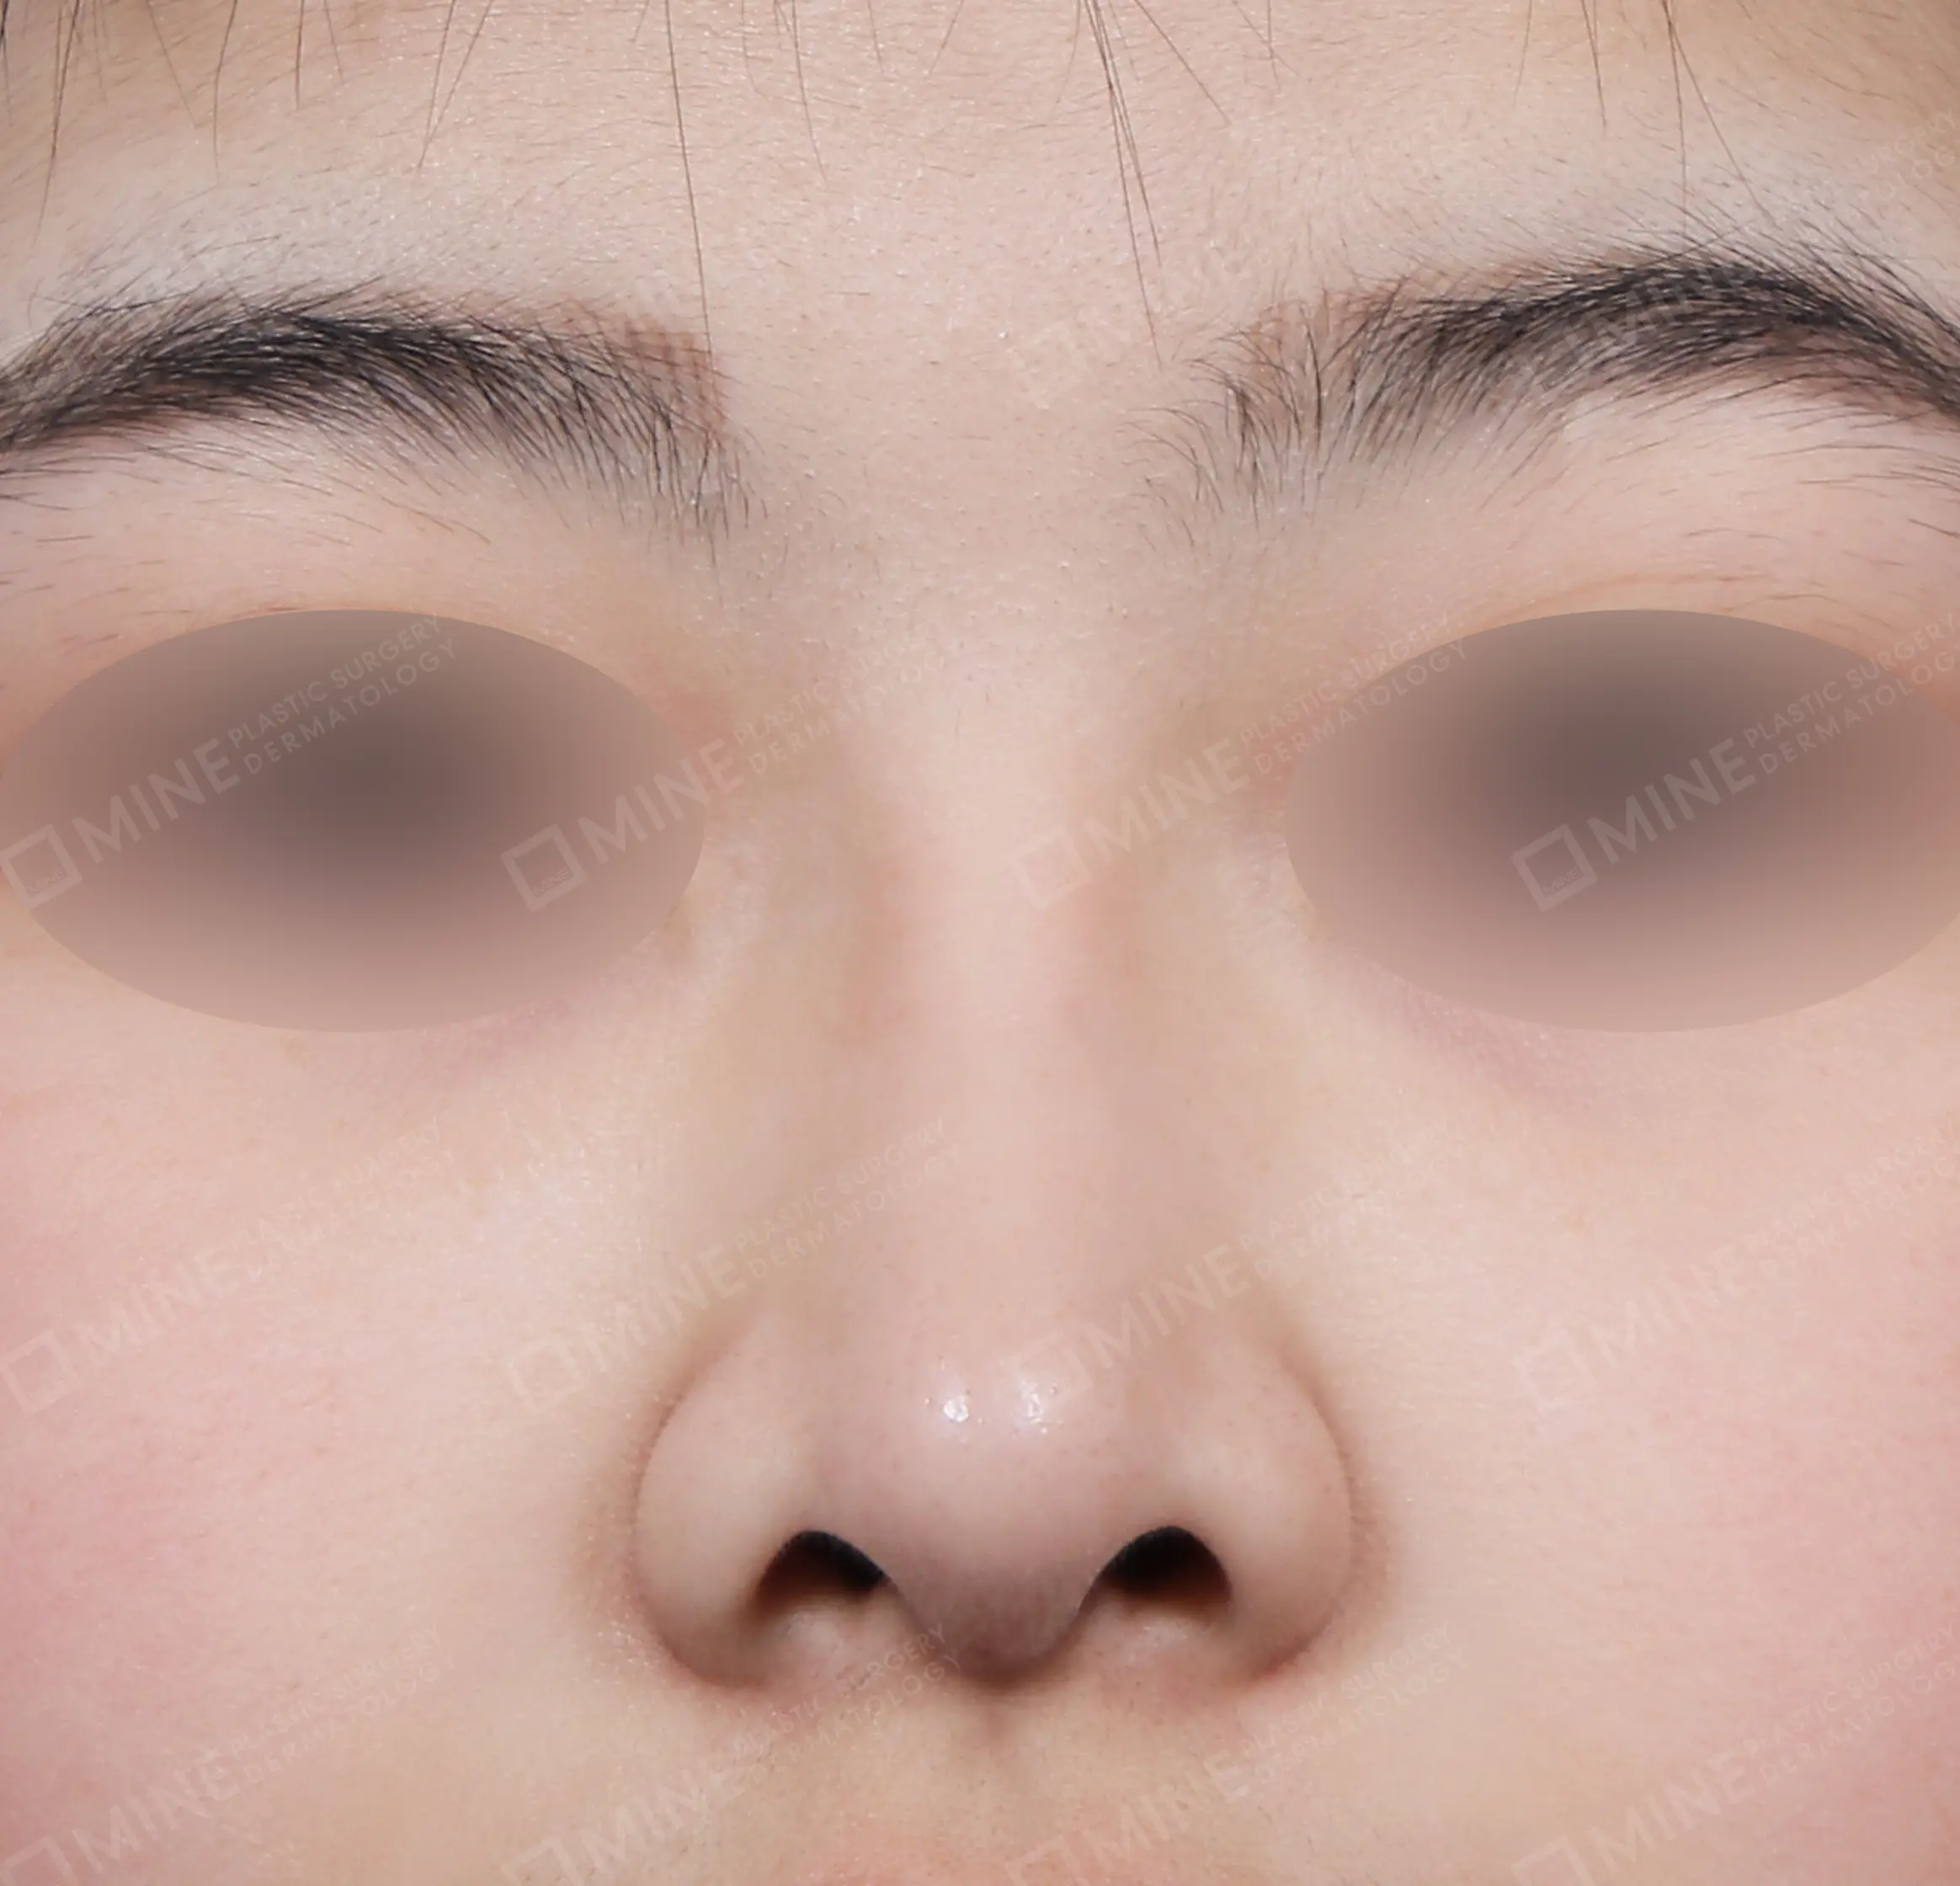
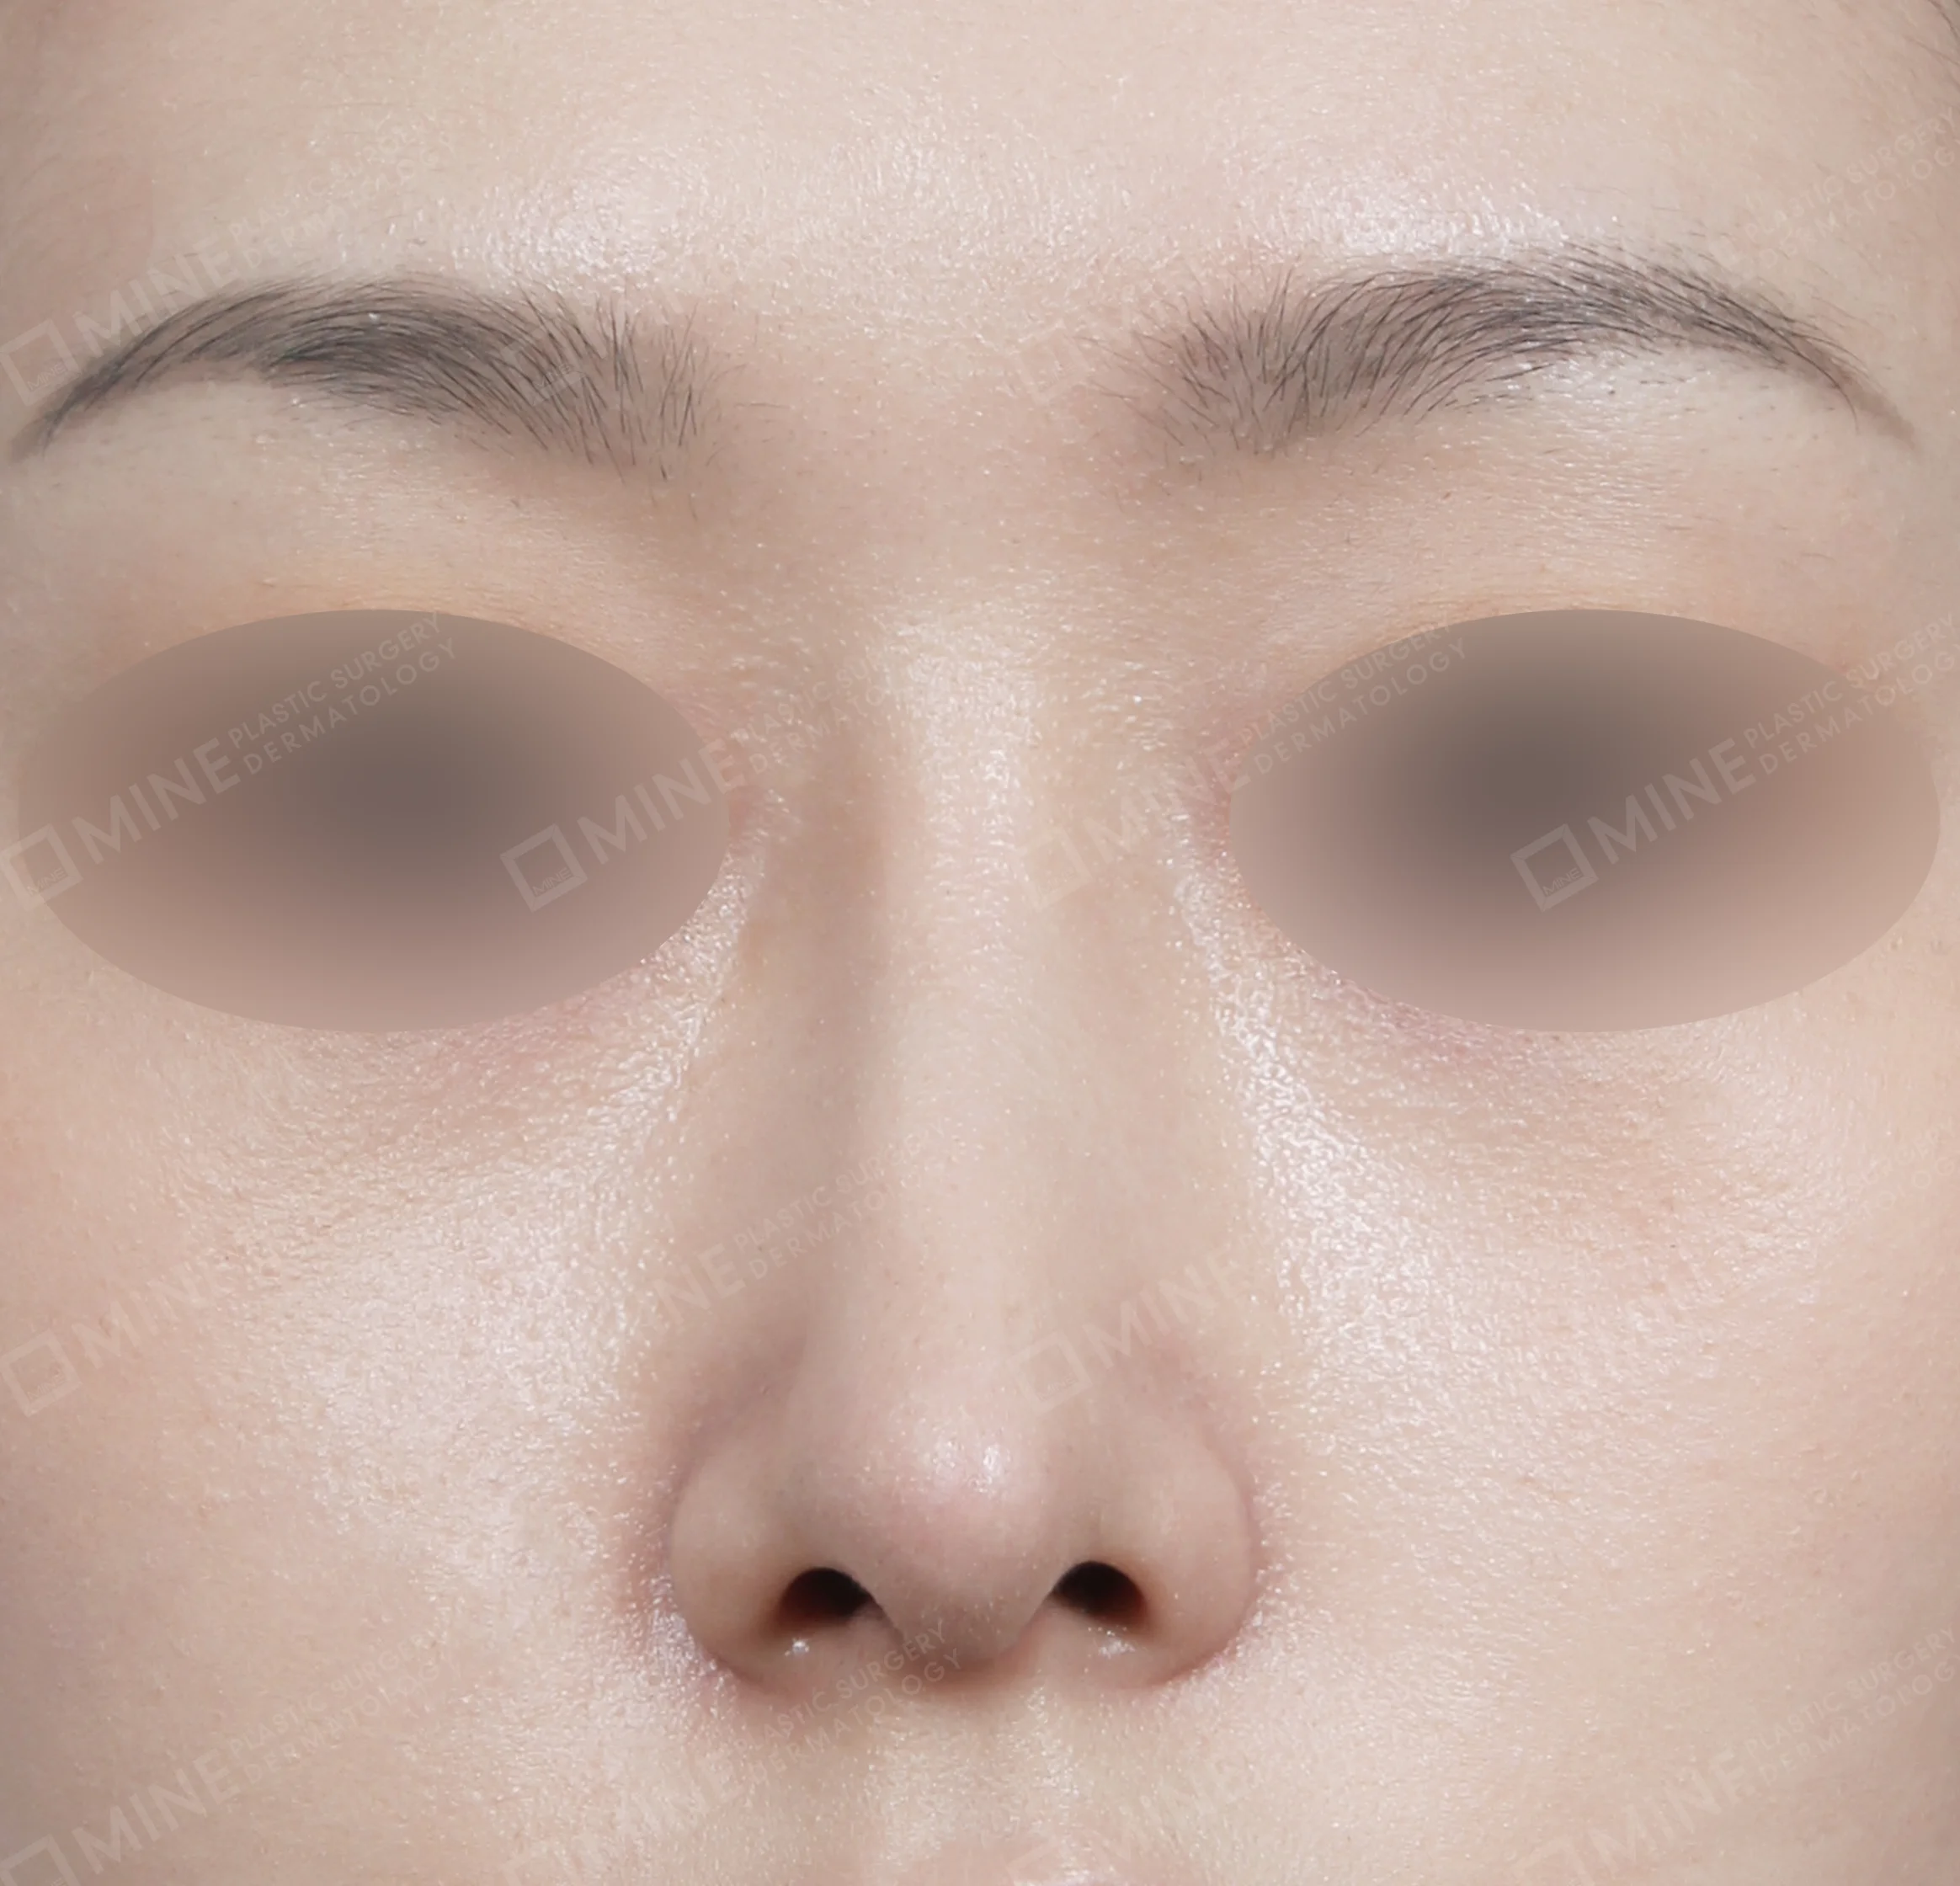
    • Bridge + Tip Plasty + Septal Extension + Tip Reduction-Front-Before
      Bridge + Tip Plasty + Septal Extension + Tip Reduction-Front-After
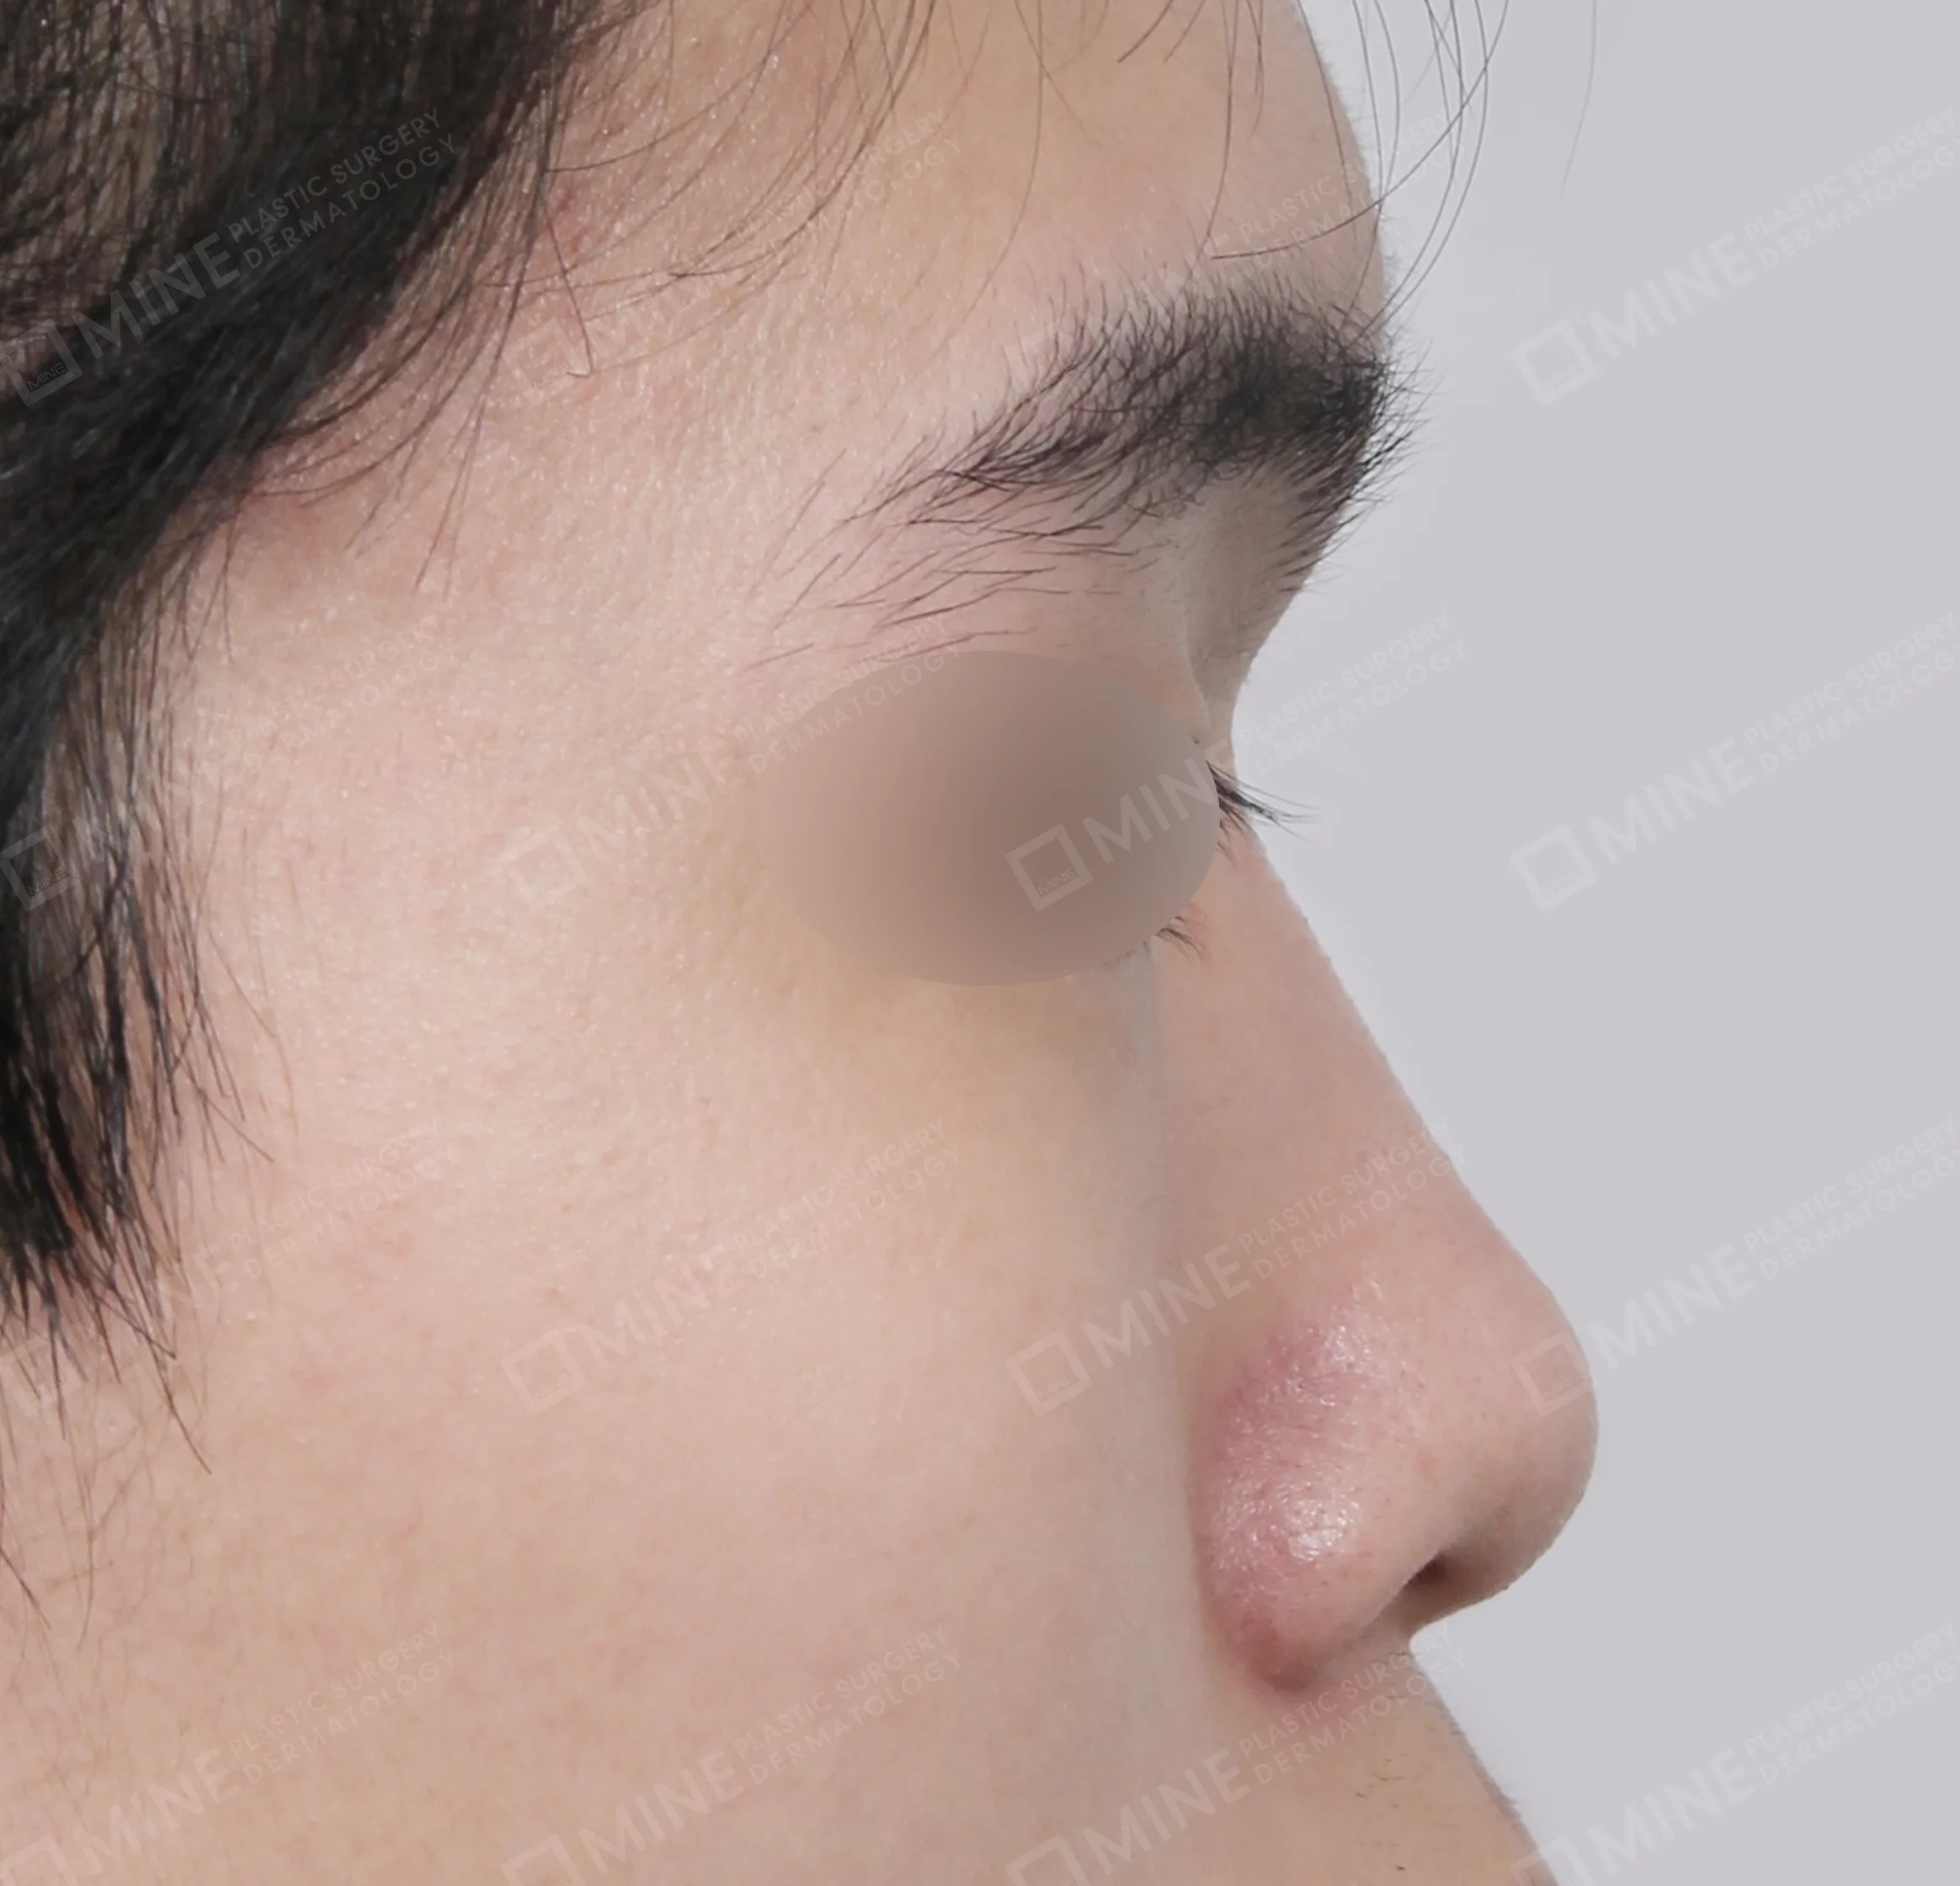
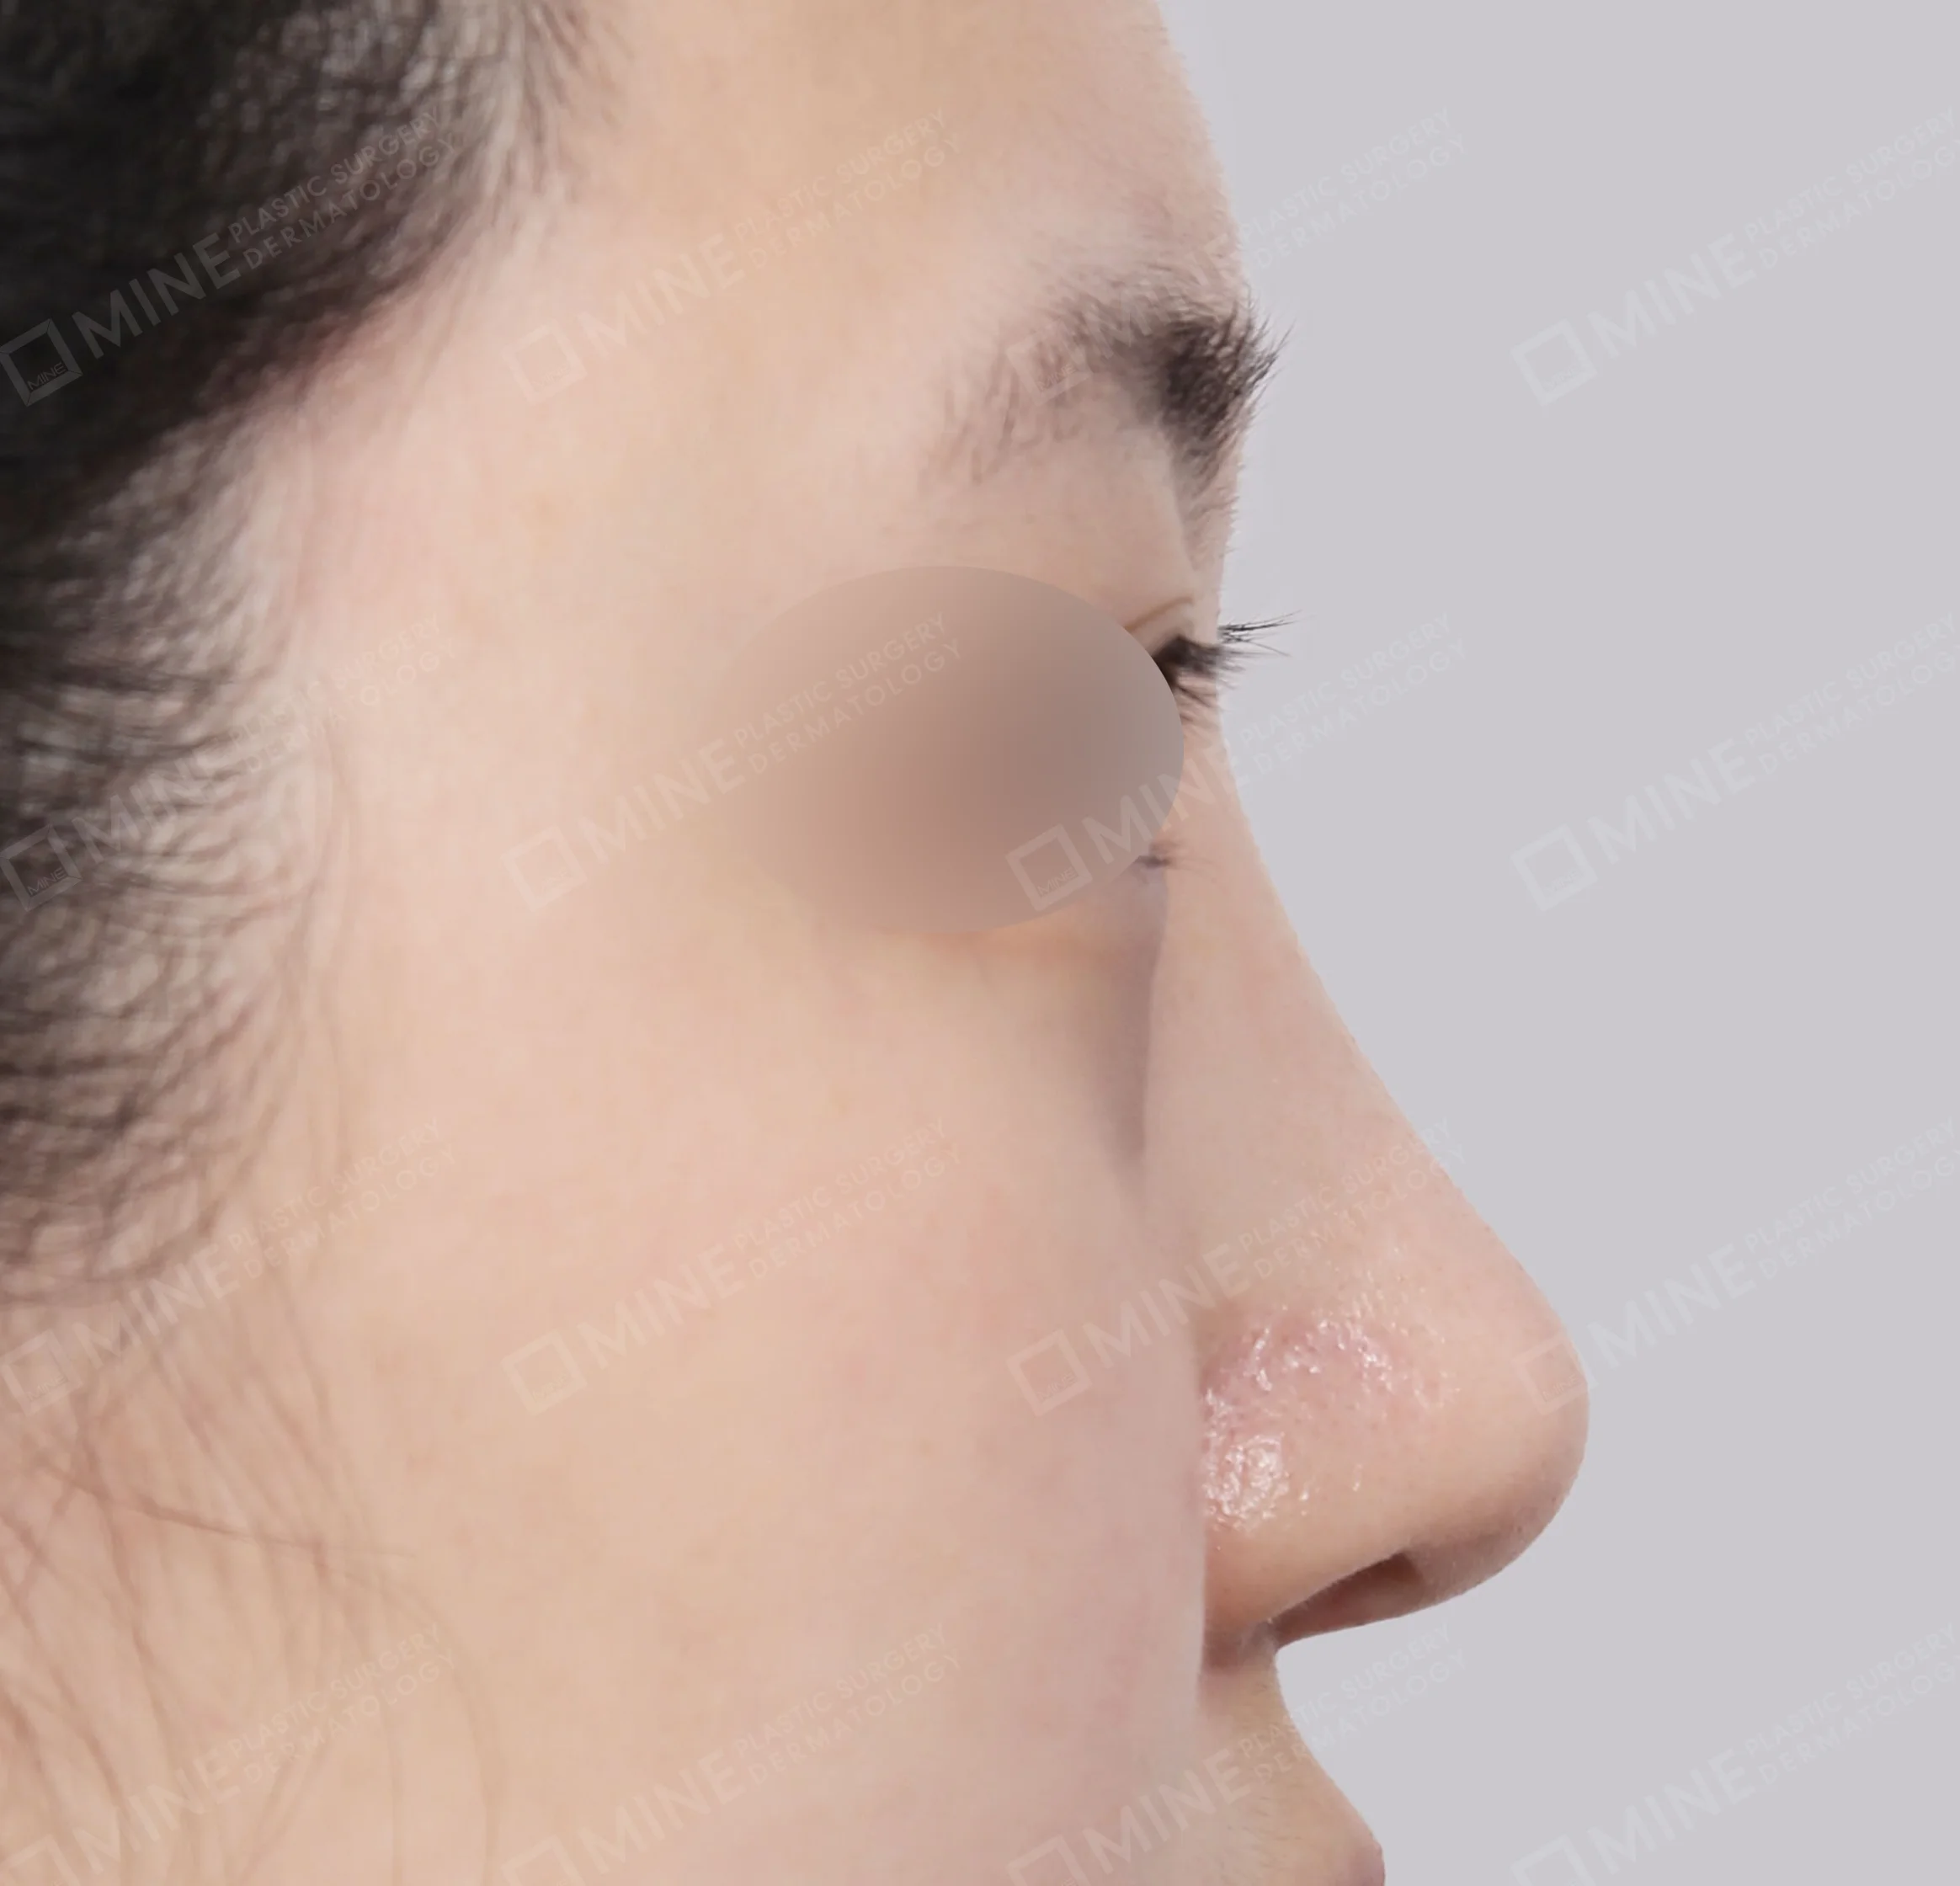
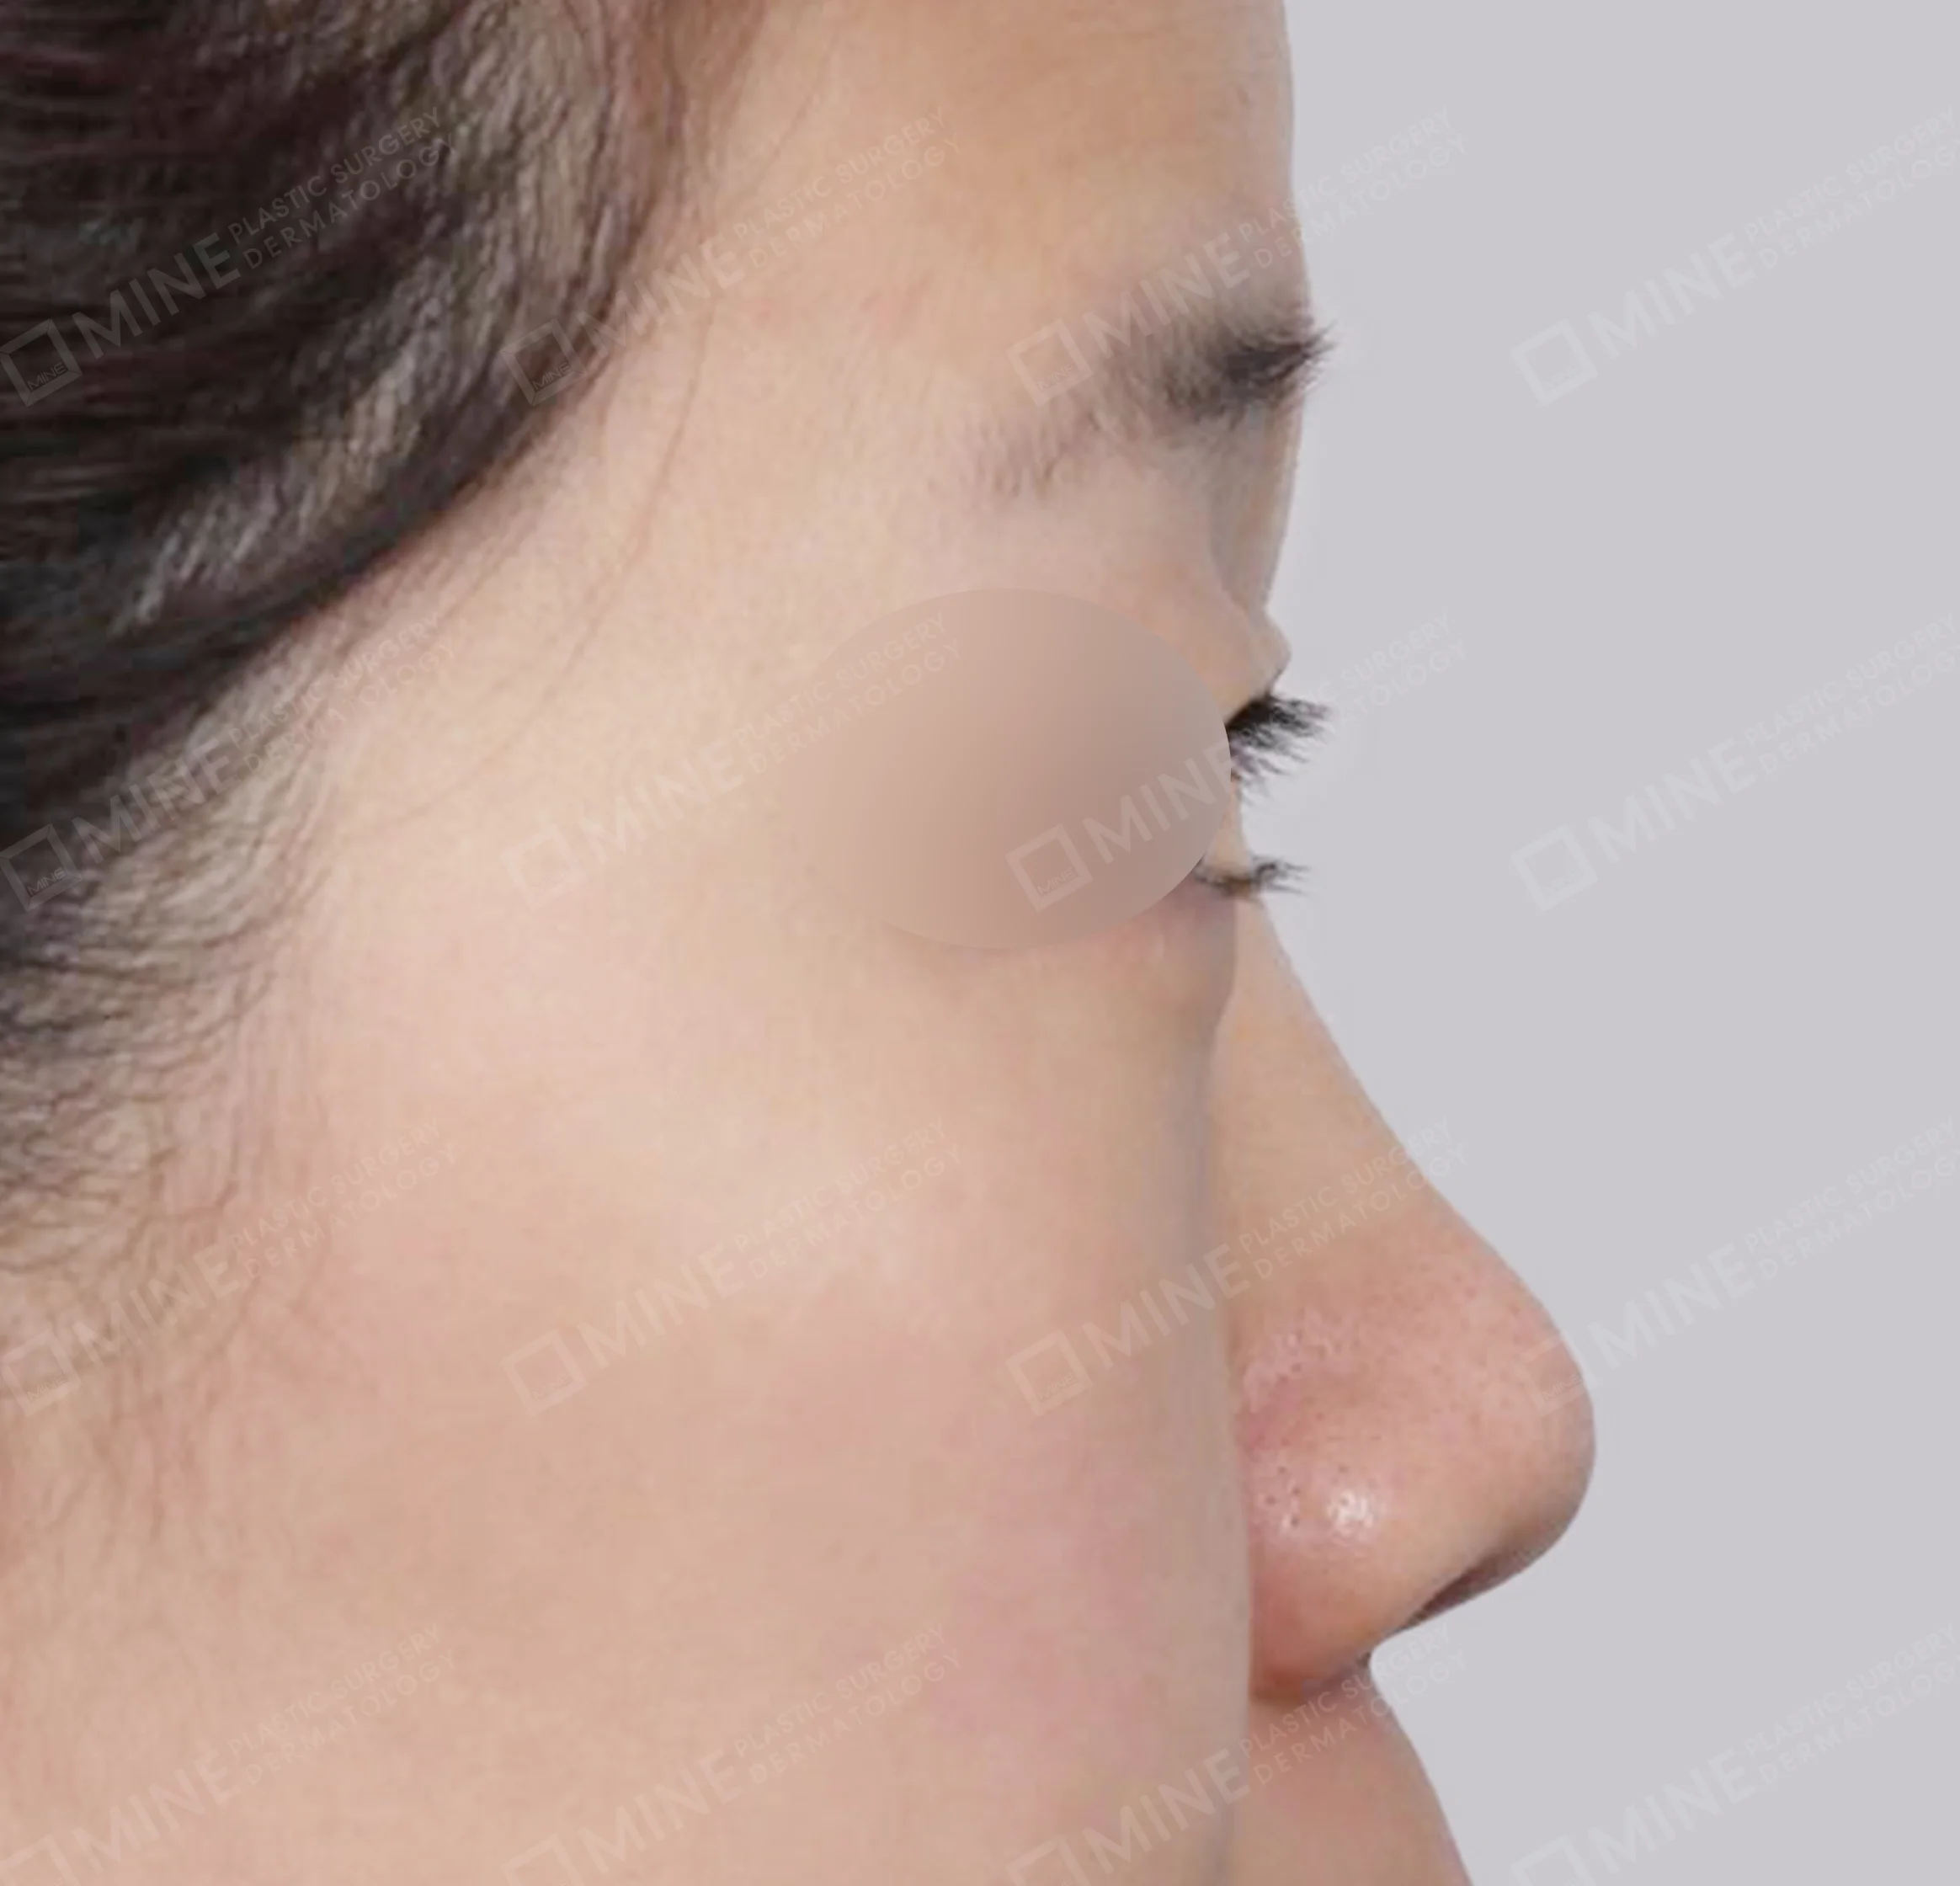
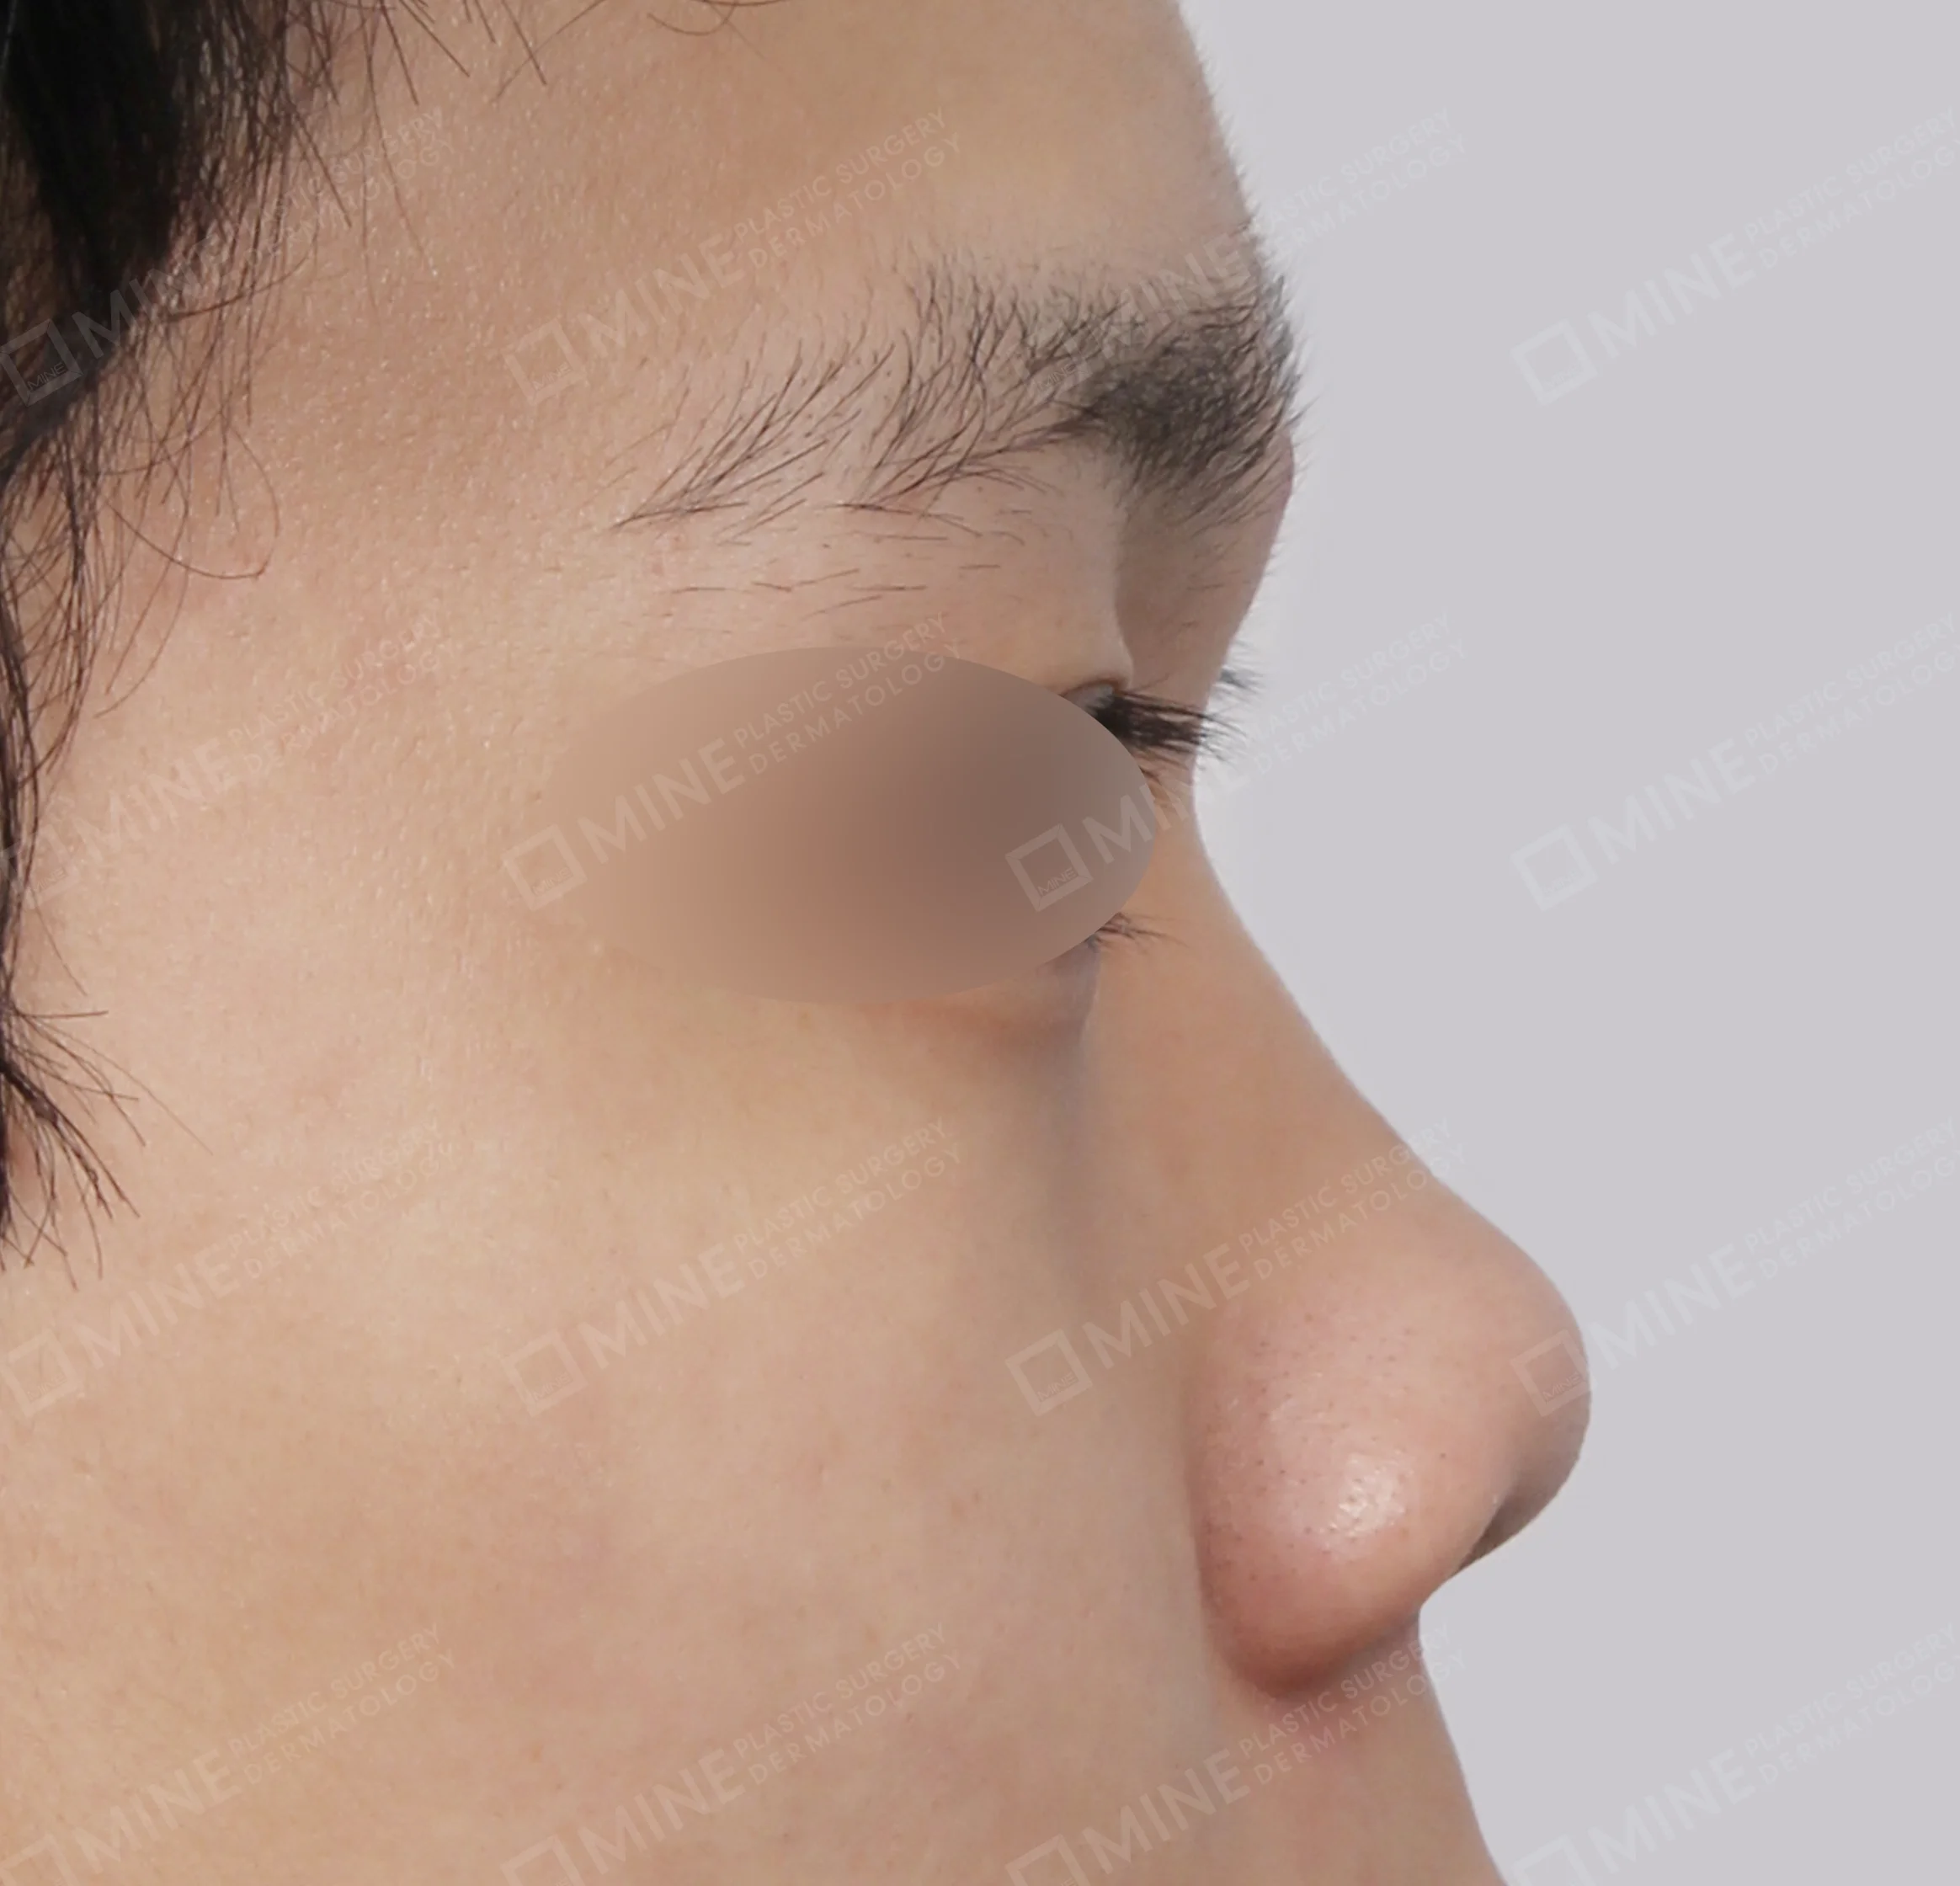
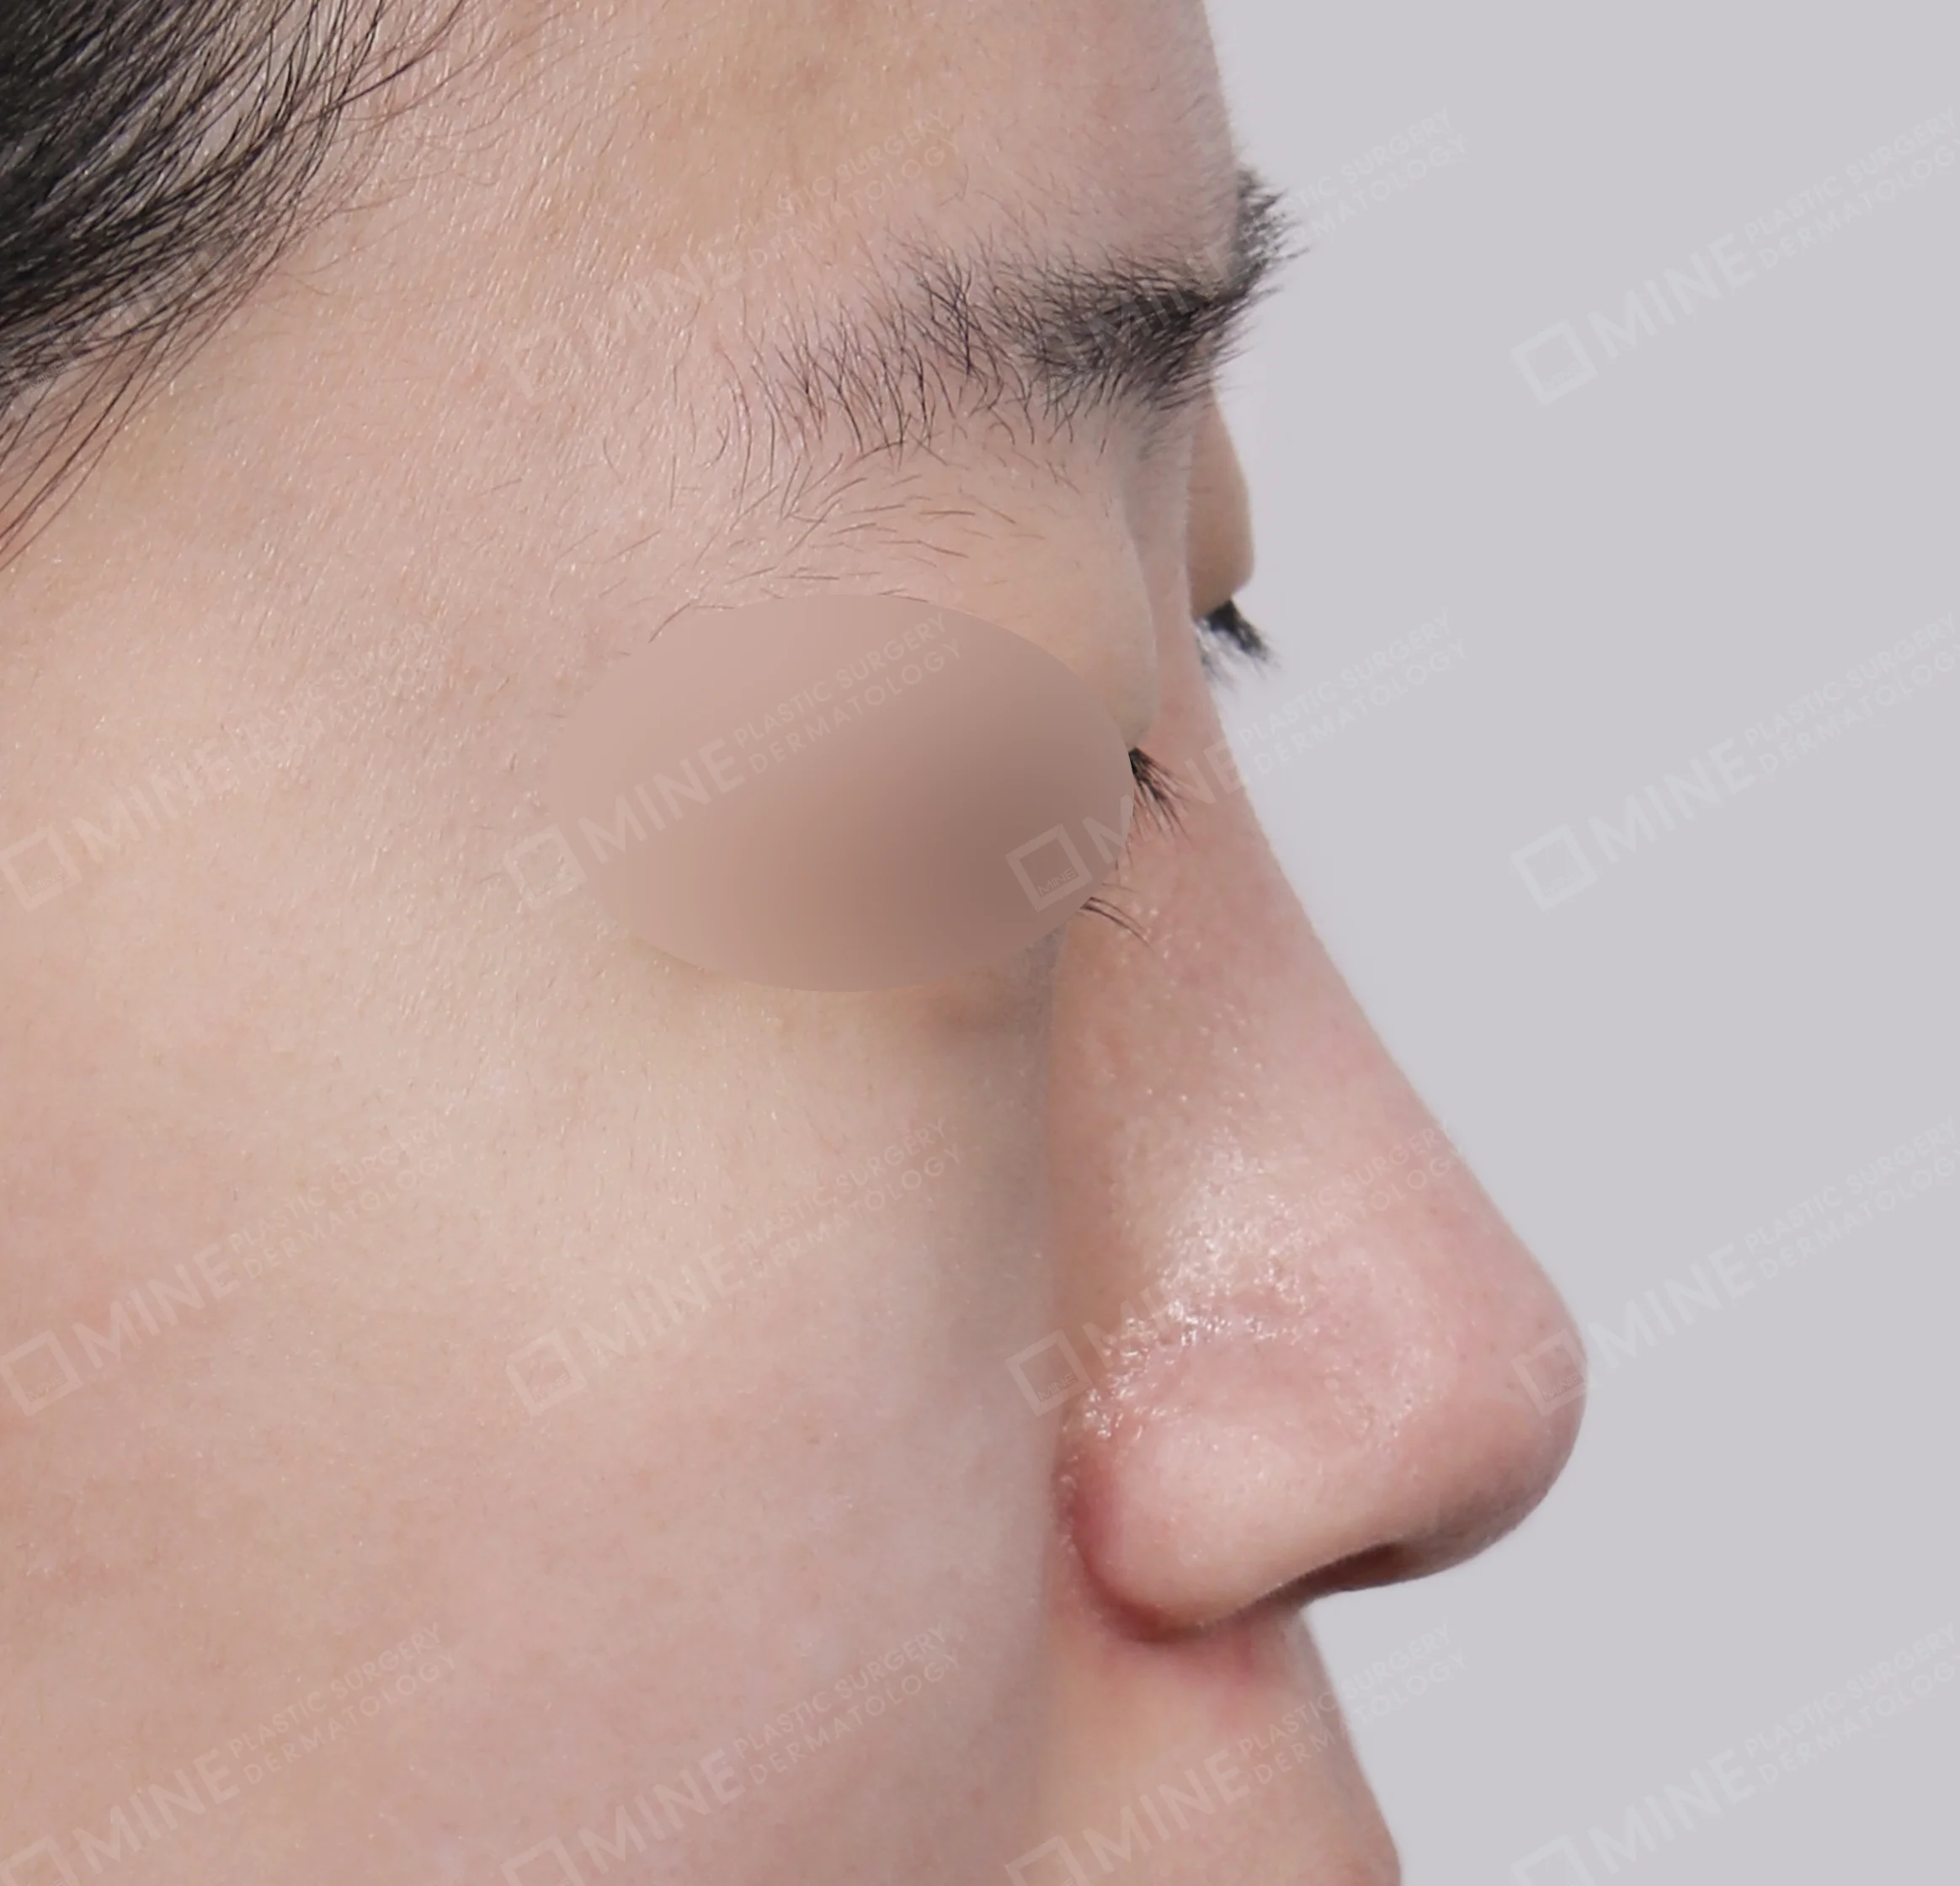
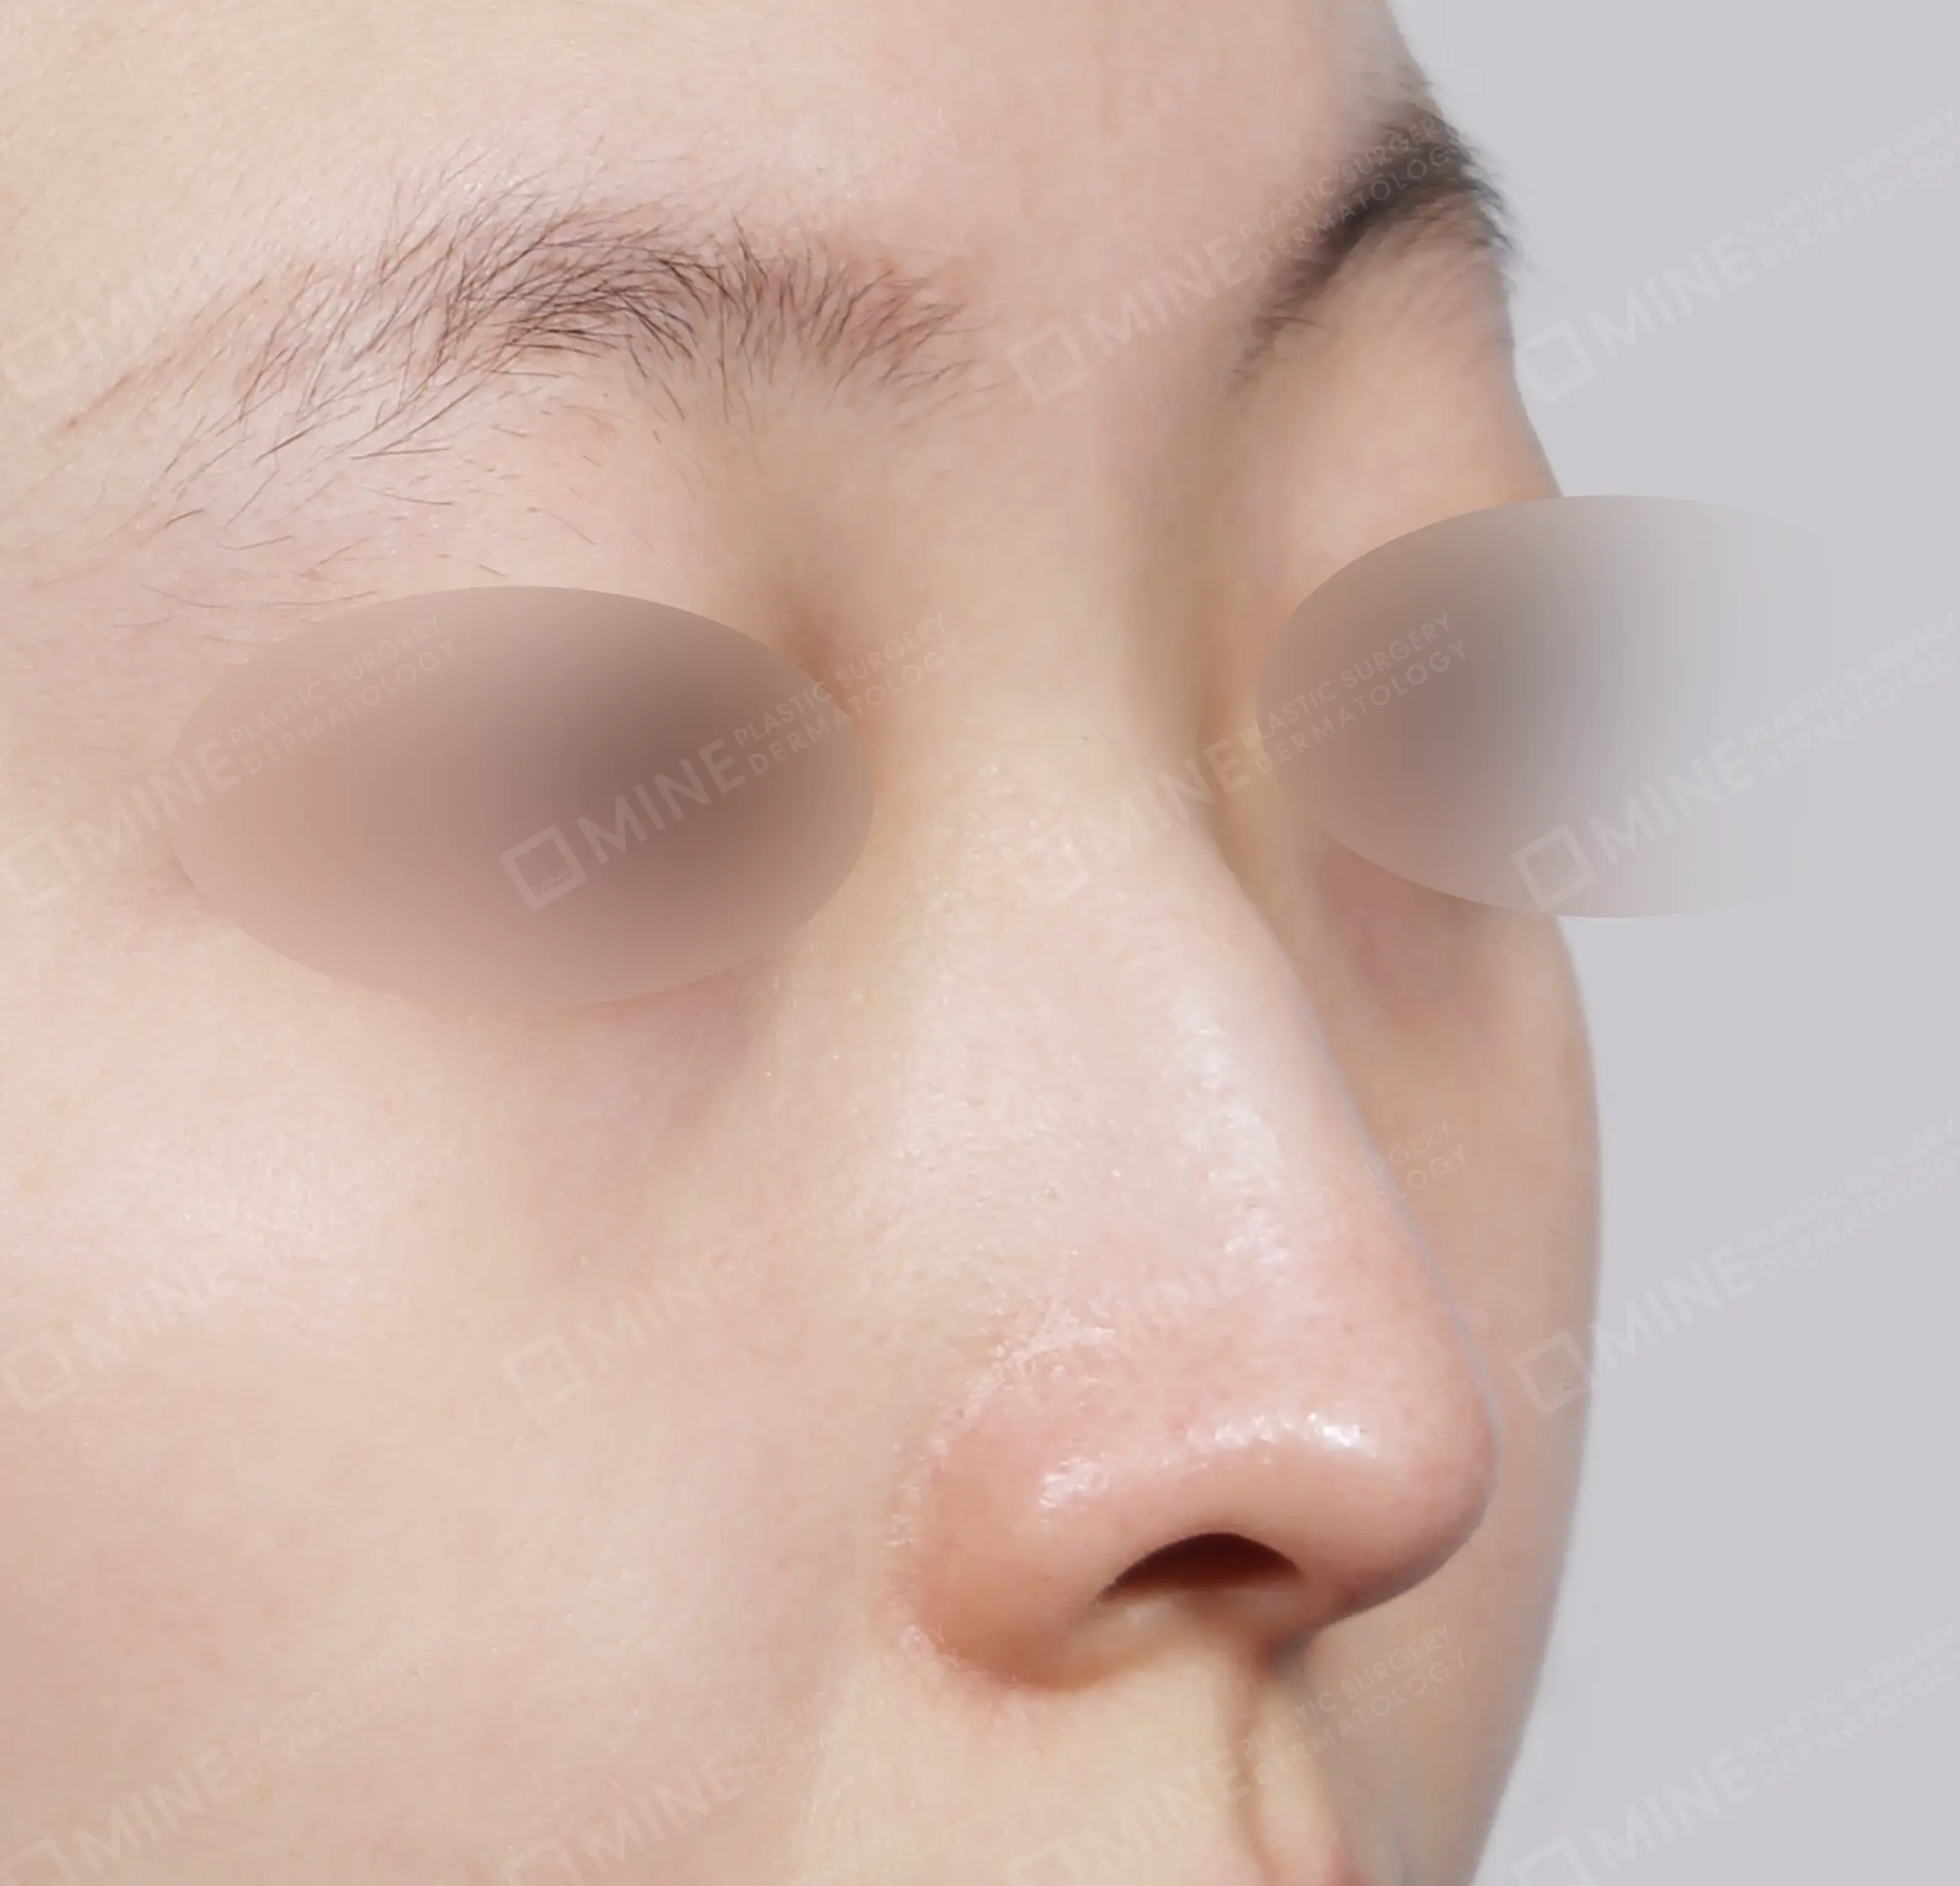
    • Bridge + Tip Plasty + Septal Extension + Tip Reduction-Side-Before
      Bridge + Tip Plasty + Septal Extension + Tip Reduction-Side-After
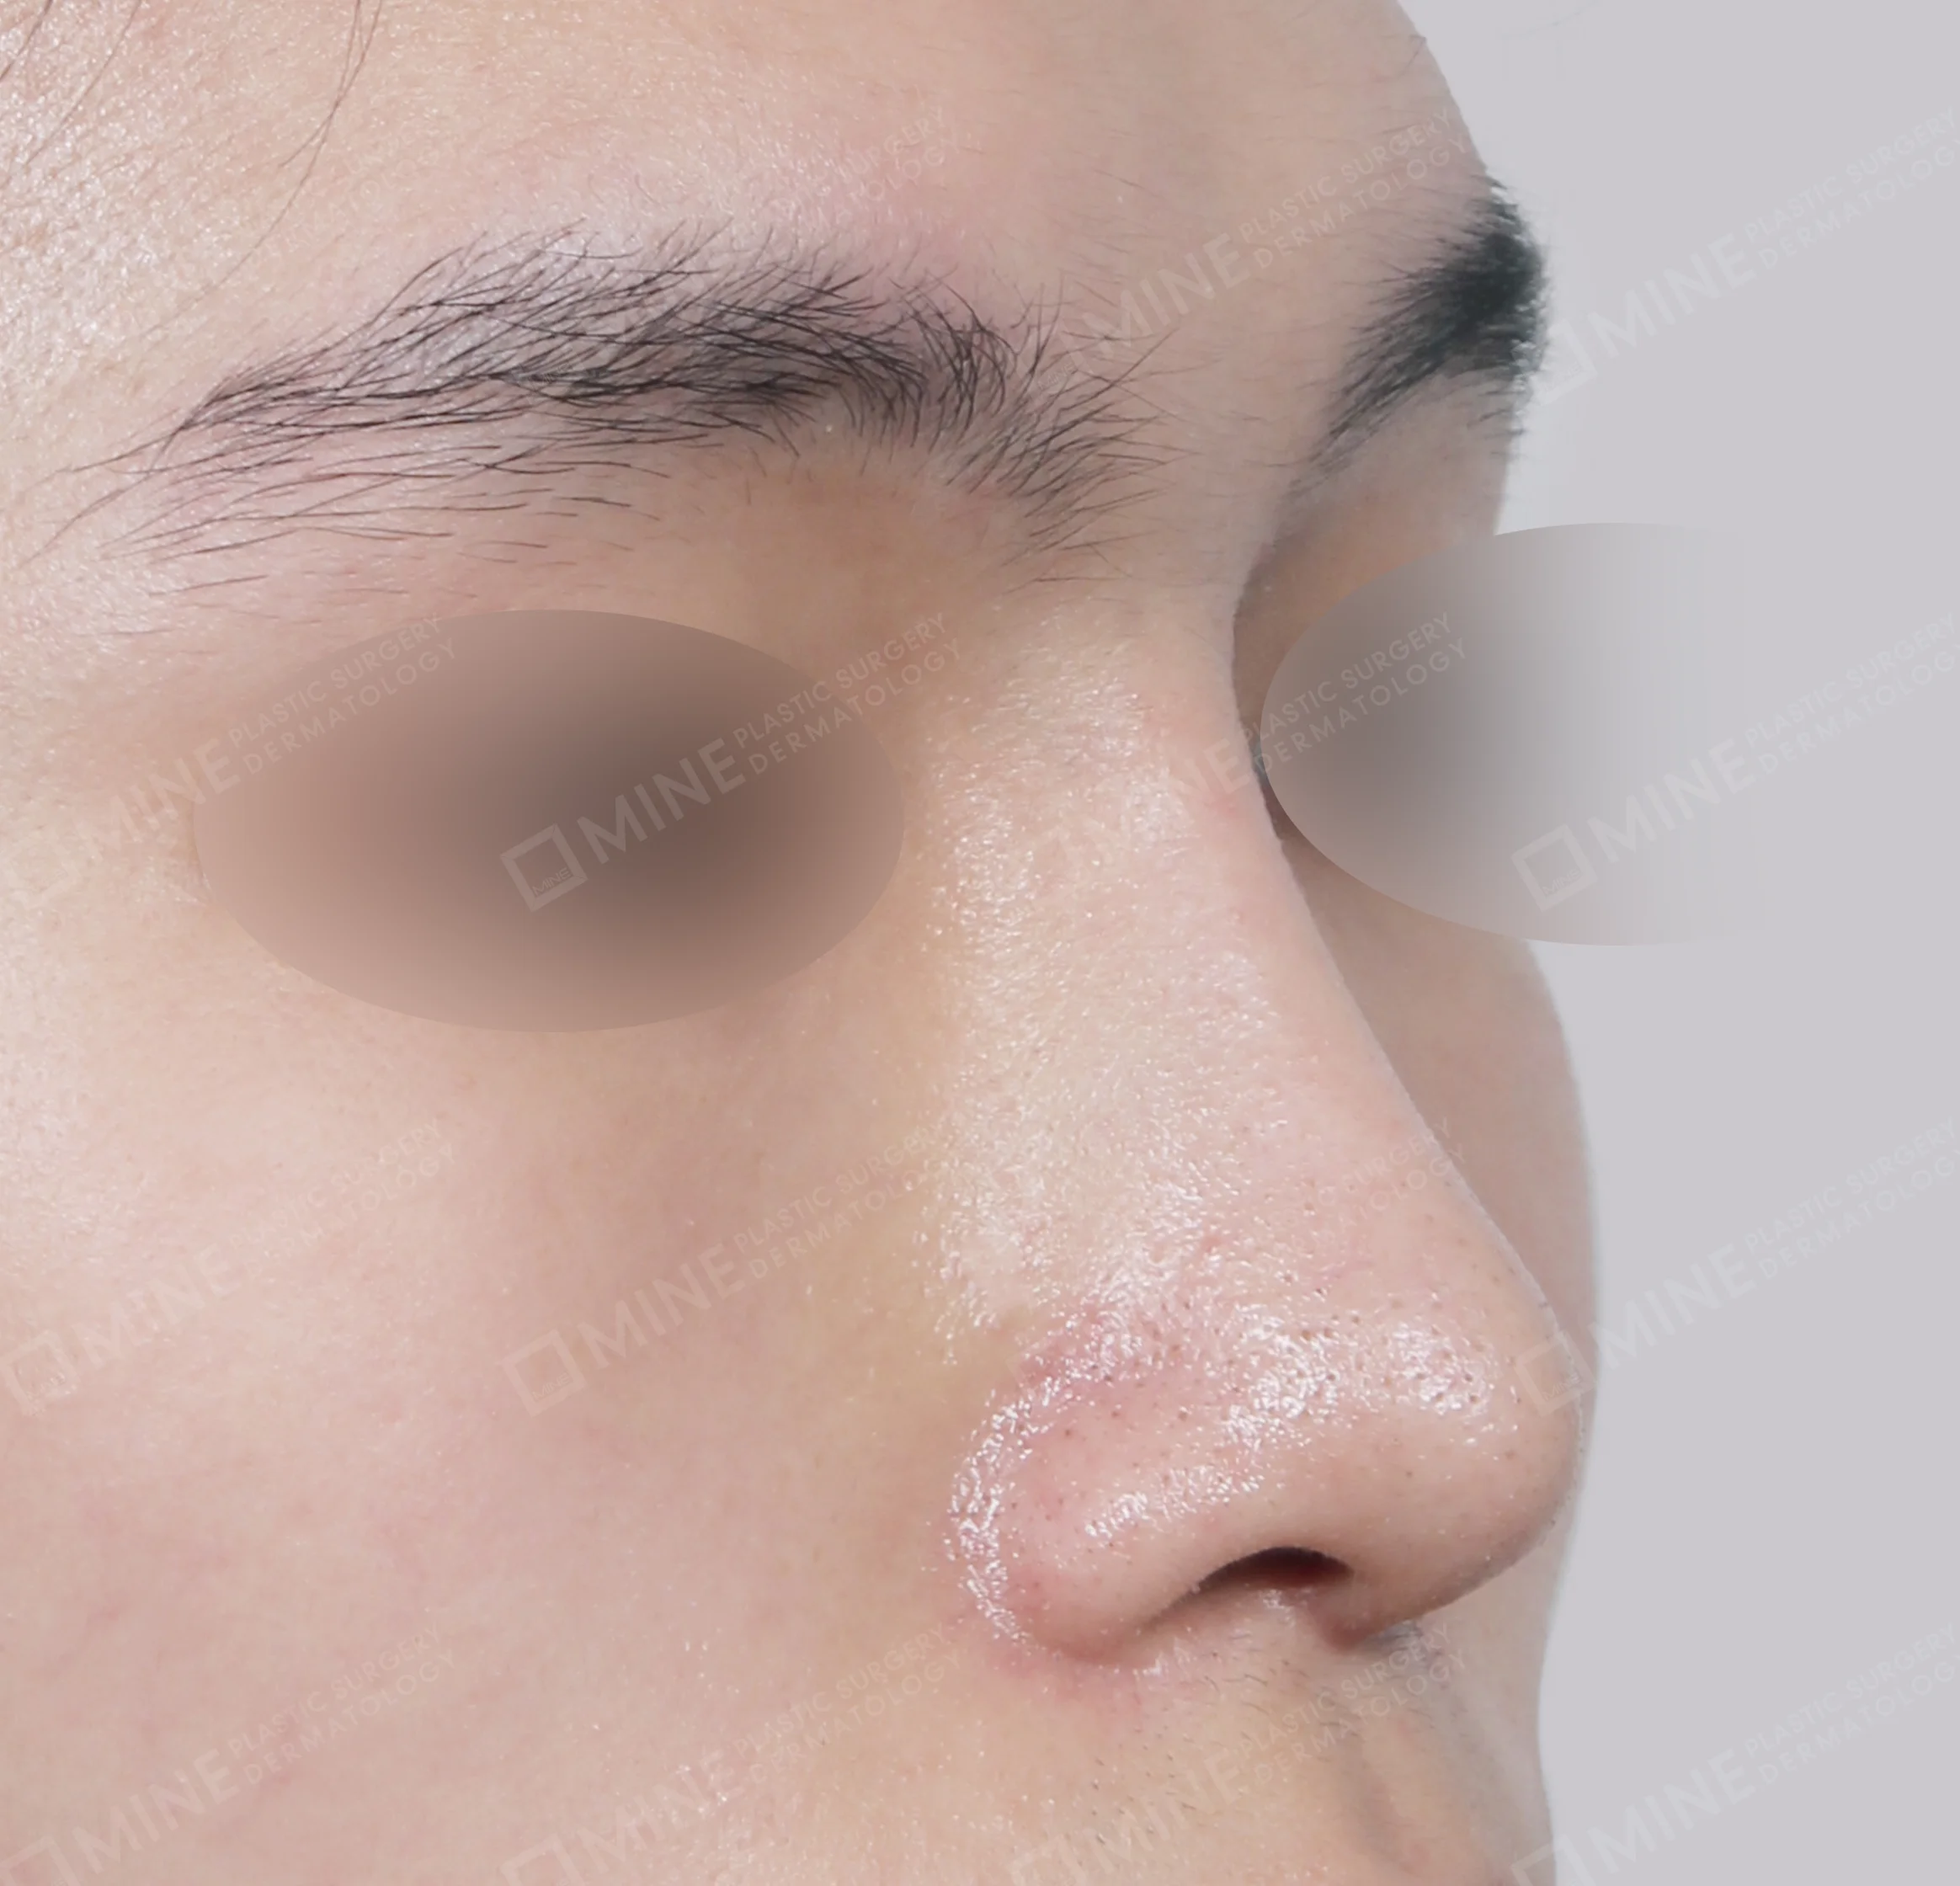
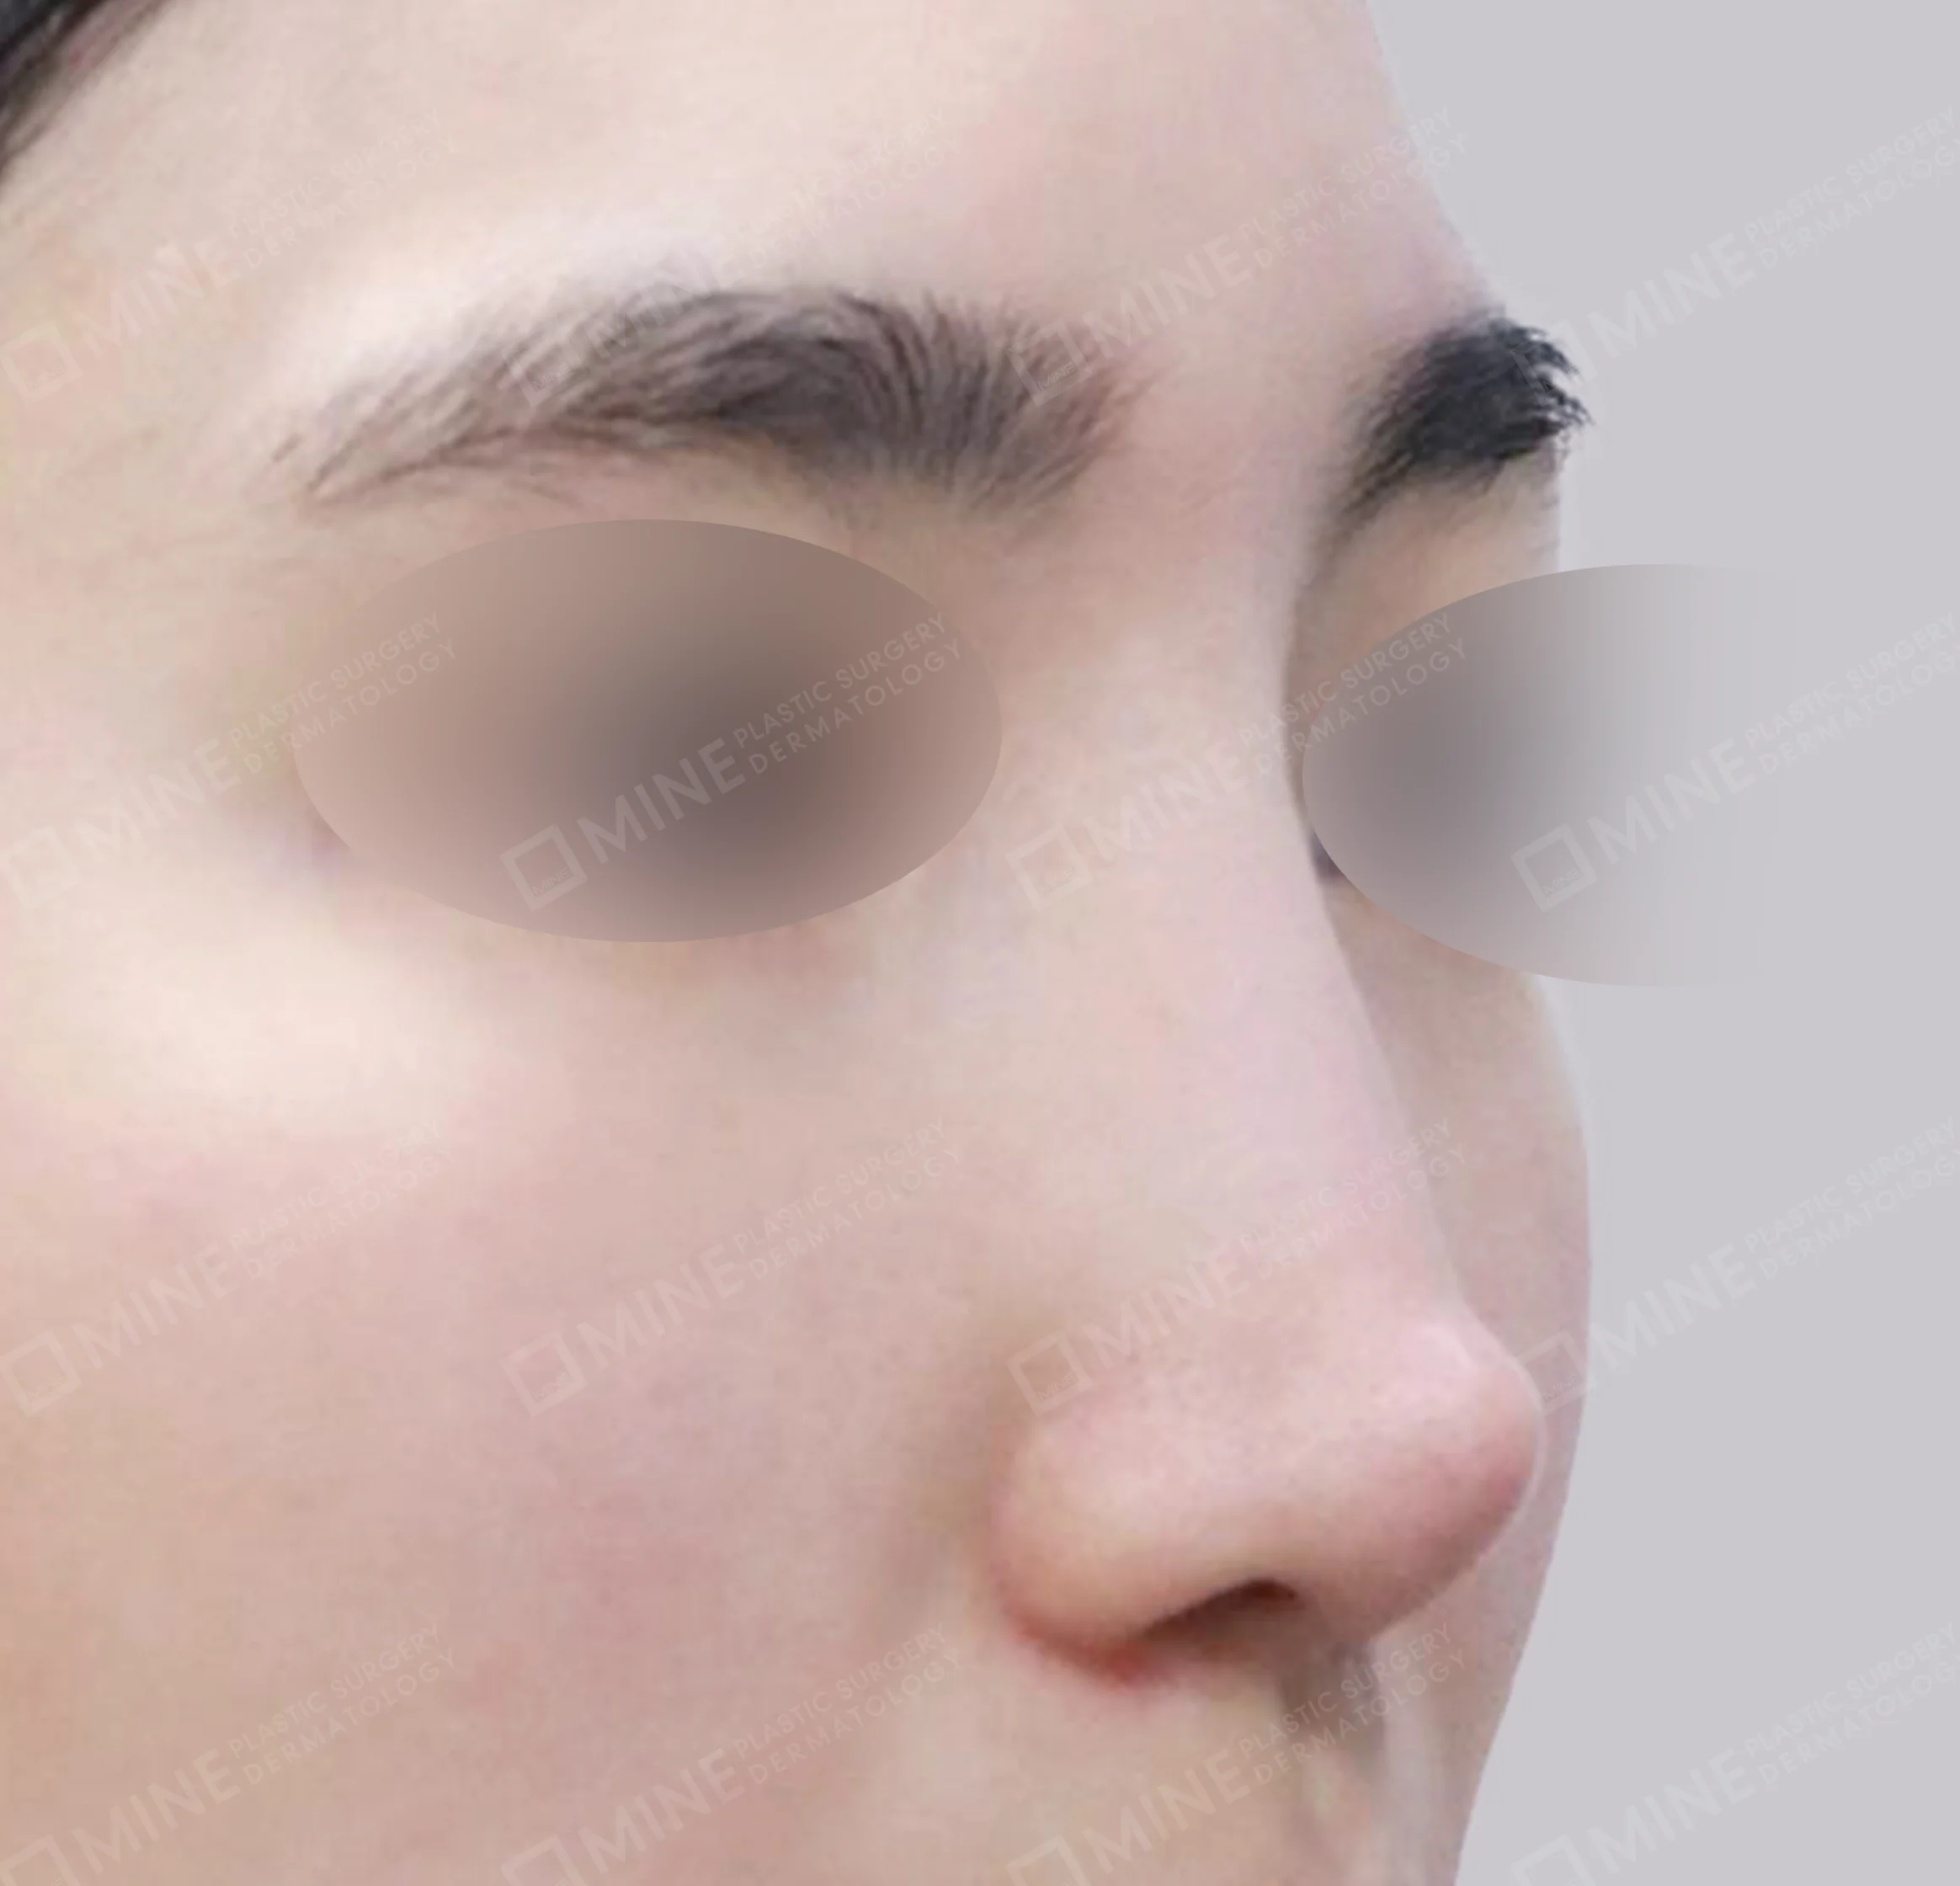
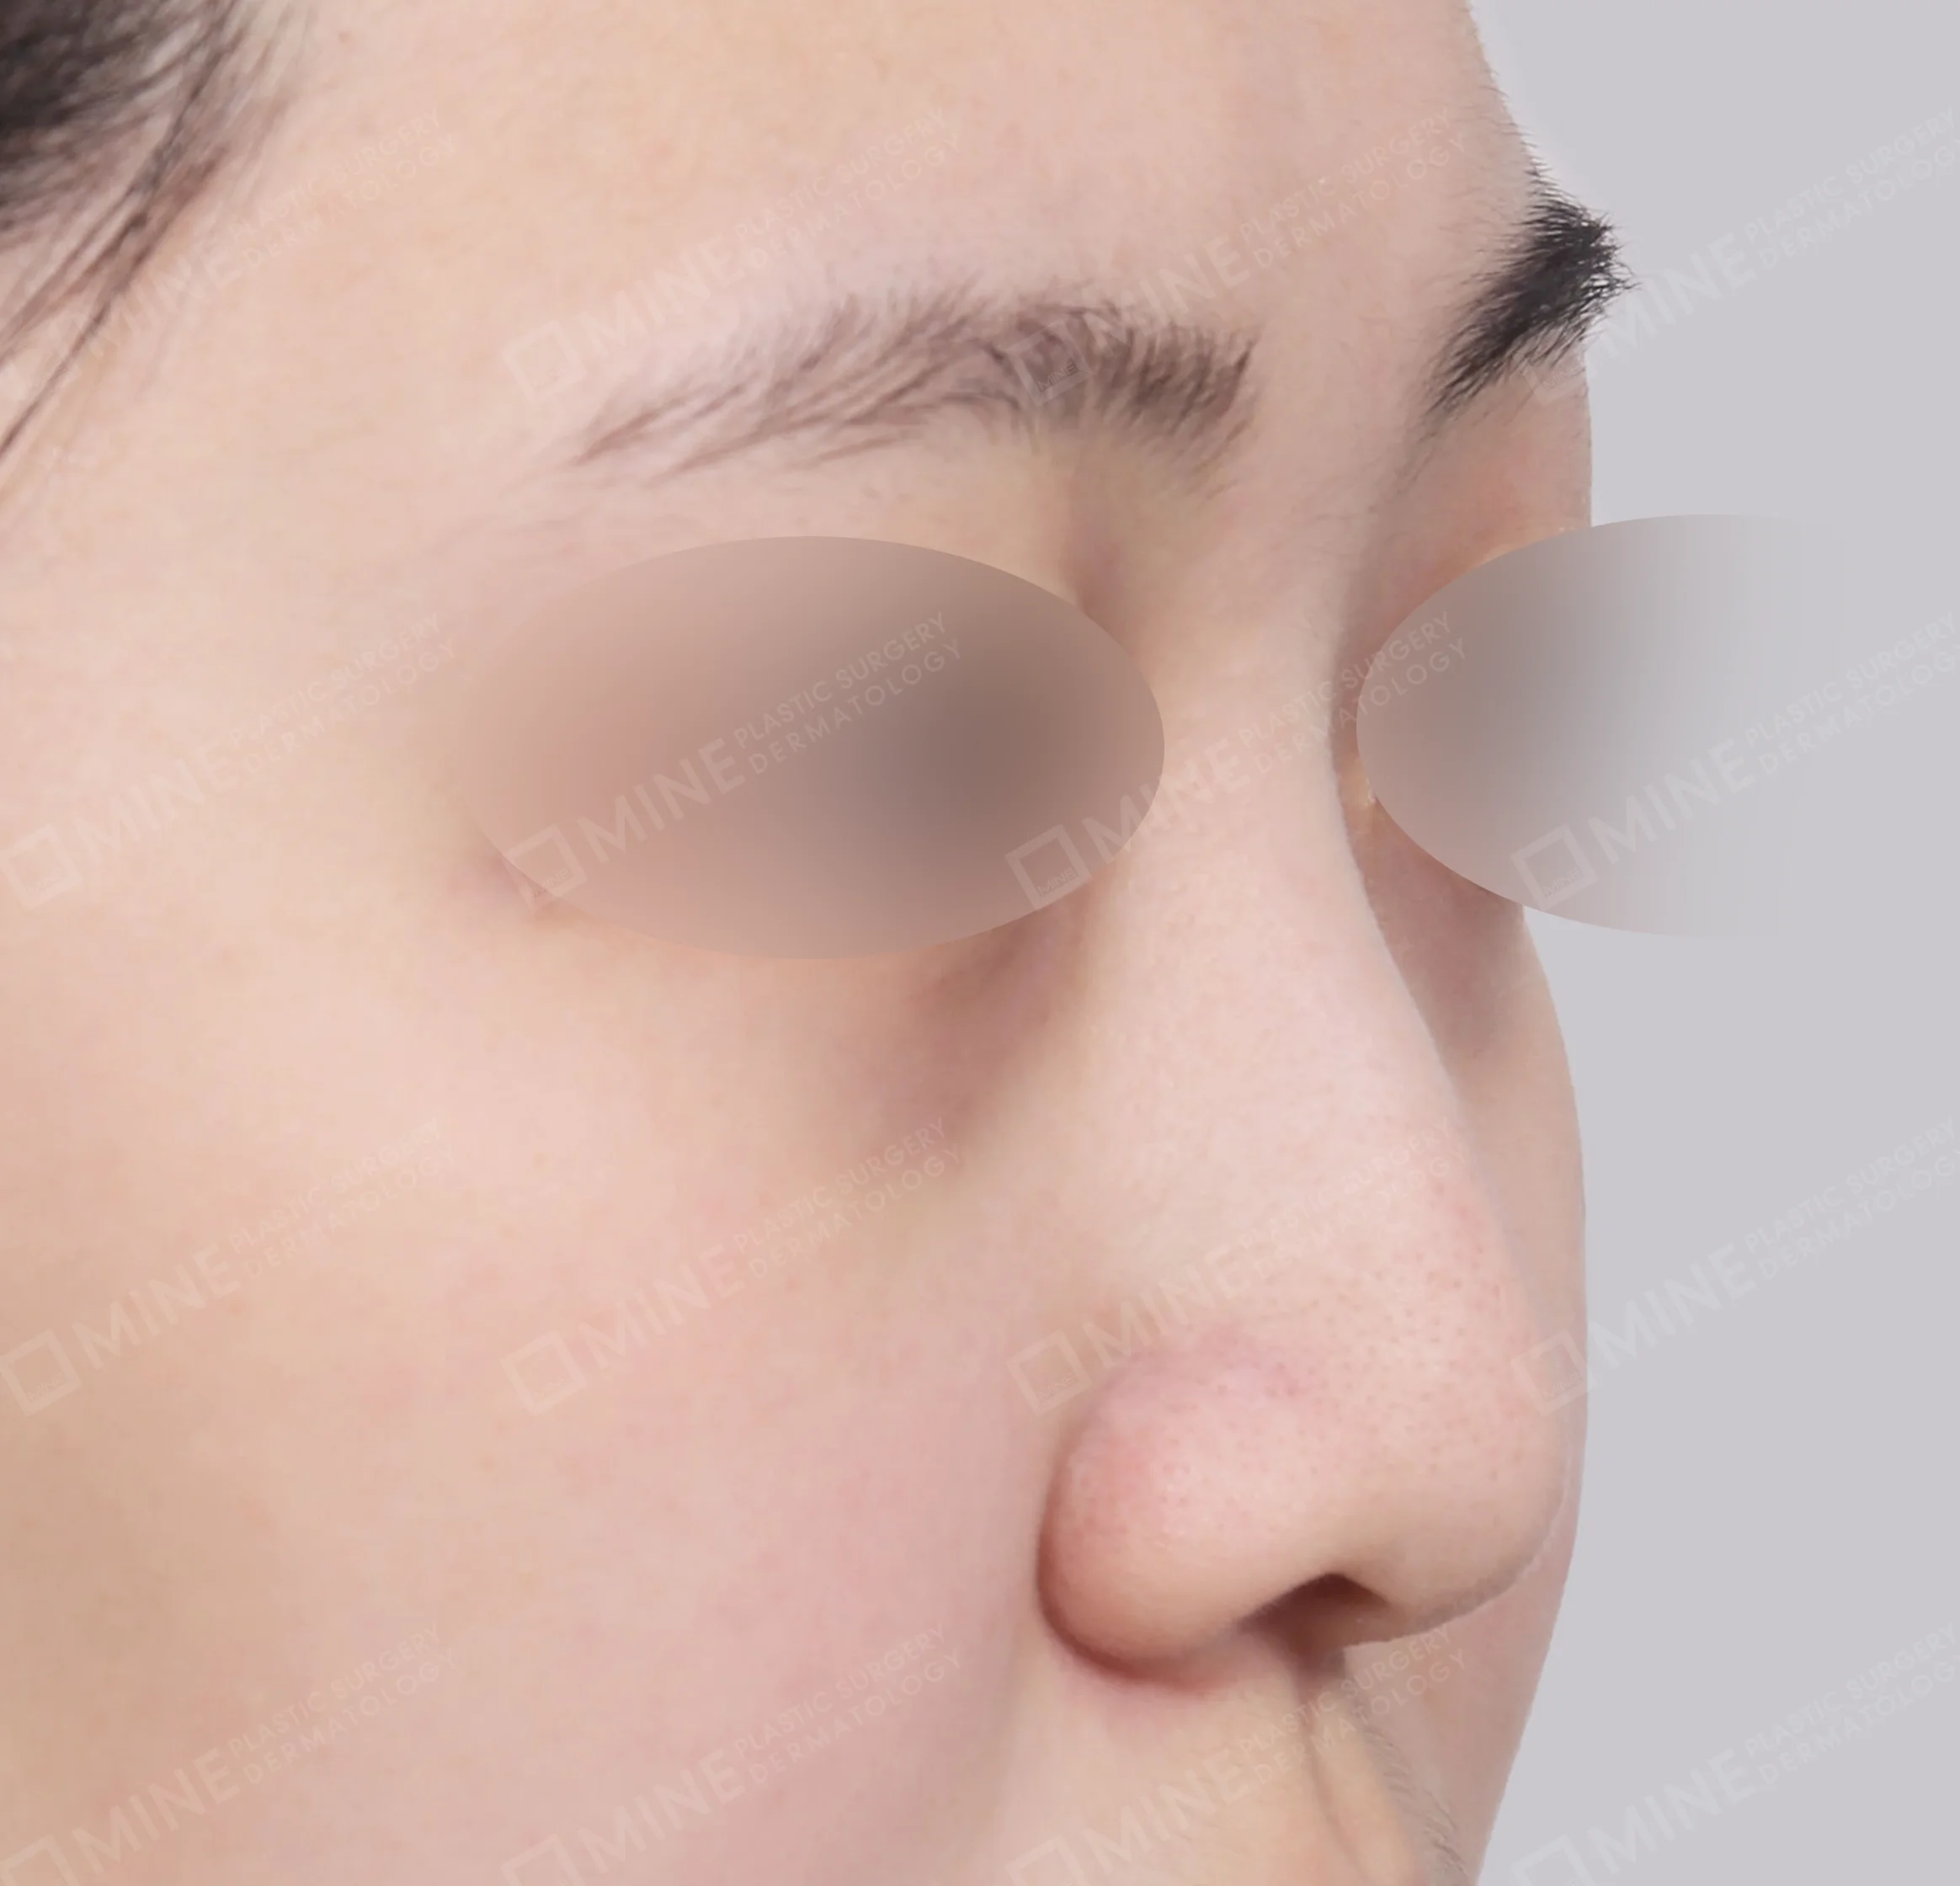
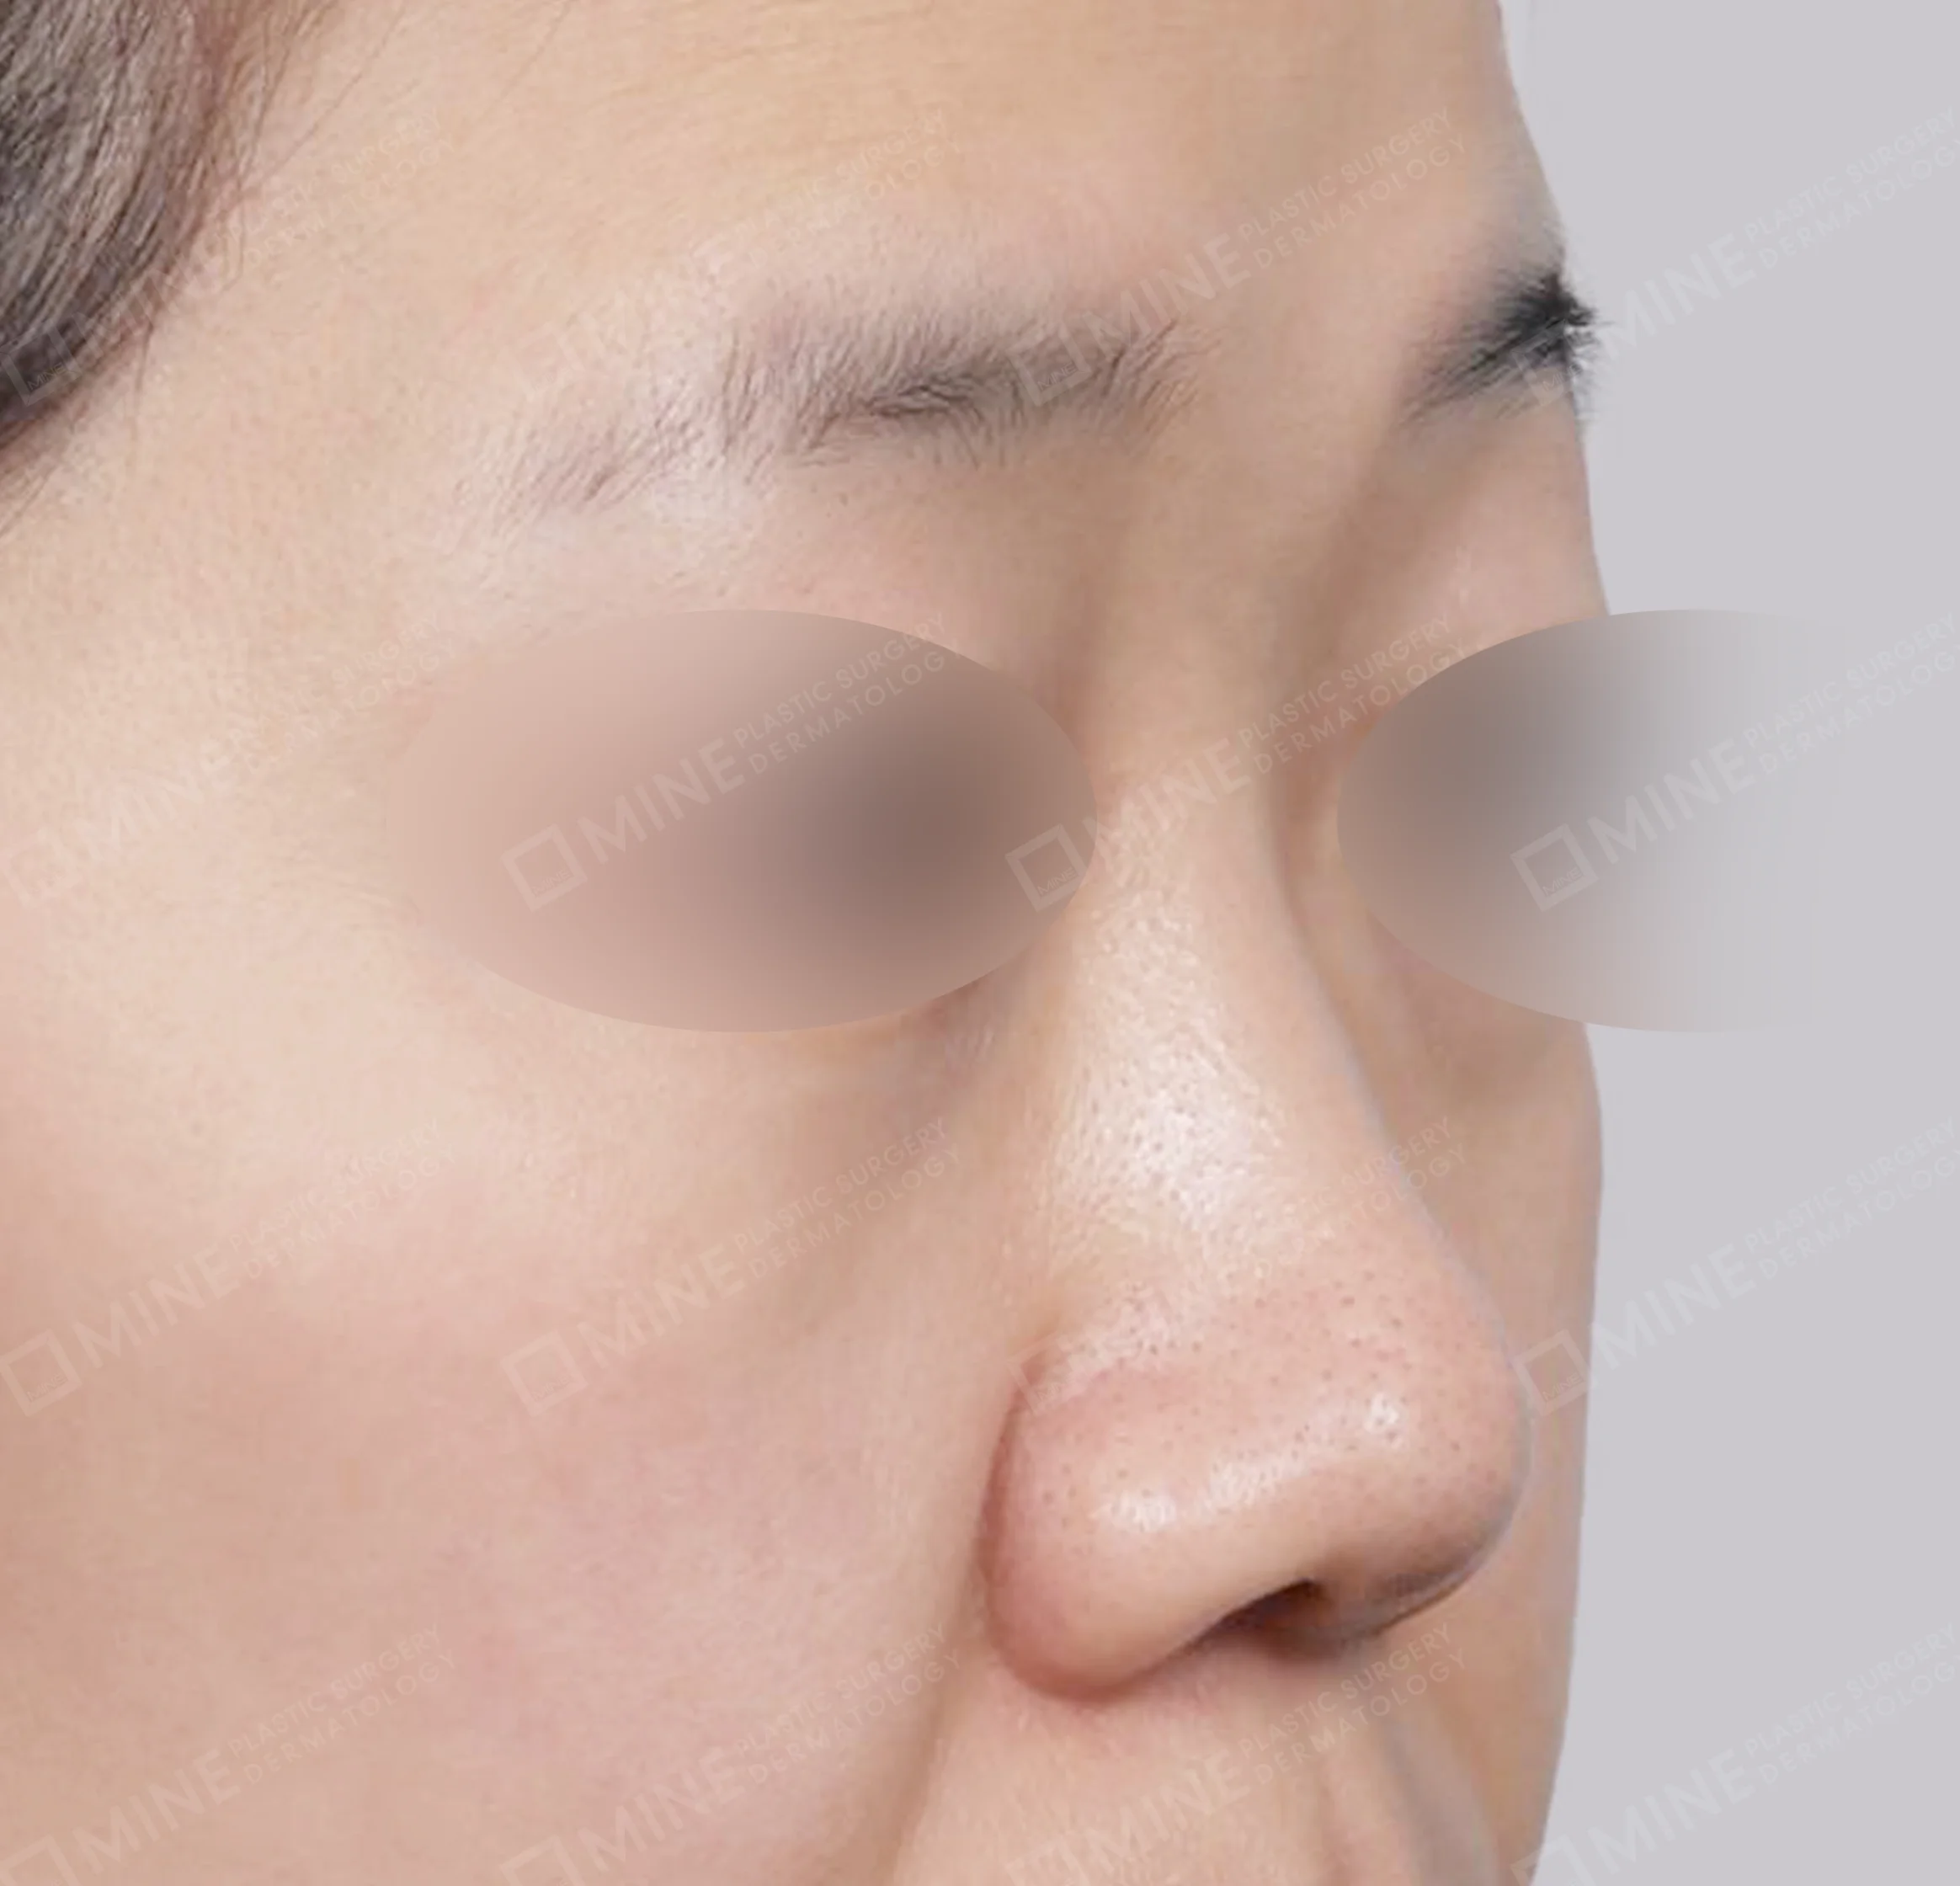
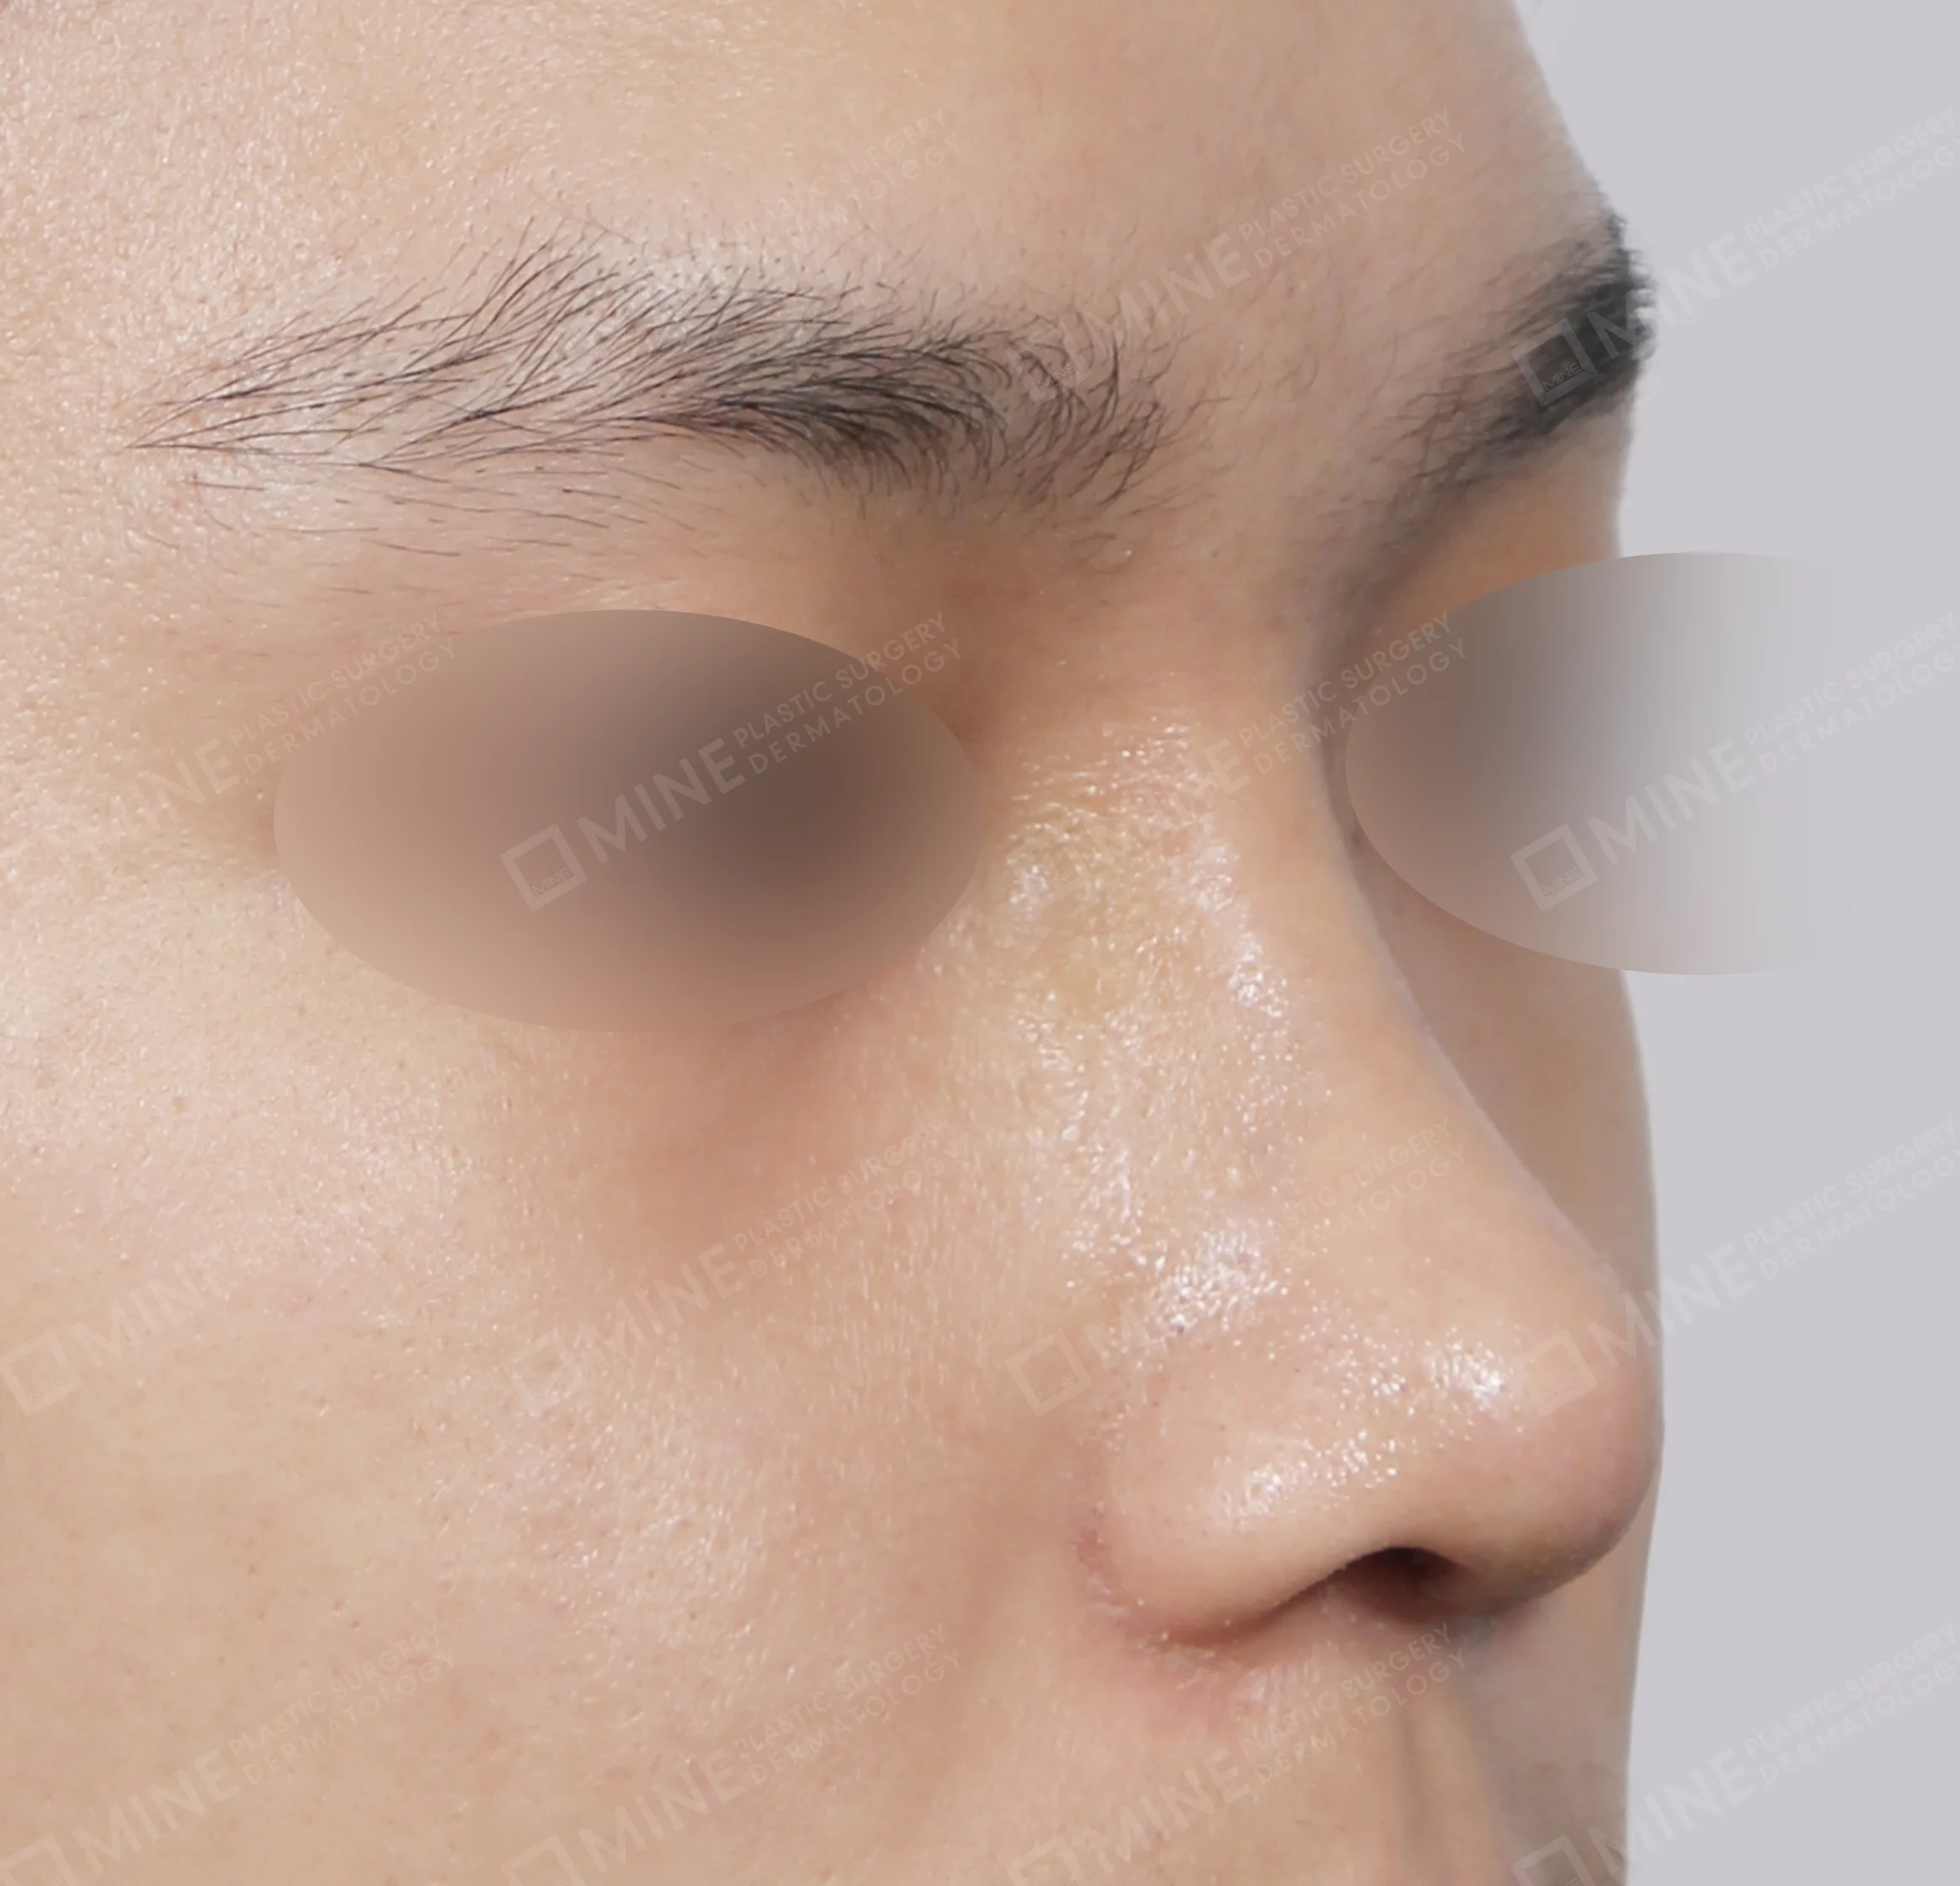
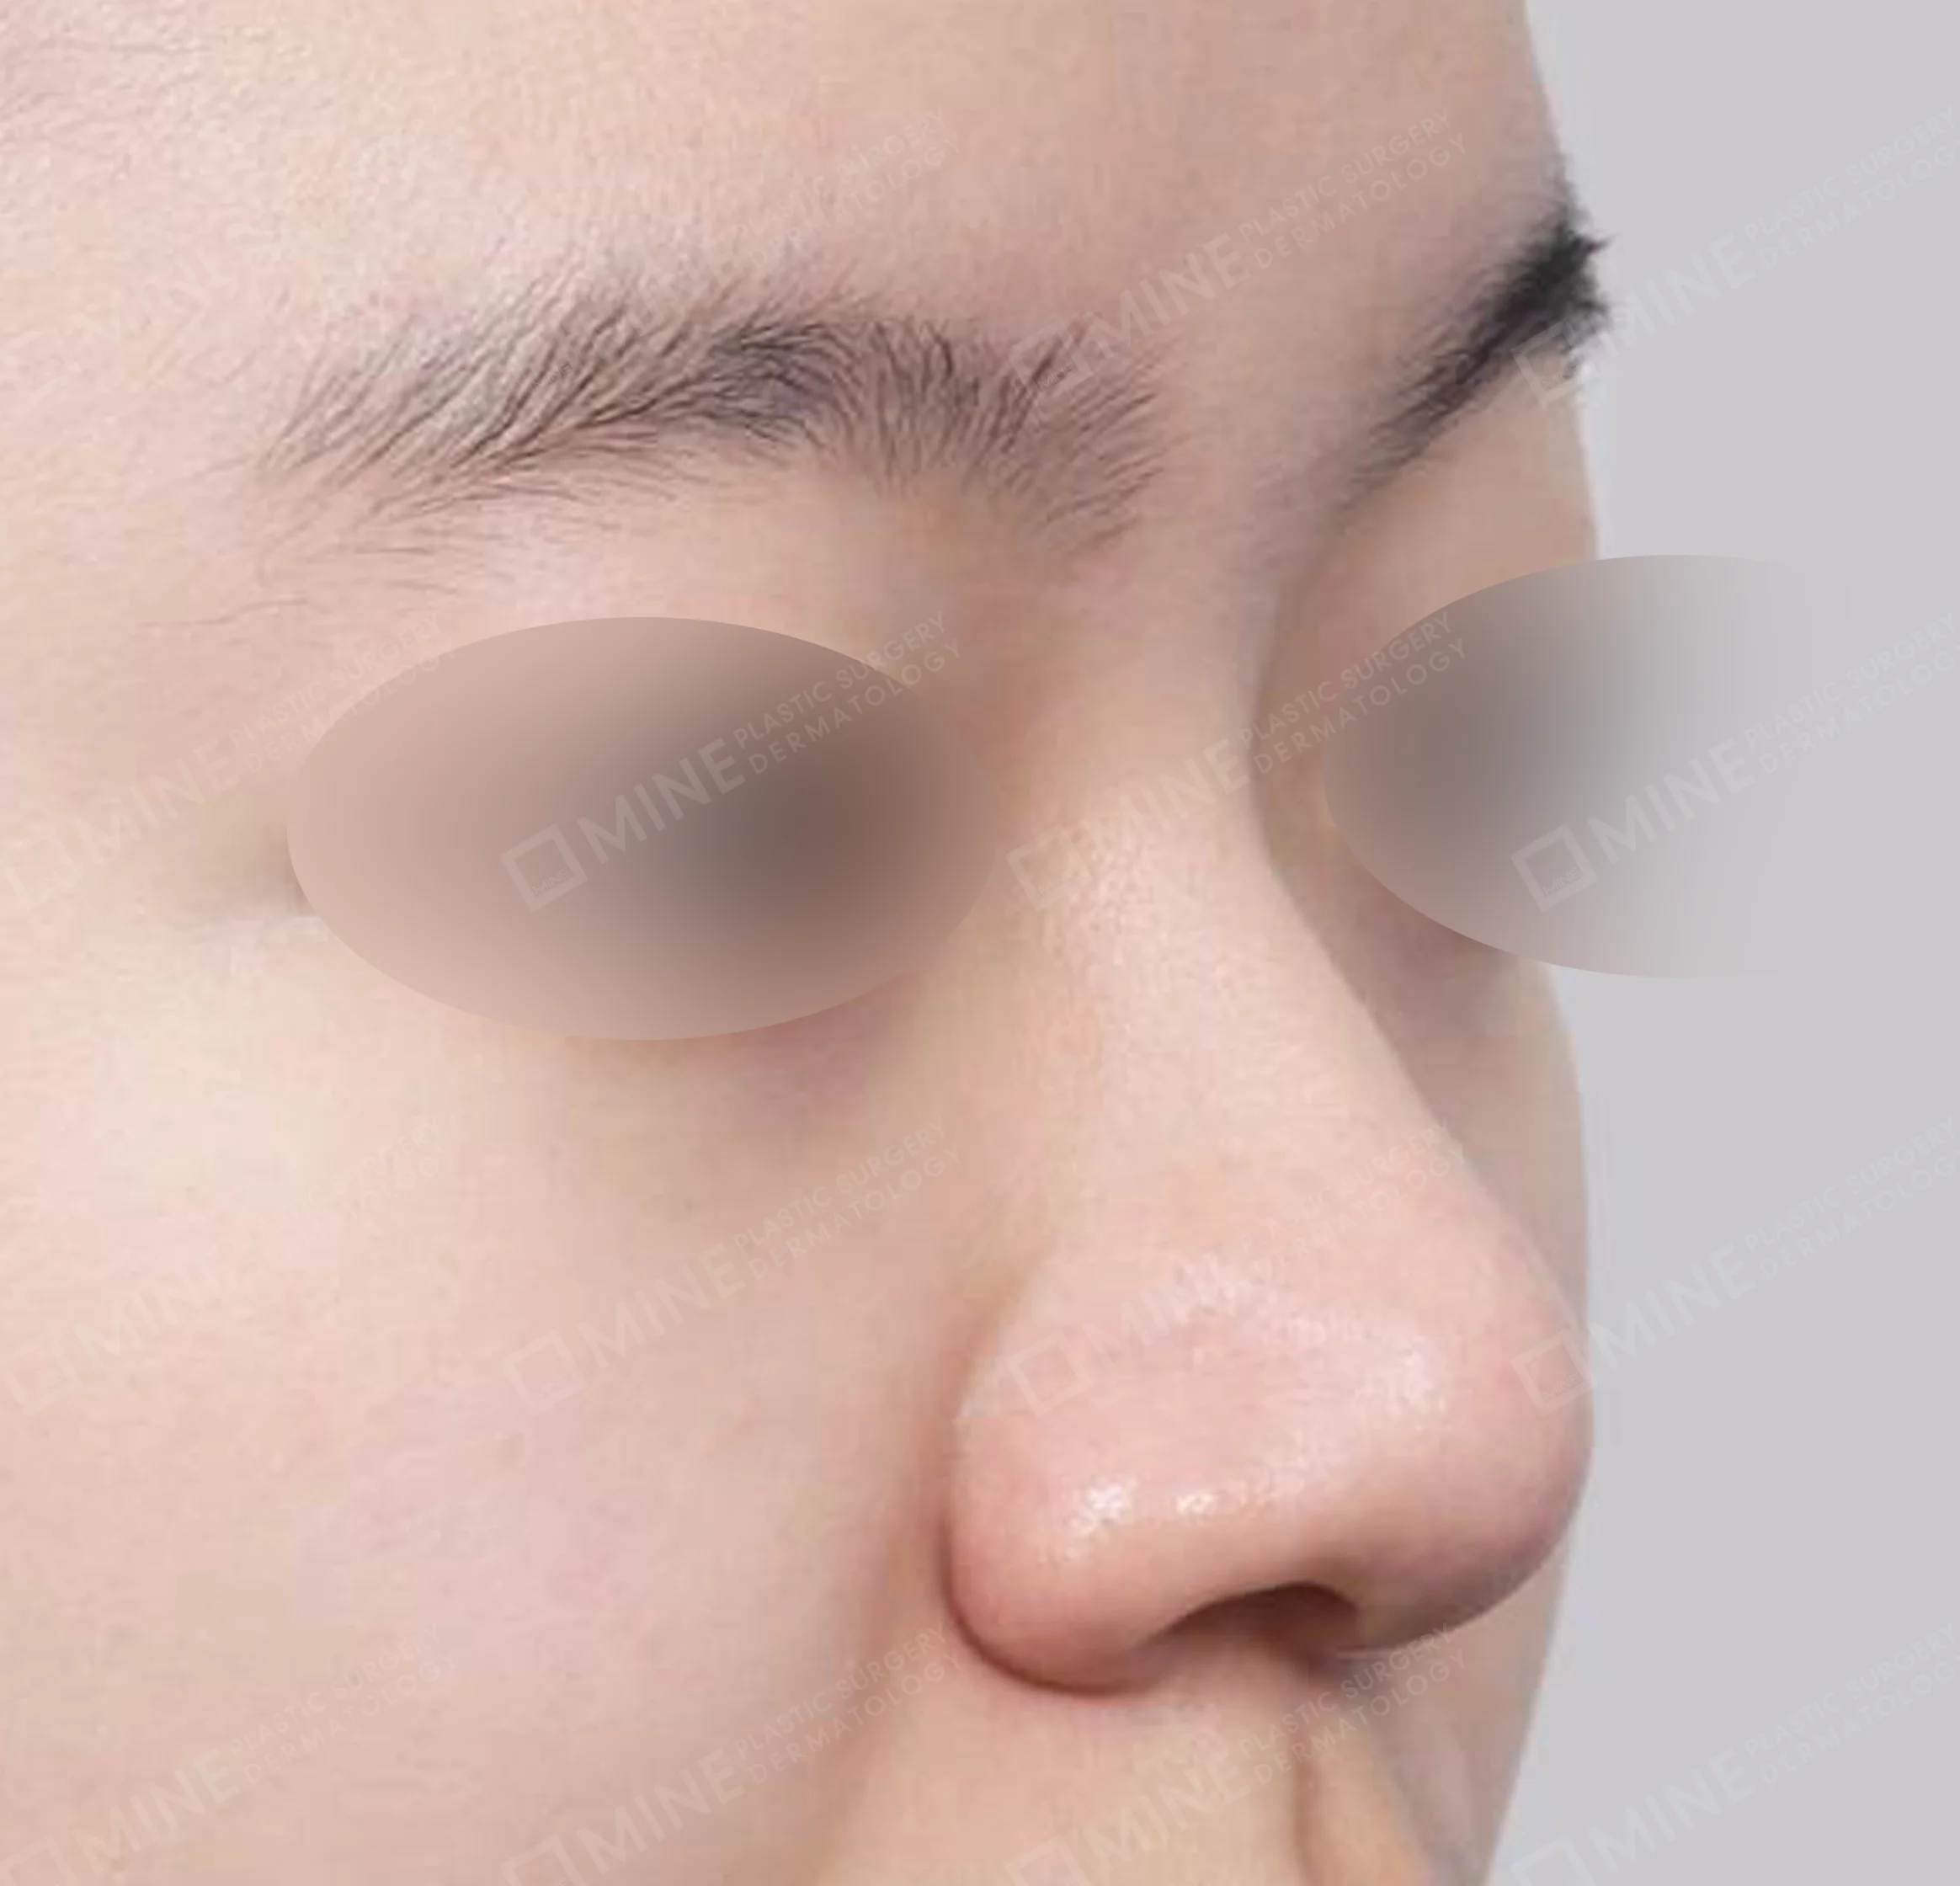
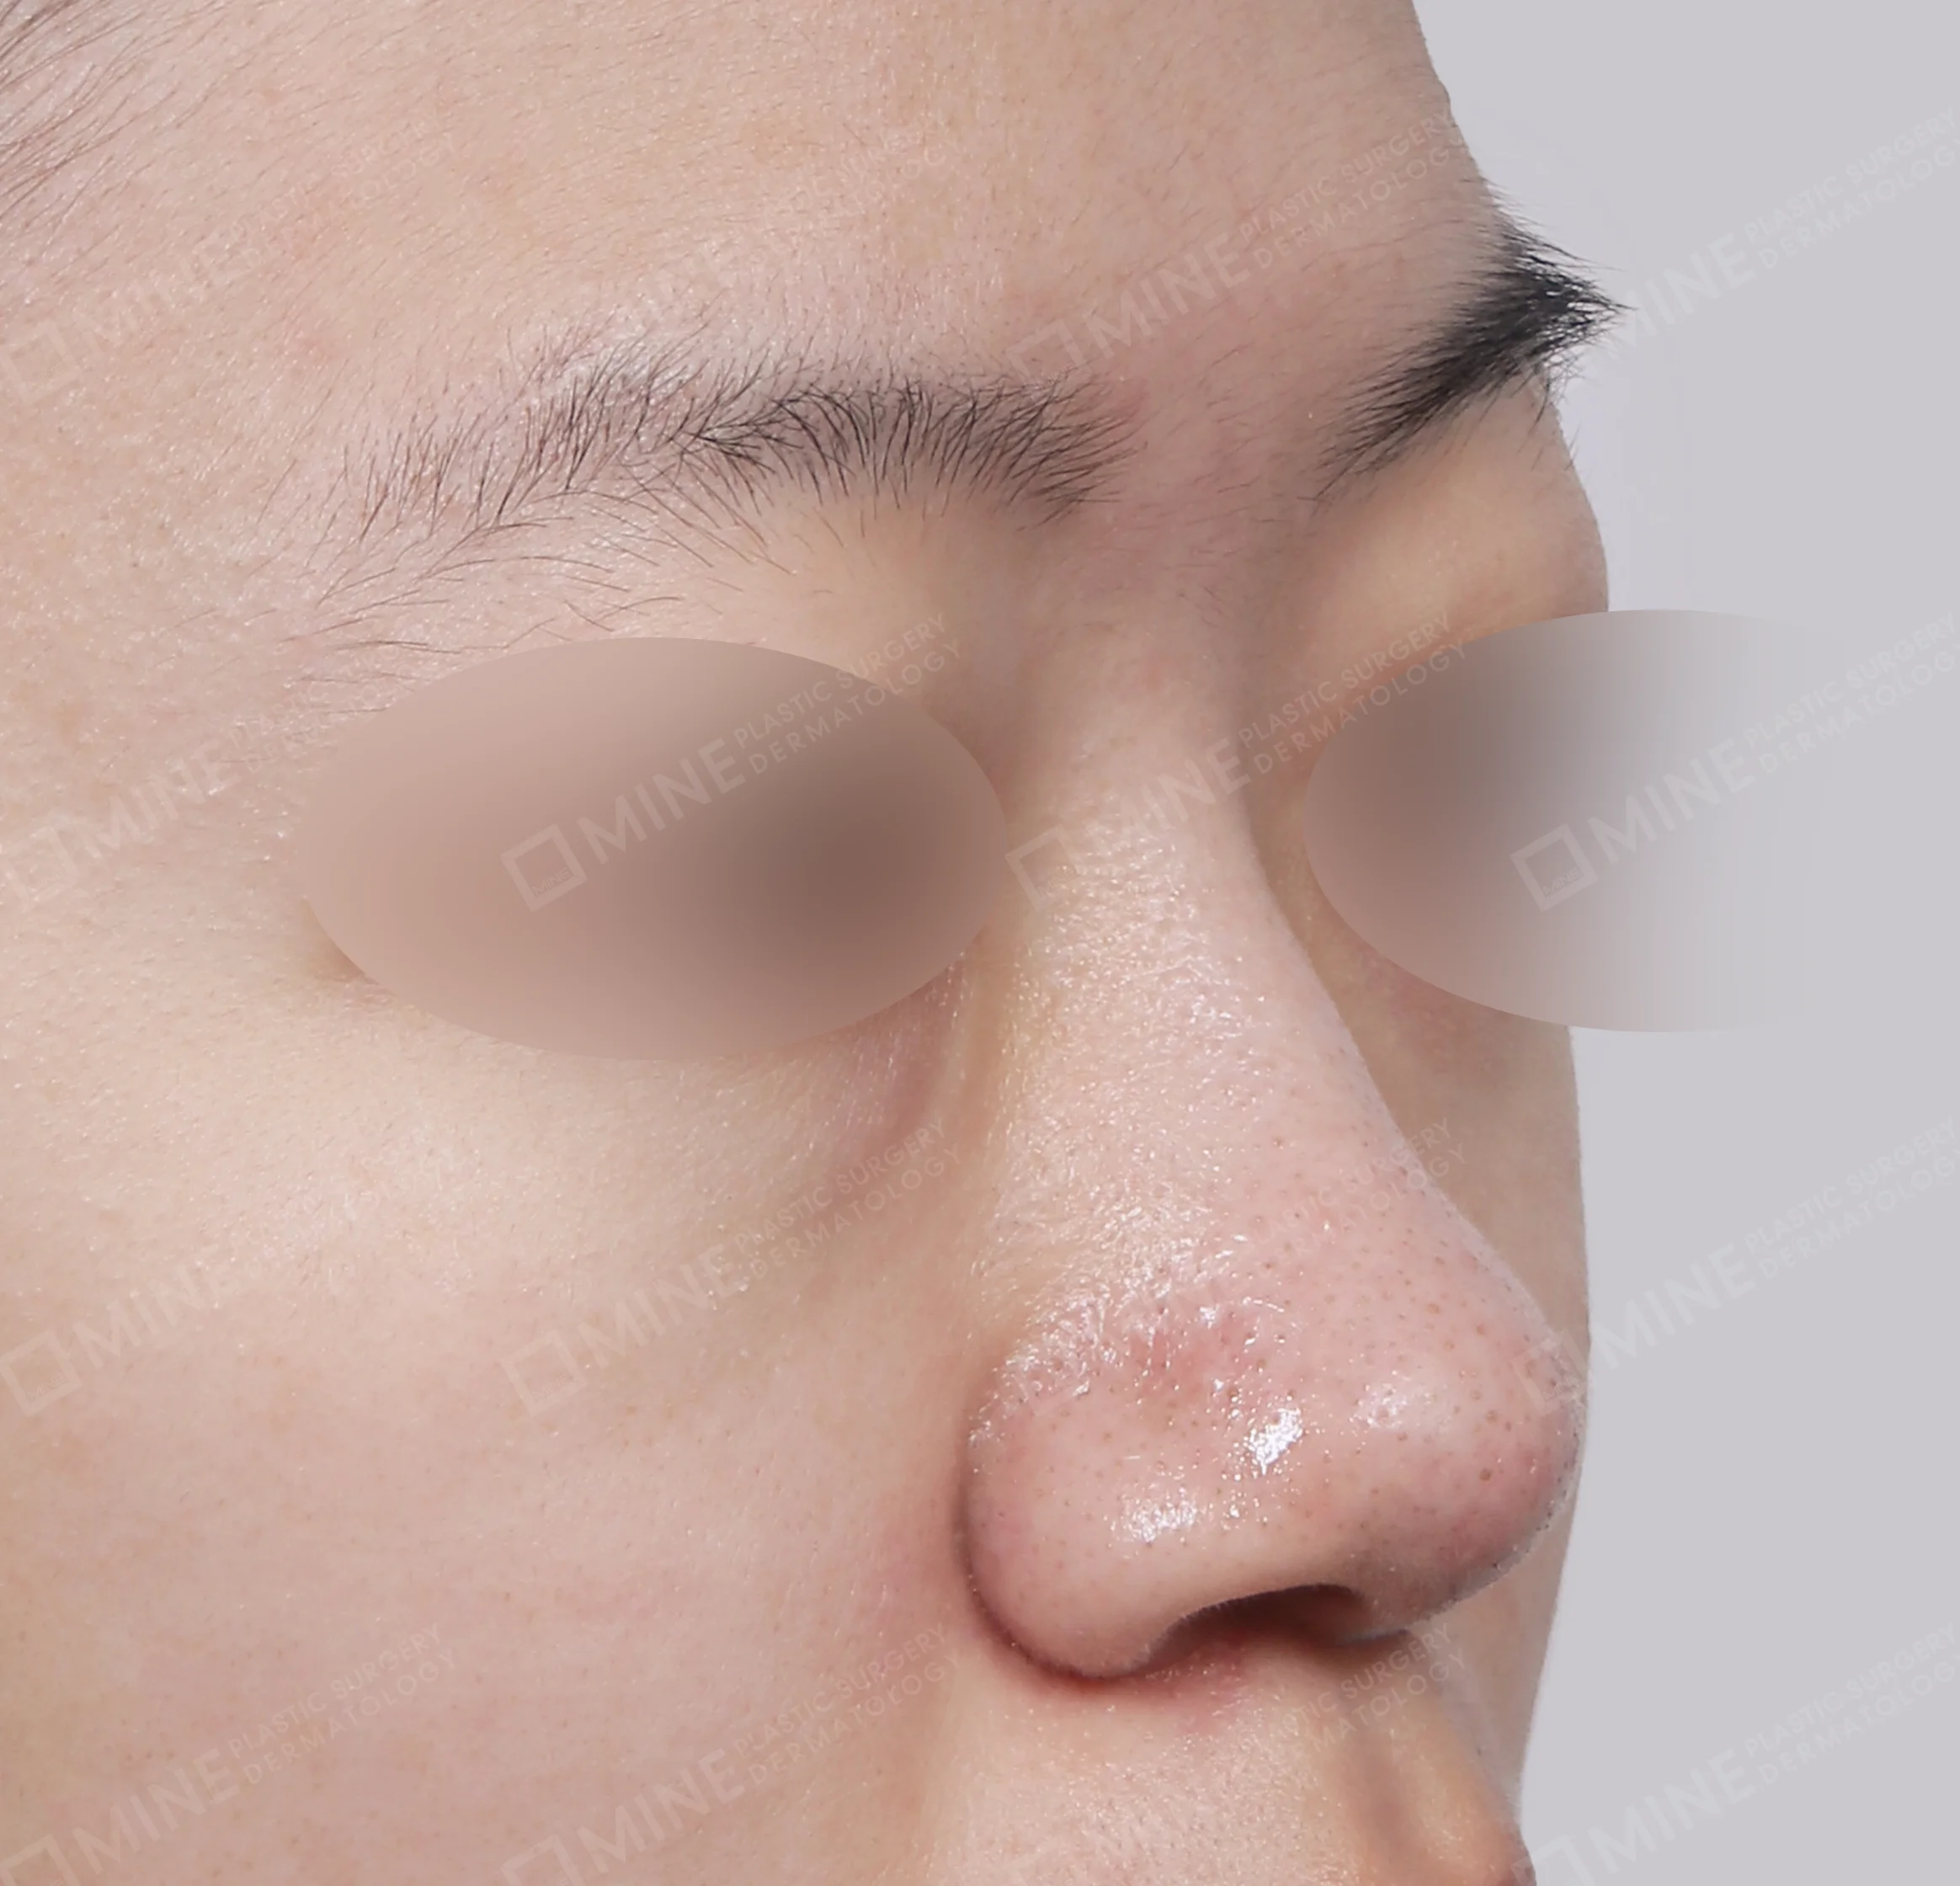
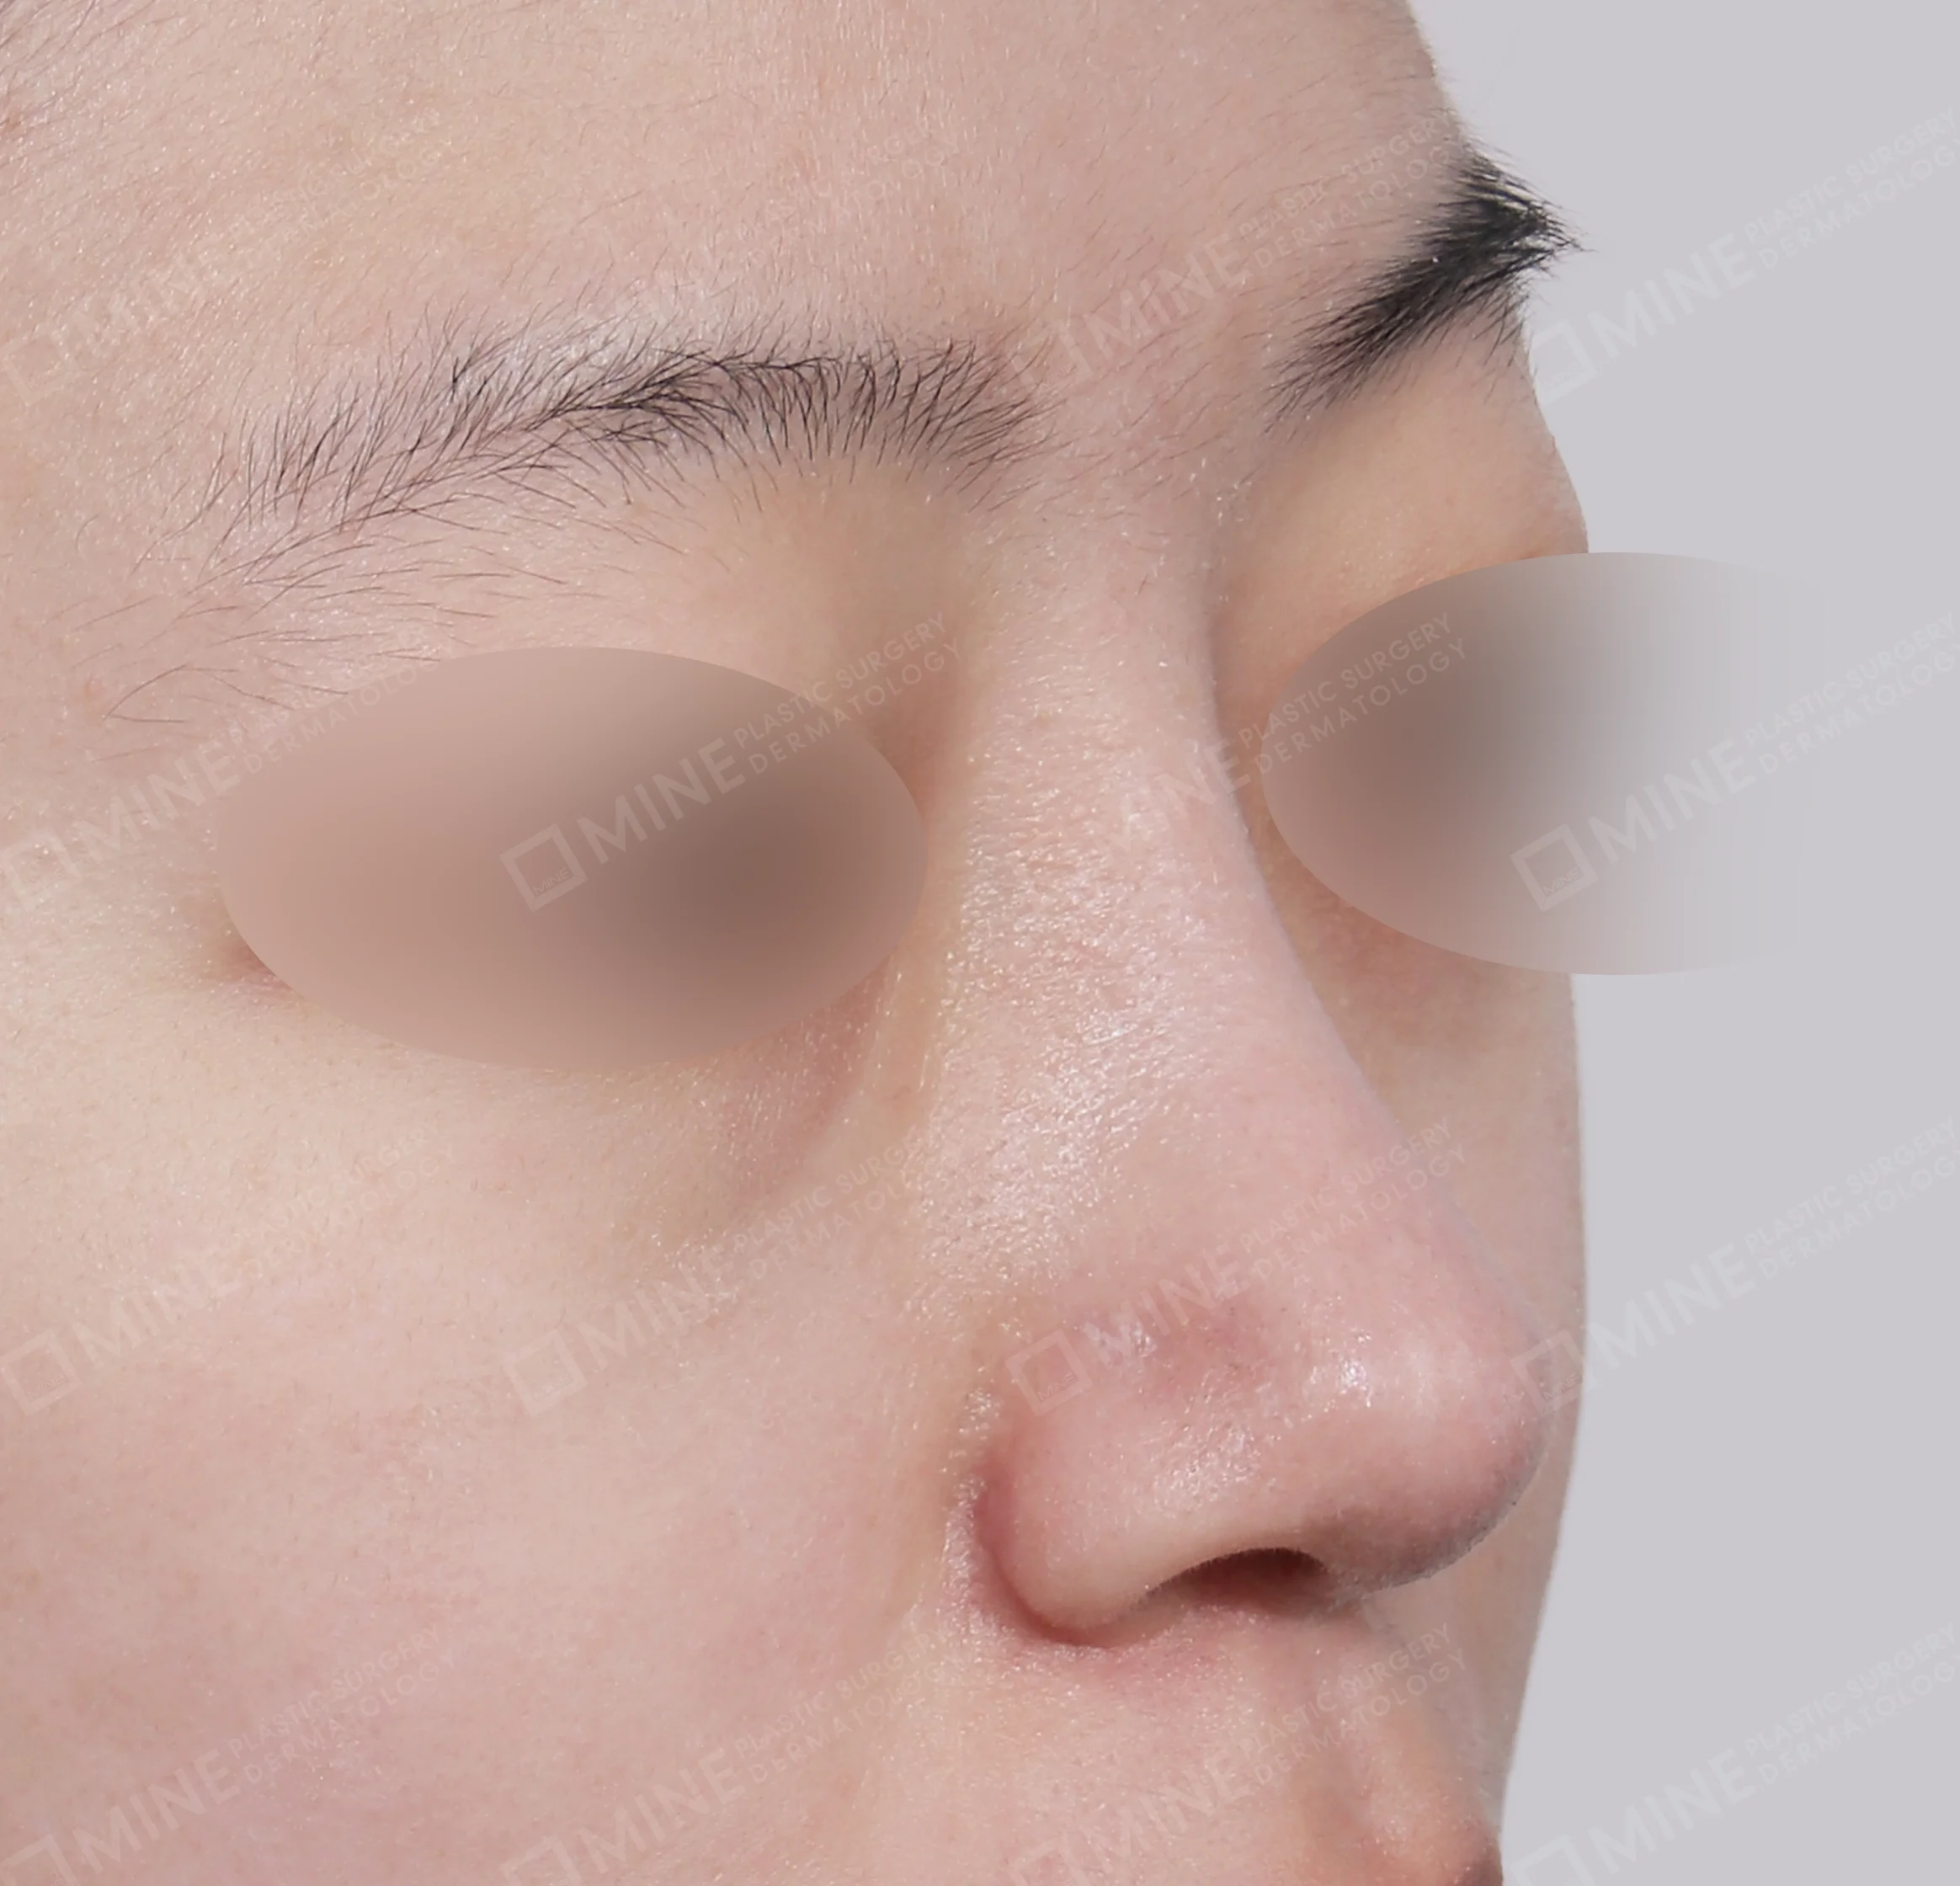
    • Bridge + Tip Plasty + Septal Extension + Tip Reduction-45-Degree-Before
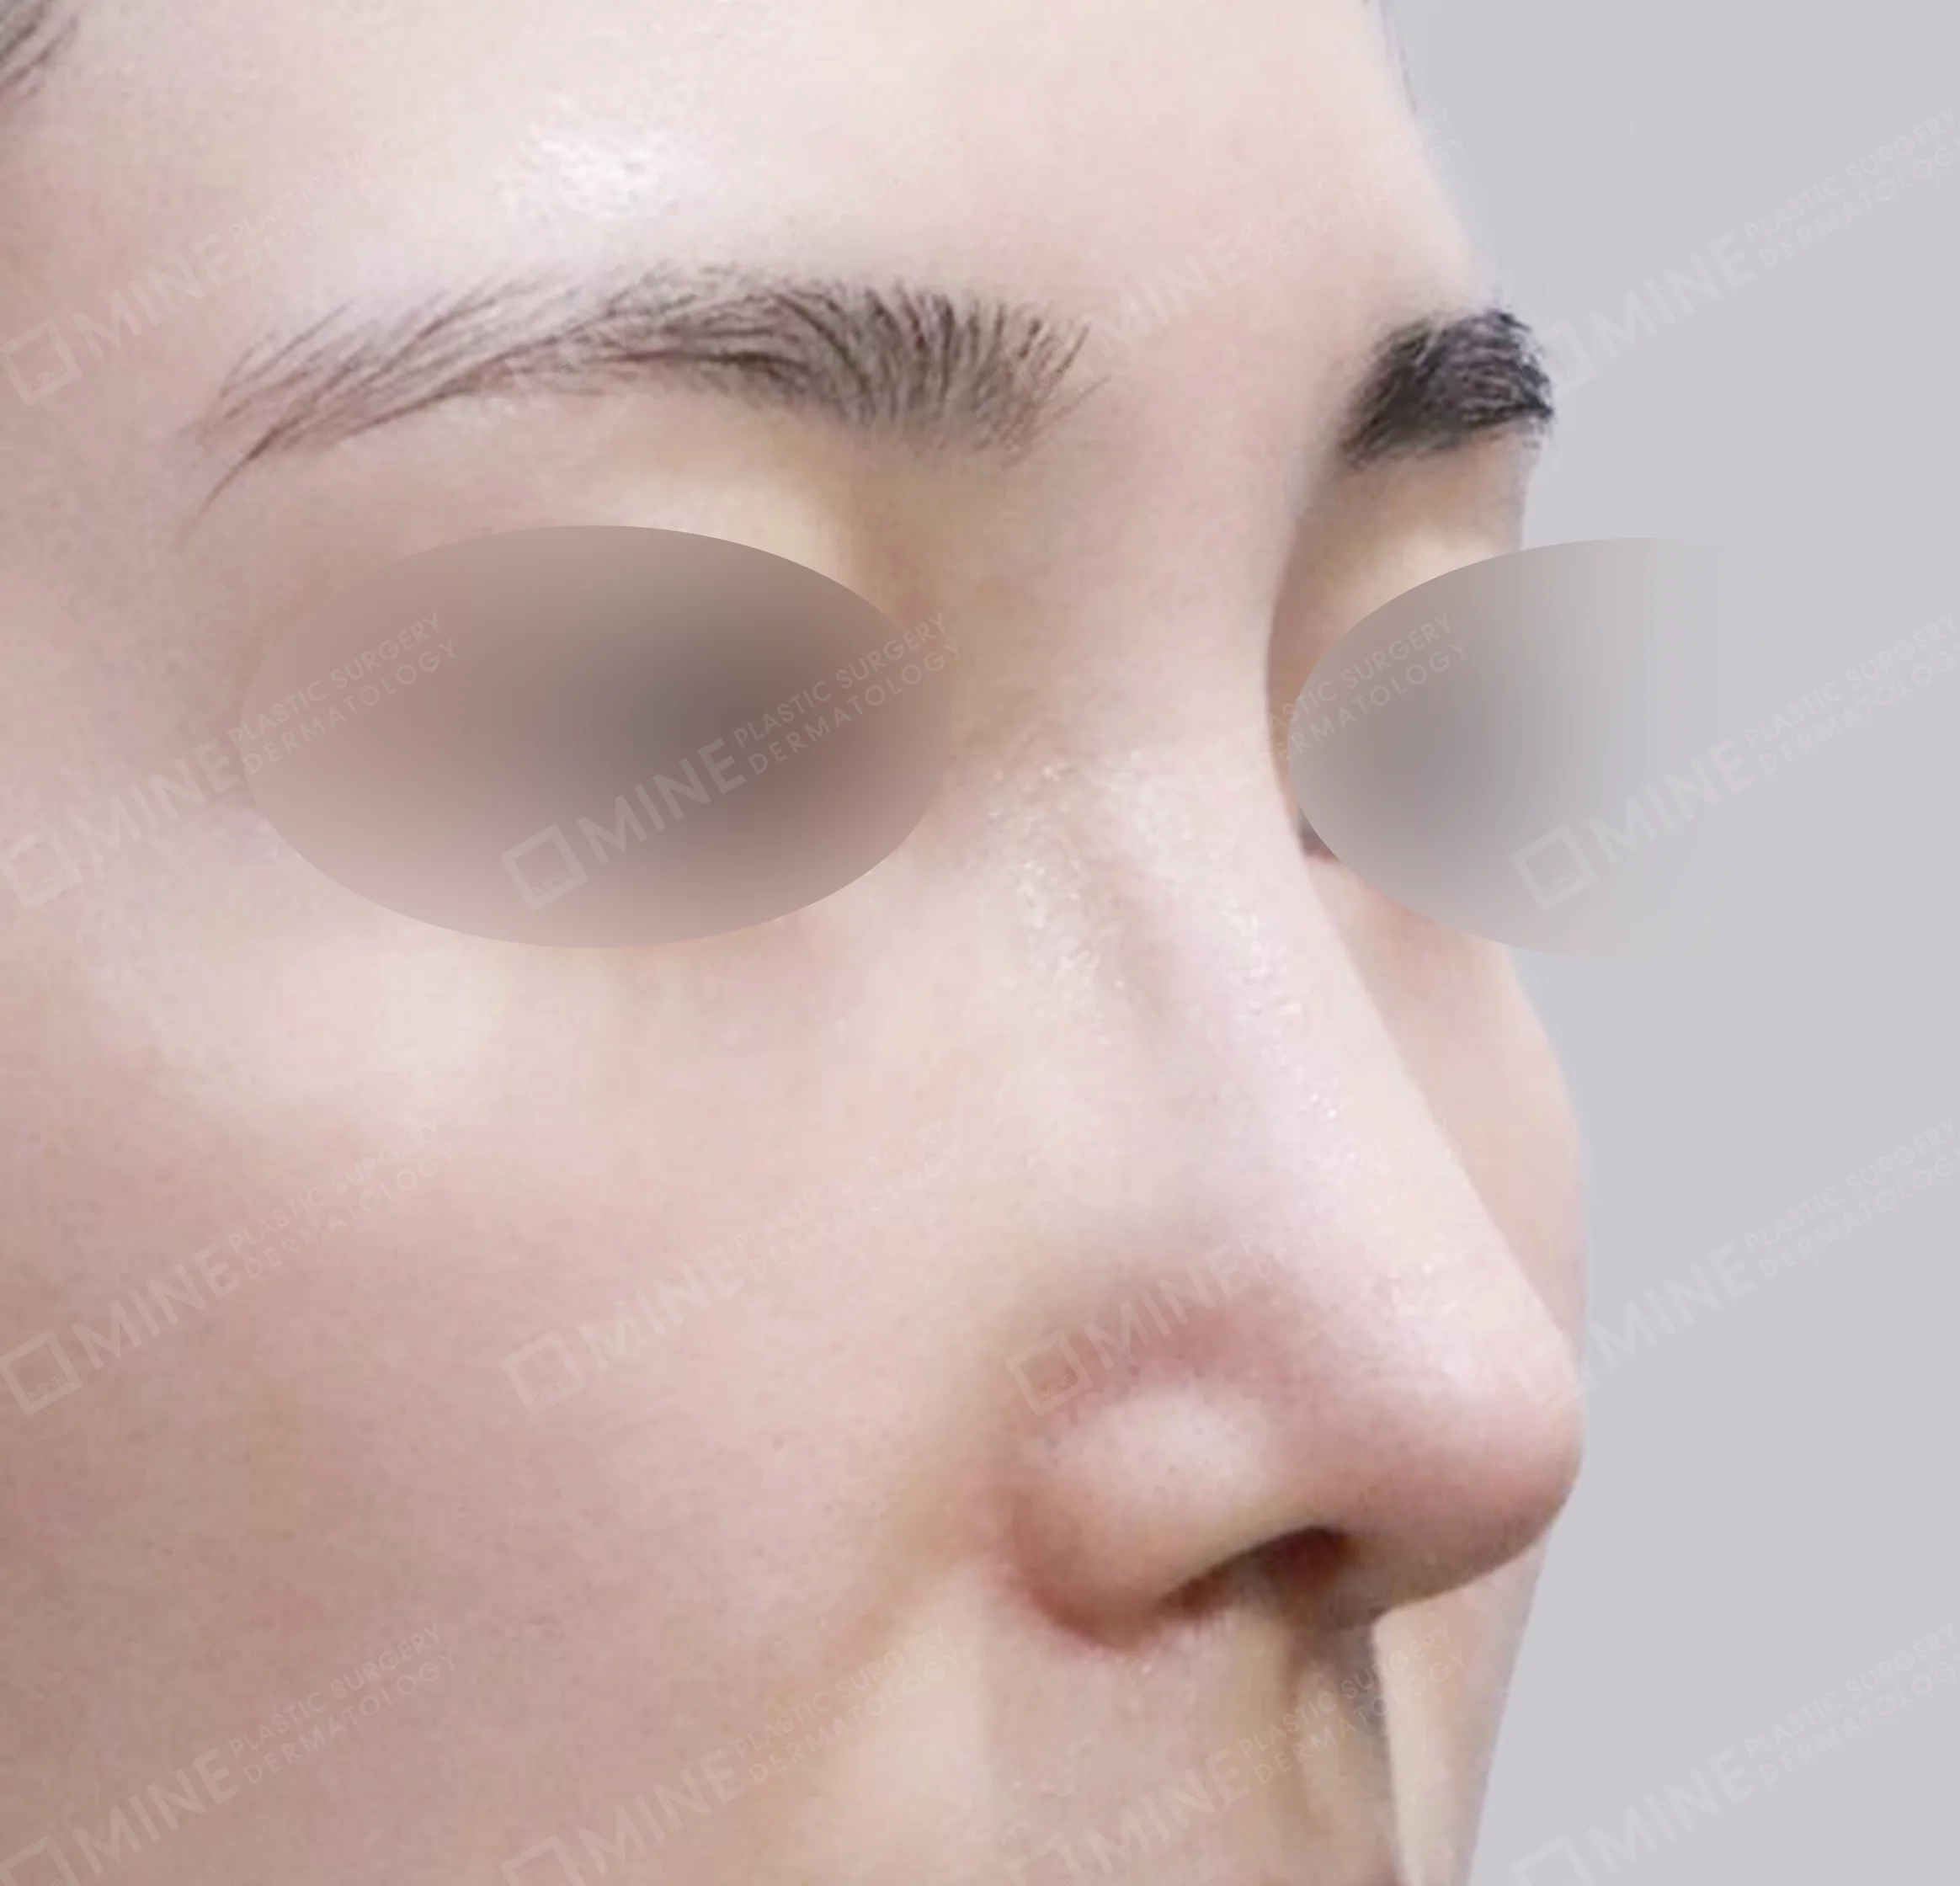
      Bridge + Tip Plasty + Septal Extension + Tip Reduction-45-Degree-After
    Bridge + Tip Plasty + Septal Extension + Tip Reduction
    • B/A
    • Side
    • 45 Degree
    • Revision Rhinoplasty-Front-Before
      Revision Rhinoplasty-Front-After
    • Revision Rhinoplasty-Side-Before
      Revision Rhinoplasty-Side-After
    • Revision Rhinoplasty-45-Degree-Before
      Revision Rhinoplasty-45-Degree-After
    Revision Rhinoplasty
    • B/A
    • Side
    • Deviation Correction + Osteotomy + Tip Plasty-Front-Before
      Deviation Correction + Osteotomy + Tip Plasty-Front-After
    • Deviation Correction + Osteotomy + Tip Plasty-Side-Before
      Deviation Correction + Osteotomy + Tip Plasty-Side-After
    Deviation Correction + Osteotomy + Tip Plasty
    • B/A
    • Side
    • 45 Degree
    • Bridge + Tip Reduction + Alar Reduction + Septal Extension-Front-Before
      Bridge + Tip Reduction + Alar Reduction + Septal Extension-Front-After
    • Bridge + Tip Reduction + Alar Reduction + Septal Extension-Side-Before
      Bridge + Tip Reduction + Alar Reduction + Septal Extension-Side-After
    • Bridge + Tip Reduction + Alar Reduction + Septal Extension-45-Degree-Before
      Bridge + Tip Reduction + Alar Reduction + Septal Extension-45-Degree-After
    Bridge + Tip Reduction + Alar Reduction + Septal Extension
    • B/A
    • Side
    • 45 Degree
    • Hump Removal + Bridge + Septal Extension + Tip Reduction-Front-Before
      Hump Removal + Bridge + Septal Extension + Tip Reduction-Front-After
    • Hump Removal + Bridge + Septal Extension + Tip Reduction-Side-Before
      Hump Removal + Bridge + Septal Extension + Tip Reduction-Side-After
    • Hump Removal + Bridge + Septal Extension + Tip Reduction-45-Degree-Before
      Hump Removal + Bridge + Septal Extension + Tip Reduction-45-Degree-After
    Hump Removal + Bridge + Septal Extension + Tip Reduction
    • B/A
    • Side
    • 45 Degree
    • Hump Removal + Osteotomy + Alar Reduction + Tip Plasty-Front-Before
      Hump Removal + Osteotomy + Alar Reduction + Tip Plasty-Front-After
    • Hump Removal + Osteotomy + Alar Reduction + Tip Plasty-Side-Before
      Hump Removal + Osteotomy + Alar Reduction + Tip Plasty-Side-After
    • Hump Removal + Osteotomy + Alar Reduction + Tip Plasty-45-Degree-Before
      Hump Removal + Osteotomy + Alar Reduction + Tip Plasty-45-Degree-After
    Hump Removal + Osteotomy + Alar Reduction + Tip Plasty
    • B/A
    • Side
    • 45 Degree
    • Hump Removal + Bridge + Septal Extension-Front-Before
      Hump Removal + Bridge + Septal Extension-Front-After
    • Hump Removal + Bridge + Septal Extension-Side-Before
      Hump Removal + Bridge + Septal Extension-Side-After
    • Hump Removal + Bridge + Septal Extension-45-Degree-Before
      Hump Removal + Bridge + Septal Extension-45-Degree-After
    Hump Removal + Bridge + Septal Extension
    • B/A
    • Side
    • 45 Degree
    • Bridge + Tip Reduction + Alar Reduction-Front-Before
      Bridge + Tip Reduction + Alar Reduction-Front-After
    • Bridge + Tip Reduction + Alar Reduction-Side-Before
      Bridge + Tip Reduction + Alar Reduction-Side-After
    • Bridge + Tip Reduction + Alar Reduction-45-Degree-Before
      Bridge + Tip Reduction + Alar Reduction-45-Degree-After
    Bridge + Tip Reduction + Alar Reduction
    • B/A
    • 45 Degree
    • Hump Removal + Deviation Correctrion + Bridge + Tip Plasty-Front-Before
      Hump Removal + Deviation Correctrion + Bridge + Tip Plasty-Front-After
    • Hump Removal + Deviation Correctrion + Bridge + Tip Plasty-45-Degree-Before
      Hump Removal + Deviation Correctrion + Bridge + Tip Plasty-45-Degree-After
    Hump Removal + Deviation Correctrion + Bridge + Tip Plasty
    • B/A
    • 45 Degree
    • Bridge + Septal Extension + Tip Reduction + Alar Reduction-Front-Before
      Bridge + Septal Extension + Tip Reduction + Alar Reduction-Front-After
    • Bridge + Septal Extension + Tip Reduction + Alar Reduction-45-Degree-Before
      Bridge + Septal Extension + Tip Reduction + Alar Reduction-45-Degree-After
    Bridge + Septal Extension + Tip Reduction + Alar Reduction
Caution Unauthorized use of the post above may result in legal sanctions for infringement of copyright and portrait rights.
This image may look different from the actual patient depending on the shooting conditions, and it was posted with the patient's consent.